


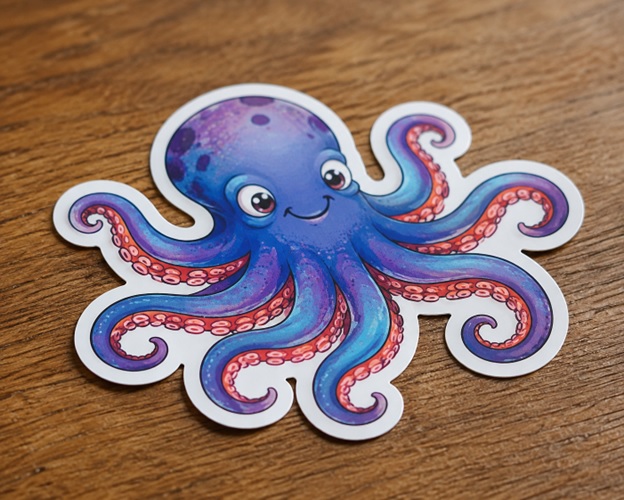
Illustrations, cartoons, logos, digital art, and hand-finished drawings can become products for collections, craft fairs, subscription packs, or online shops. A careful production plan lets you turn your art into stickers without sacrificing the linework, color, or personality that made the original appealing. Go wild and even turn your selfie into a sticker design that will turn heads.
Eric Turney, President of The Monterey Company, works in printing and custom patch production, where artwork has to translate cleanly from a digital file into a finished physical product. “Good printing starts with good artwork preparation,” Turney says. “Clean edges, strong contrast, and the right resolution can make the difference between a sticker that looks sharp and one that loses detail once it goes into production.”
Start With the Sticker’s Purpose
The best printing approach depends on how the sticker will be used, how long it should last, and how many copies you expect to sell. Products meant to be kept, worn, used, or displayed require greater durability than temporary labels, while collectible illustration stickers may need deeper product customization to preserve their visual character.
Resolution affects clarity, but material, cut, and finish determine how the finished piece performs. Define these requirements before comparing printers so that price does not overshadow artwork quality or practical use.
Choose a Use Case Before Choosing a Printer
Laptop and water-bottle decals generally need durable vinyl stickers that can handle moisture and regular contact. Journal, scrapbook, and planner designs may work better as lower-cost paper stickers or organized sheets. Getting photo stickers and photo prints are a different story.
Estimate likely demand before selecting fulfillment. An untested Etsy design may justify a small run, while an established bestseller can support inventory purchased in larger quantities.
Prepare Artwork for Professional Printing
Source-file quality influences sticker printing more than the original drawing method. A pencil sketch, vector logo, or tablet illustration can print clearly when the print-ready file contains enough usable detail.
Export raster artwork at a minimum of 300 DPI at its final physical dimensions. Enlarging a small exported image does not restore missing pixels, so resizing afterward usually produces soft edges.
Vector artwork uses mathematical paths that scale without losing clarity, making it particularly effective for logos, typography, and clean line art. Raster artwork consists of pixels and suits paintings, textured drawings, and shaded cartoons.
A transparent-background PNG is usually suitable for raster stickers, but retain the original layered file for revisions. A reliable provider should offer guidance for buyers who are unsure what they need, balancing quality and service rather than competing only on low price; that support helps produce merchandise that feels more special than generic swag and protects an established brand image.

Build in Bleed, Safe Zones, and a Cut Line
Bleed extends the image beyond the finished edge so minor trimming variation does not create white slivers. The safe zone keeps text, eyes, facial features, and other essential details away from that edge.
A cut line, also called a dieline, tells the printer where to trim. It should follow the artwork with enough padding to prevent narrow points or delicate protrusions from tearing.
Request the selected printer’s template, bleed measurement, and file specifications. Production standards vary, so one company’s setup should not be assumed to work for another.
Pick the Right Sticker Cut
Cut style changes packaging, peeling, and presentation even when the same artwork is used. A matte finish or gloss finish can be applied to several formats, so choose the physical format before deciding how the surface should look.
Die-Cut, Kiss-Cut, and Sheet Stickers Compared
| Format | Best Use | Key Tradeoff |
|---|---|---|
| Die-cut | Individual characters, logos, and single designs | Trimmed to the artwork shape, but loose pieces take longer to pack |
| Kiss-cut | Intricate shapes and easy-peel products | The sticker is cut while the surrounding backing remains intact |
| Sheet | Planner sets, themed packs, and character collections | Several designs share one backing, limiting individual distribution |
Die-cut and kiss-cut stickers can use identical artwork while creating different unboxing and application experiences. Sellers should also compare minimums, since low minimums are not available from every custom supplier, and favor printers with experience across multiple creator types and industries.
Match Materials and Finishes to Real-World Use
Choose the base material before selecting decorative effects. Vinyl is the practical default for durable custom stickers because it tolerates frequent handling better than basic paper stock.
Indoor products may only need protection from light contact, while outdoor durability usually requires waterproof stickers, UV resistance, and protective laminate. Creators comparing specialized options can consult a custom sticker manufacturer such as Sticker Mule or StickerBeat for neutral guidance about compatible formats and materials.
A wide product range under one roof can simplify comparisons, but hands-on service from real people matters most when artwork needs adjustment.
Matte, Gloss, Clear, and Holographic Options
Matte has low glare and a tactile surface, while gloss reflects light and often makes printed color appear more vivid. Clear stickers allow parts of the application surface to show through, whereas holographic stickers shift with light and can substantially change the artwork’s mood.
Laminate adds a protective layer over the print. It is especially useful when stickers will encounter friction, moisture, sunlight, or repeated cleaning.
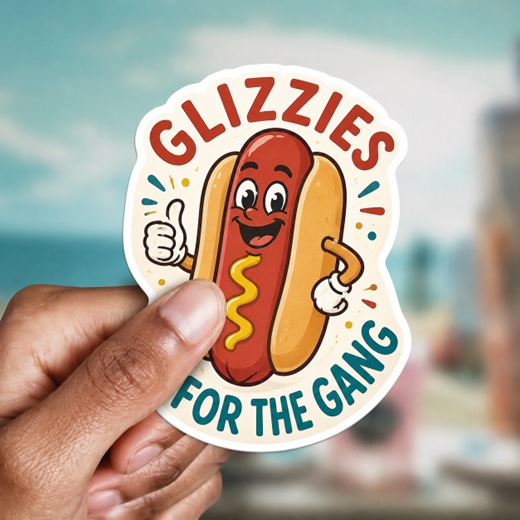
Protect Fine Details, Sizing, and Color
Thin lines, tiny lettering, isolated dots, and narrow gaps may fill in, break apart, or disappear when artwork is reduced. Simplify fragile details or increase the sticker dimensions rather than relying on screen magnification.
Review the design at its actual physical size and print a paper mockup when possible. This check reveals readability problems that remain hidden while viewing enlarged artwork on a monitor.
Screens display RGB light, while commercial printers commonly reproduce color with CMYK inks. This difference can cause a color shift, particularly in neon-like tones and saturated blues or greens that CMYK cannot reproduce exactly.
Approve a Proof With Print Expectations in Mind
Inspect the print proof for spelling, border consistency, dieline placement, small features, and realistic color expectations. A sample order or short test run is prudent when color matching, metallic effects, or unusually small dimensions matter.
Keep the approved proof for future production. Reorder support and consistency become easier when both creator and printer can reference the same confirmed specifications. This is especially important when printing commercial photography and turning those high-resolution designs into stickers.
Choose Between Print-on-Demand and Bulk Orders
Print-on-demand reduces upfront inventory risk and can handle fulfillment, but per-unit costs are generally higher, and choices for materials, packaging, finishes, and proofing may be limited. Bulk manufacturing expands customization and quality control while requiring storage, advance payment, and confidence in demand.
Strong proofing and design guidance are particularly valuable before a bulk commitment. Test unproven artwork in small quantities, then move proven bestsellers to larger reorders.
Use This Final Sticker Preflight Checklist
Before submitting artwork, confirm that:
- Final-size raster artwork is at least 300 DPI.
- The background is transparent where needed.
- Bleed and safe zones are included.
- The cut line is confirmed.
- Fine details remain readable at actual size.
- RGB-to-CMYK color expectations have been reviewed.
- The material matches the intended use.
- The proof has been checked and approved.
Prepare one polished test design and compare physical samples at their real size. Use the results to refine sizing, color, material, and presentation before releasing a full collection.
Frequently Asked Questions
How much does it cost to turn my artwork into stickers?
Cost depends on size, quantity, material, finish, shape, and any required file preparation. Request pricing based on final dimensions and selected production options rather than comparing headline prices alone.
What is included in a sticker printing service?
A service typically reviews the file, prepares it for production, prints the artwork, cuts the chosen shape, and delivers the finished stickers. Confirm whether proofing, artwork cleanup, custom dielines, and shipping are included.
How do I choose the right sticker service?
Compare material choices, minimum orders, proofing procedures, turnaround times, and examples of similar work. The right provider should clearly explain file requirements and support the durability, dimensions, cut, and quantity your project needs.
