

So you’ve got a pretty picture and now you want to pump it up. Maybe you took an awesome photo of your dog or cat, but it could use some extra love. Or maybe you have an image that’s just not quite as good as it could be – either way, adding a vignette will make your images pop!
This article will talk about two ways to add a vignette to a photo. One using a simple and easy-to-use tool like Colorcinch, and the other using Photoshop, which is a more professional but more complex tool. Let’s jump right in.
What is a Vignette?
Vignettes are the darkening or lightening of the edges of a photo. Vignetting is often used to draw attention to the center of a photo and add drama or mood to it. It can also serve as a frame for your image.
The most common use for vignette effects is in product photography, where you might want your product image to pop out against a black background.
However, photographers also use vignettes on landscapes and portraits because they can give an image more depth by creating contrast between light areas and dark ones.

When to Add Vignette to Your Photos
The effect can look beautiful when done well but can also be overdone or appear amateurish if not done carefully enough. So what does this mean for you? It means that knowing when and why you should use a vignette is critical if you want natural-looking, professional-grade photos
To Draw Attention
A vignette is a darkening of the edges of an image. It can be used to draw the viewer’s eye to the center of an image, or as a creative tool. When you want to draw your eye right into the center of an image and leave no doubt where it should rest, a vignette is one way to do that.
To Add a Sense of Nostalgia or Dreaminess
The vignette is a great way to draw the eye to the center of an image. It can be used to create a dreamy, nostalgic feel by providing contrast between dark corners and bright centers, which makes the viewer want to explore their surroundings.
You could also use it to hide imperfections in your photo if there’s something that stands out too much in one corner or another!
To Improve Composition
Composition is the arrangement of elements within an image. It’s important to have good composition because it affects how people perceive your images, and it can be used to create a sense of depth or focus in the image.
To Save a Bad Crop
Say you’ve taken a photo and the crop is bad. The edges are uneven, or maybe it’s just not what you intended in the first place. In this case, a vignette can help save your image by hiding some of that bad cropping.

Simpler Way to Add Vignette to Your Photos Using Colorcinch
Let’s face it. When you’re a beginner, Photoshop can be difficult to use. This is because there are so many tools and features that it’s hard to know where to start.
Having said that, the last thing beginners need is complicated, non-intuitive software like Photoshop.
There is an easier way to get the look of a vignette. Let’s talk about how to make this effect with Colorcinch. Let’s get started.
Step 1: Open Colorcinch and Upload your image.

Step 2: Navigate to Edit — Vignette.
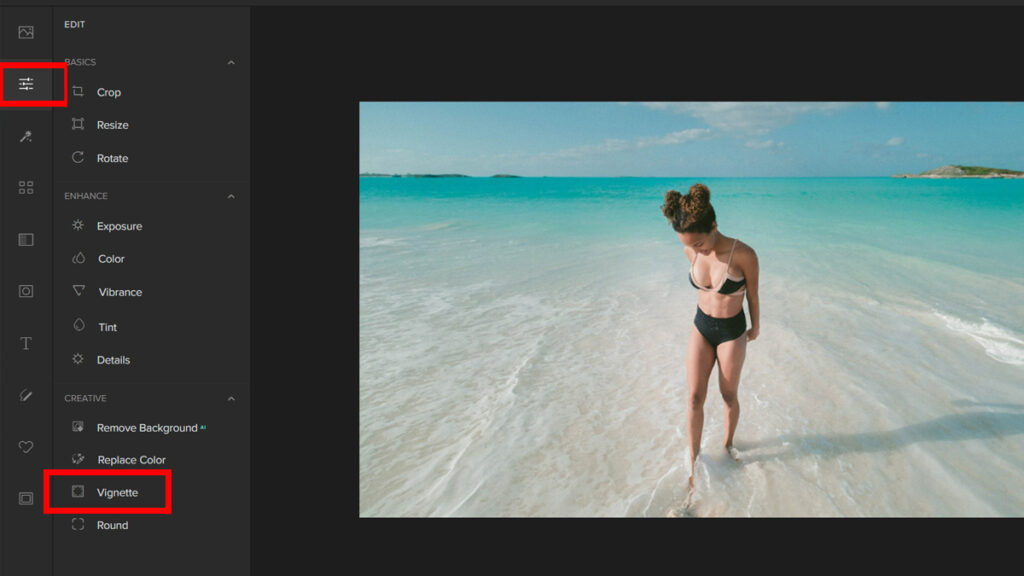
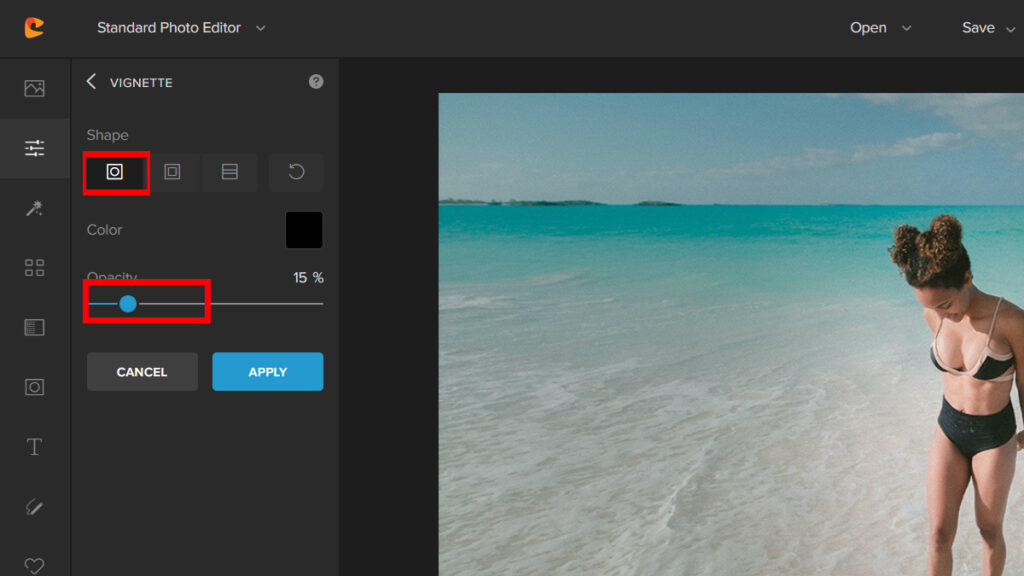
Step 3: To have the classic vignette effect, make sure to pick the Circular Shape. Adjust the Opacity to around 15% to 30% to get the right amount of effect.
It’s that easy! With just a few clicks you’ll be able to get that vignette look.
Here’s the before and after:


How to Add a Vignette in Photoshop
Now that we know how easy it is to get the vignette effect with Colorcinh, we’ll talk about how to do it in Photoshop. It’s much harder to use, especially for beginners, because it’s much more complicated, nevertheless, it gets the job done.
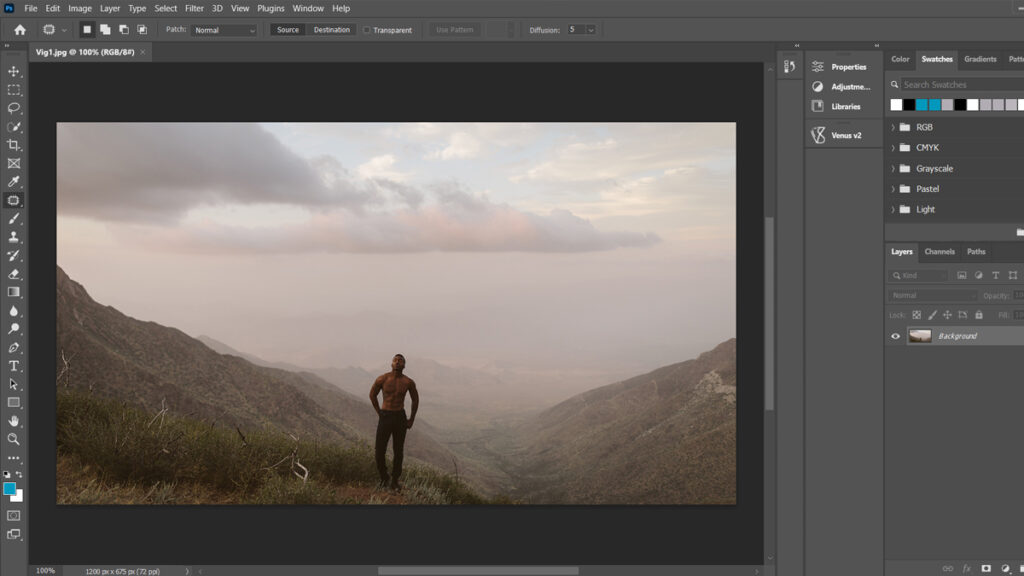
Step 1: Open the photo you want to use for the vignette effect.
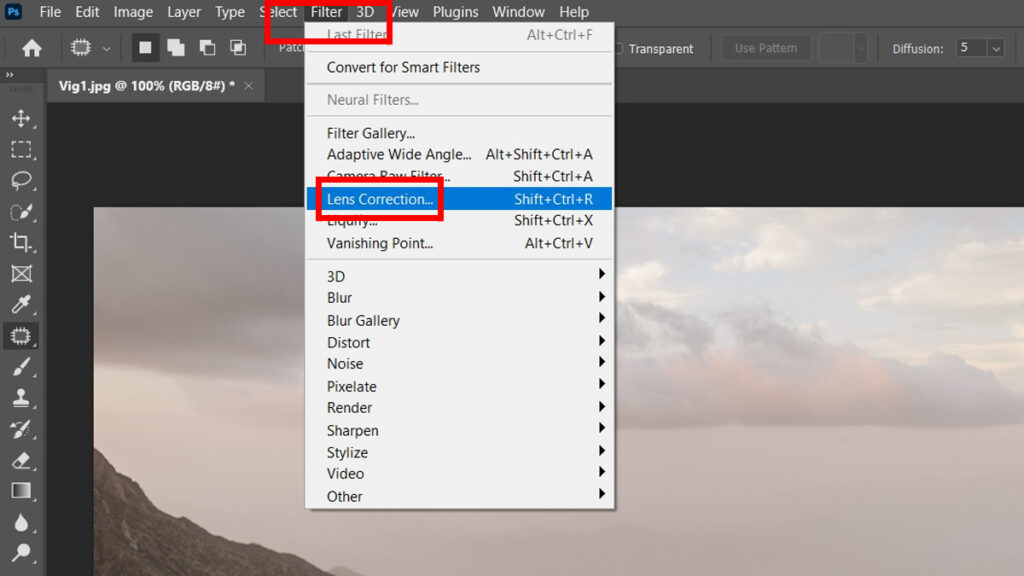
Step 2: Click on Filter Menu and choose Lens Correction.
Step 3: On the Lens Correction panel click on the Custom Tab.
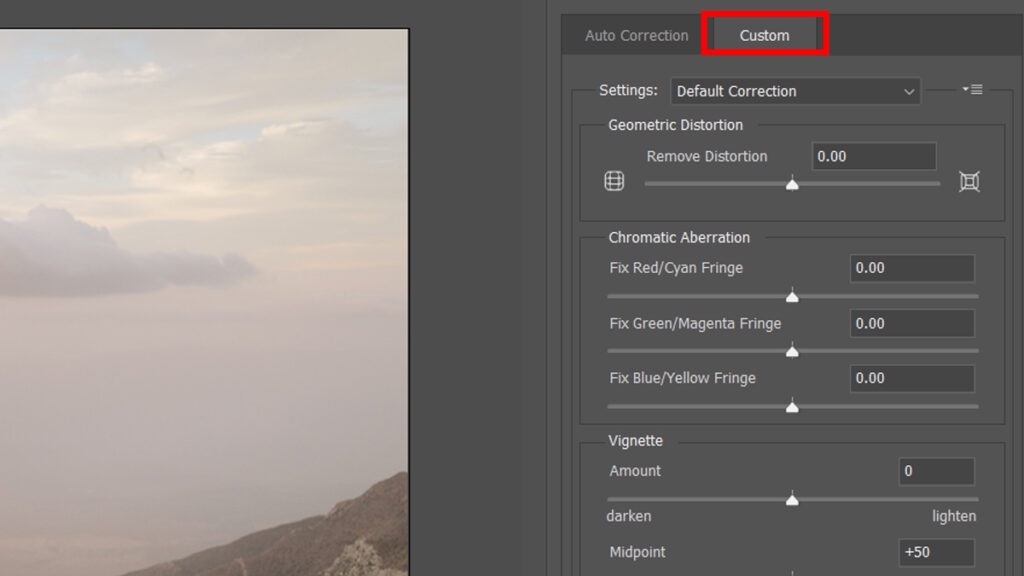
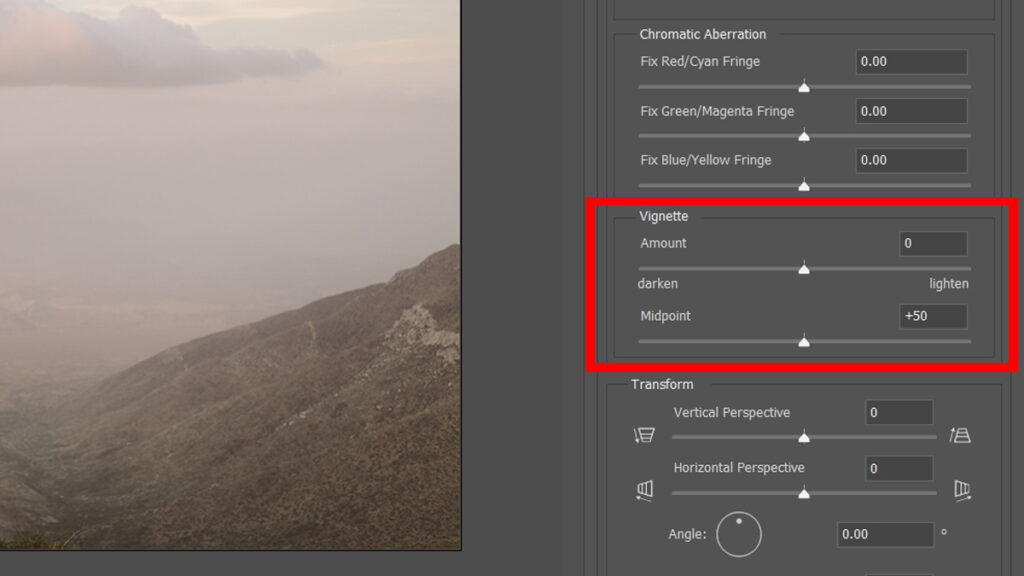
Step 4: You’ll see two sliders for controlling the Vignette effect. One to set the Amount and the other to set the Midpoint. Adjust the Amount to around -50 to get the vignette effect. However, you can always play around to get your desired look.


Conclusion
Whether you’re adding a vignette to enhance your photos or just trying to improve your editing skills, these quick tips will help you get the job done. If you have any questions about any of these techniques, feel free to leave us a comment below!