
Have you ever seen a picture that looks like it belongs in the past? It’s not just due to the subject matter, but also because of the overall color and tone of the picture. In this article, we’ll explain what sepia is and how you can use it in your own photos.
What is a Sepia Effect in Photos?
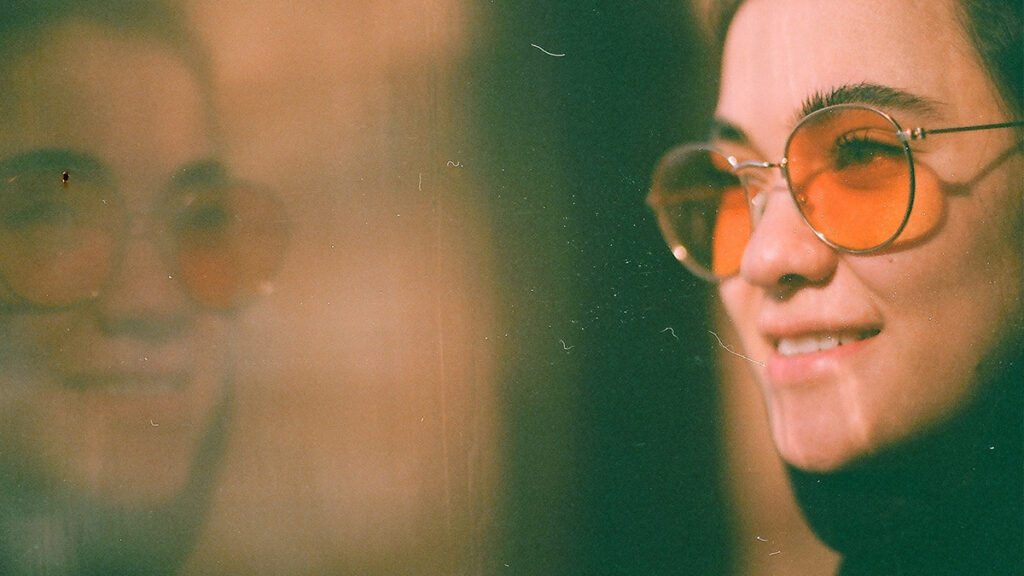
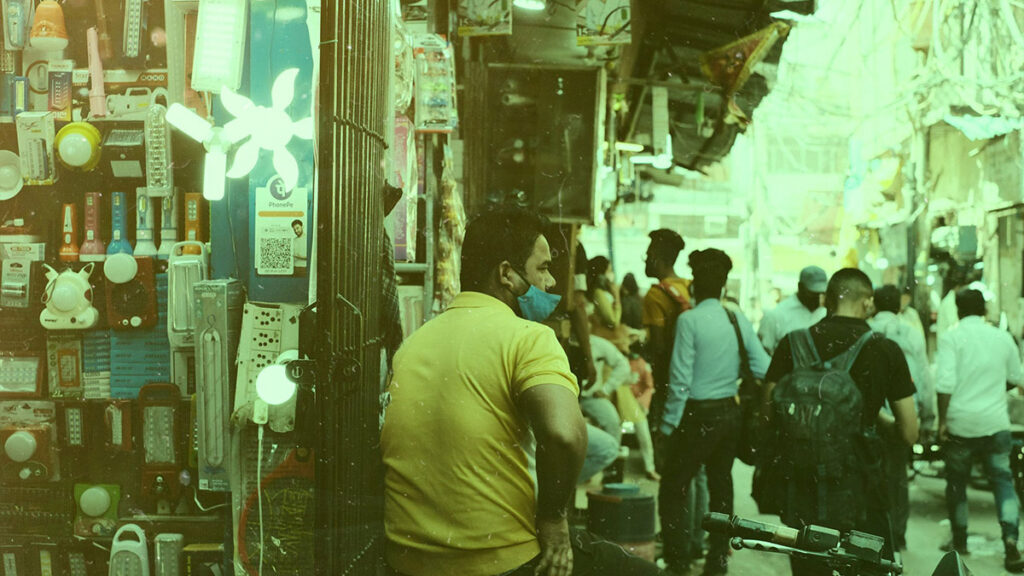
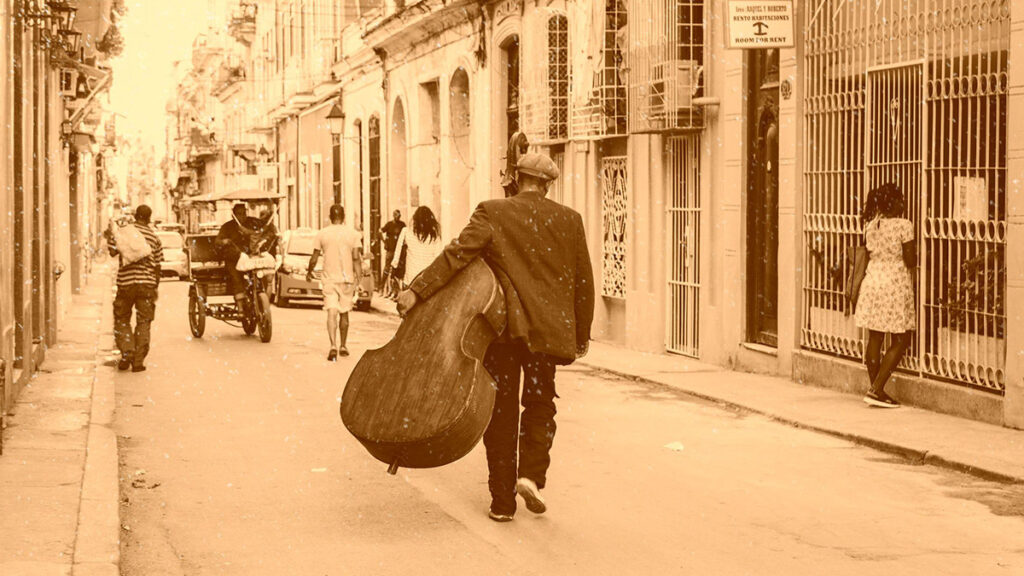
The sepia effect is a cool color tone that gives photos an old-fashioned look. It is characterized by a brown-yellow color and is usually used to give people and places an antique appearance.
The effect can be achieved when you use photo editing apps like Photoshop or Apple Photos, but you can also add it to your photos without using any special tools if you have the right app.
History of Sepia
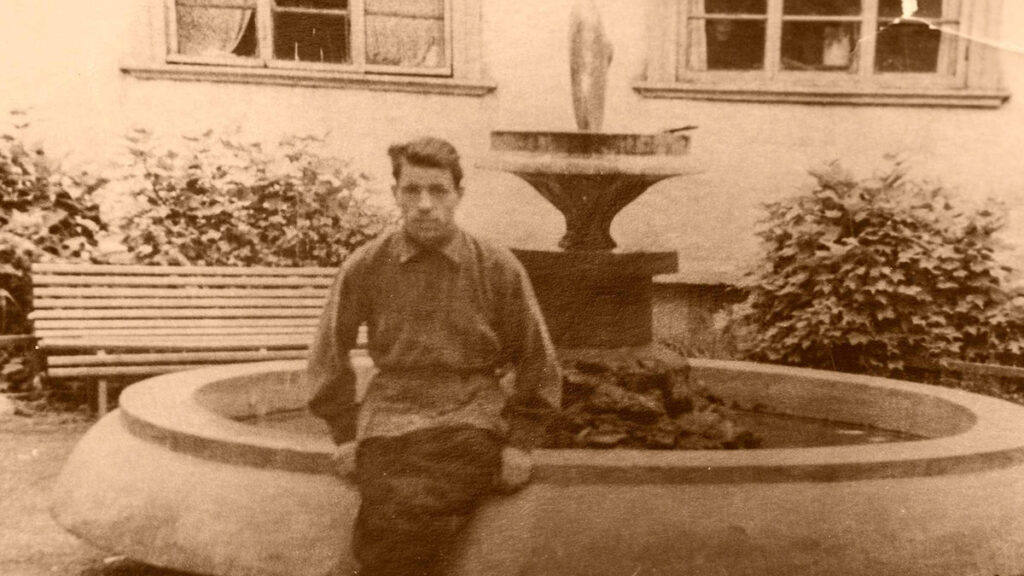
Sepia is one of the oldest forms of color photography. Sepia is a natural pigment that comes from the ink sacs of certain types of sea snails. It was used for thousands of years in ancient artwork, particularly in China and Japan, where it was called “sepi”, from which we get our word “sepia”.
Sepia as a film type has been around since shortly after 1900 when it was first used by Kodak under the name Verichrome. Today, you can find sepia tones on most black-and-white films that are available for purchase.
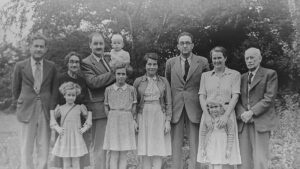
Sepia tones are great for creating moody images with a vintage feel to them, especially portraits but also landscapes and cityscapes too!

The Modern Sepia Effect
The modern version of sepia is much more subtle than its predecessor. The reason is that our eyes have become accustomed to seeing images on screen that is bright and colorful. In order to make your image stand out, you will need to apply a color treatment that is different from what most people are using.
The easiest way to do this is by using filters in Photoshop or Lightroom. You can also adjust the settings directly inside your camera’s menu if it has one (and many do).
When to Use Sepia?
If you have a black-and-white photo that you’d like to turn into a grainy vintage-style image, then Sepia effect is perfect for you. The following are some examples where Sepia effect could be used:
- When you want to create a vintage feel
- To add warmth to your photos
- To add a vintage feel
- To add a more dramatic effect to your photos
The best part about using this effect is that it’s easy to apply. All you need is an editor that can do the job for you.
3 Ways to Achieve the Sepia Effect Using Colorcinch
Now that we know what sepia is and when to use it, let’s move on to actually applying it to your photos. We will be using Colorcinch for this tutorial.
1. By Using Filters
Step 1: Open Colorcinch and Upload your image.

Step 2: Navigate to Filters — Vintage.

Step 3: Choose a Vintage filter and adjust the Slider to change its effect.
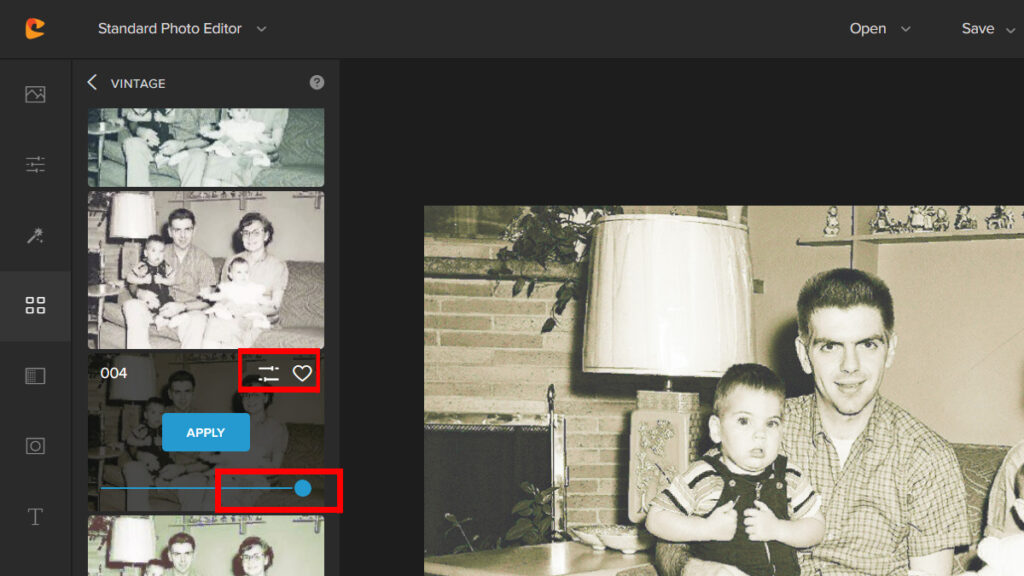
Step 4: If you want more control over the filter you chose, you can use the “Advanced” option. Just click on Settings and try moving the Sliders around. Once done, hit Apply.

Here is the before and after:


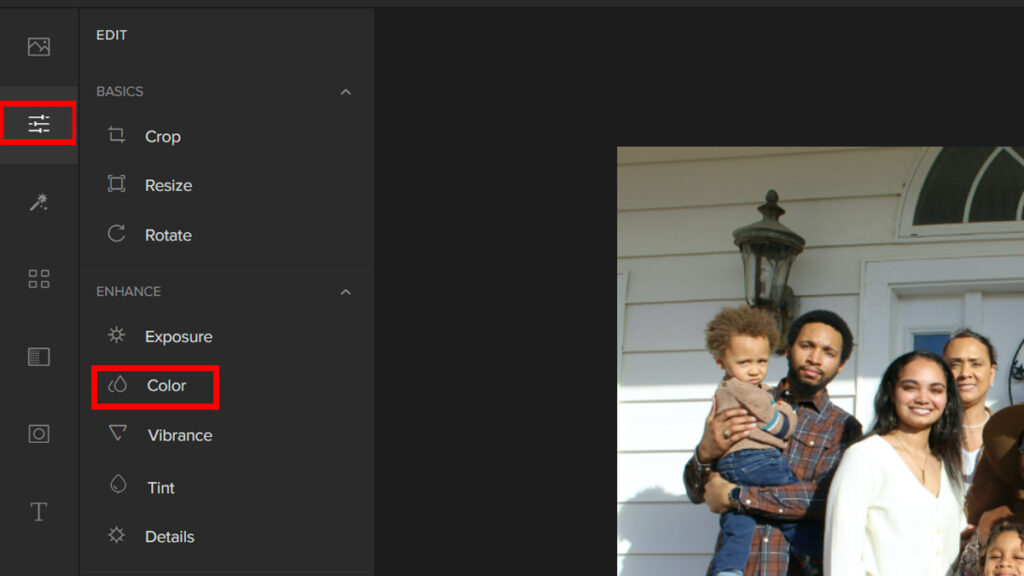
2. By Manually Adjusting the Color Settings
Step 1: Start by opening Colorcinch. Upload your image.
Step 2: Click on Edit — Color.
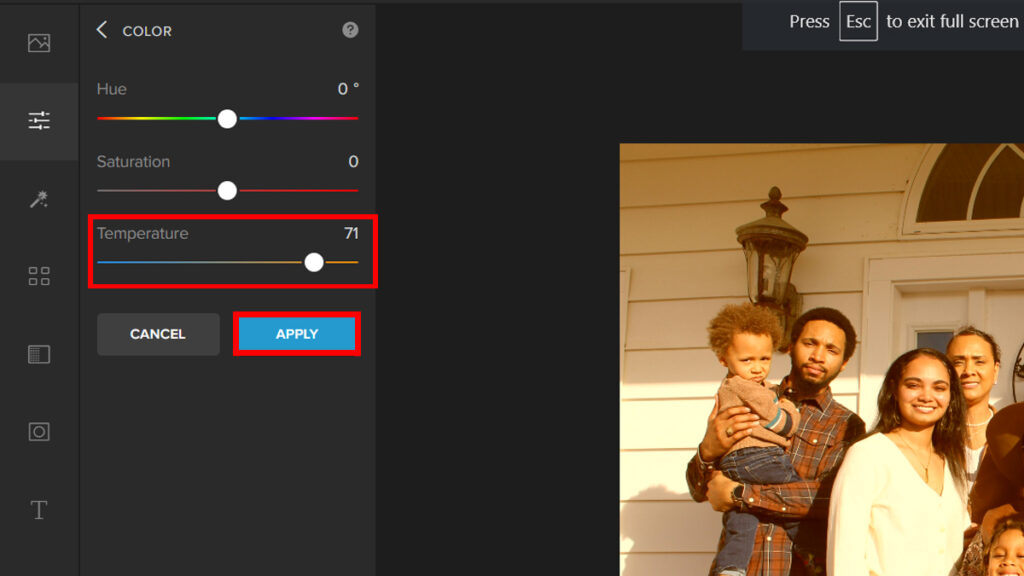
Step 3: Adjust the Temperature Slider favoring the warmer tone to achieve the sepia look. Then click on Apply.
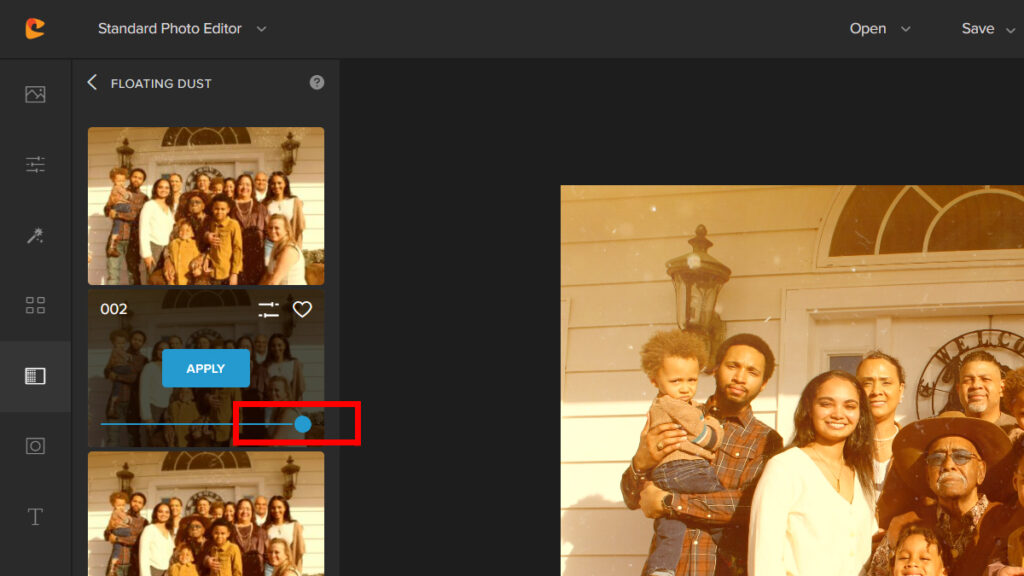
Step 4: To complete the whole vintage look, we can add texture. Navigate to Overlay — Floating Dust.
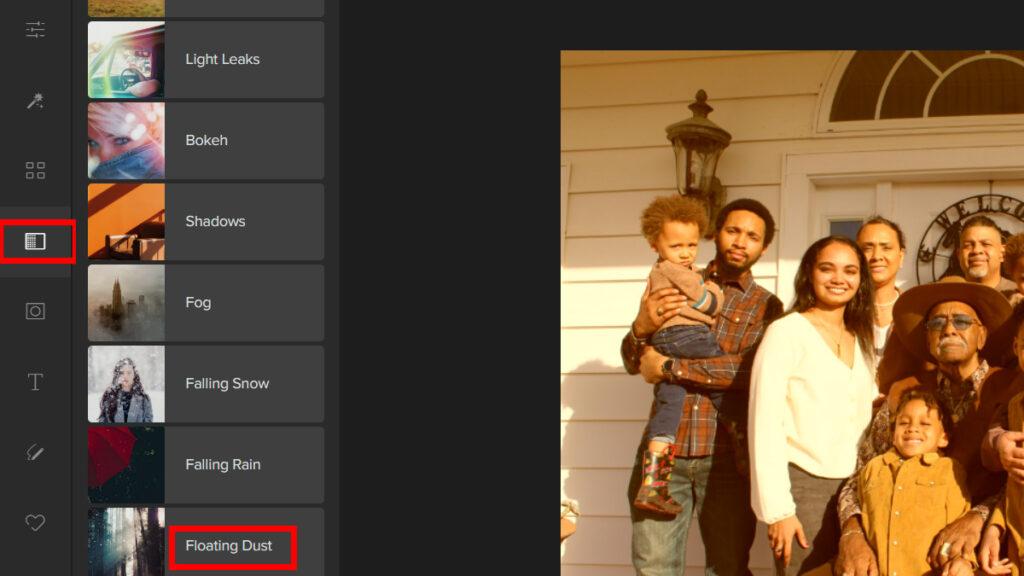
Step 5: Choose any Floating Dust Filter and move the Slider around to change the intensity.
Let’s take a look at the result:


3. By Adjusting the Tint
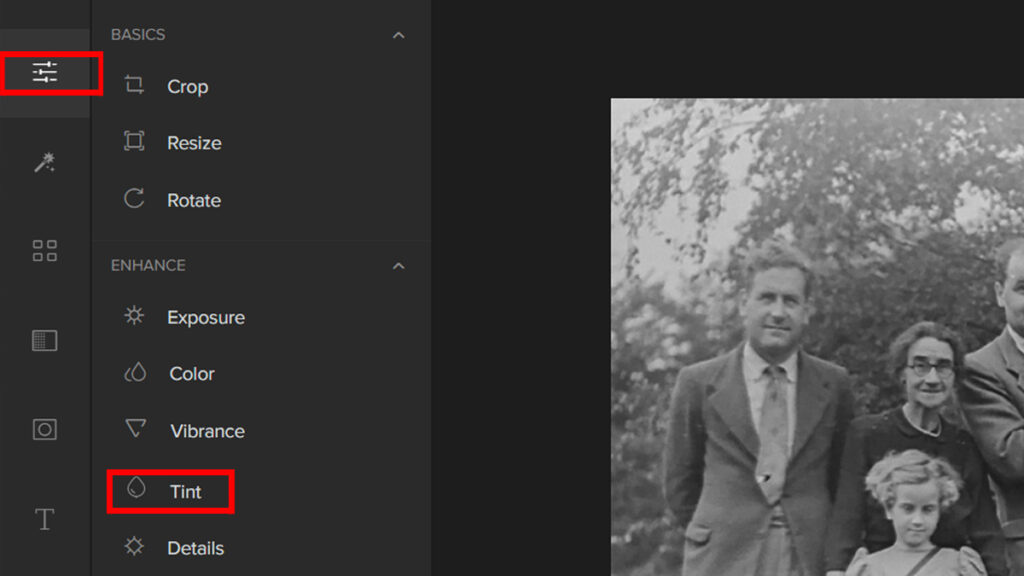
Step 1: Like in the previous method, open Colorcinch. Upload the image you want to edit.
Step 2: Go to Edit and click on Tint.
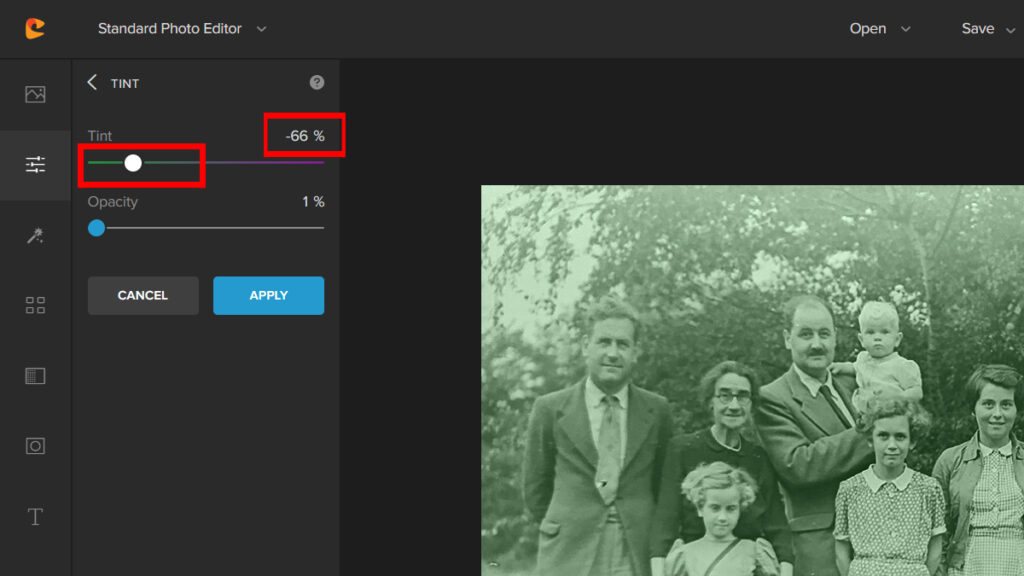
Step 3: Adjust the Tint Slider and bring the value to around 60-90%.
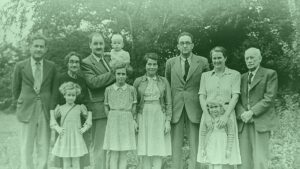
It’s that easy! Now let’s take a look at the final result:
Conclusion
I hope this article has helped you understand the history and use of Sepia color in photos. Now, you can try different effects with your photos using this color. You can also share your experience of doing this with us in the comments section below!