• AI Tools
    • Face Restoration
    • Inpainting & Removal
    • Background Removal
    • Image Upscale
    • Image De-oldify
    • Face to Sticker
    • Prompt Generation
    • Photo to Anime
  • Tools
    • Column 1
      • Essential
        • Photo Editor
        • Background Remover
        • Image Cropper
        • Image Resizer
        • Image Flipper
        • Image Brightener
        • Image Darkener
        • Text Editor
        • Color Replacer
        • Photo Blur
    • Column 2
      • Filters & Effects
        • Photo Cartoonizer
        • NFT Maker
        • Photo to Painting
        • Photo to Drawing
        • Photo to Sketch
        • Image Posterizer
        • Color Inverter
        • Sepia Converter
        • Grayscale Images
        • Photo Filters
        • Photo Frames
        • FX Cartoonizer
    • Column 6
      • Overlays & Masks
        • Image Masking
        • Mystical Fog
        • Falling Rain
        • Falling Snow
        • Add Glitch
        • Add Bokeh
        • Add Light Leaks
        • Image Blender
    • Column 3
      • Social Media
        • Profile Picture Maker
        • Avatar Maker
        • Meme Generator
        • Watermark Photos
        • Twitch Banner Maker
        • Photo Combiner
    • Column 4
      • Converters
        • PNG to JPG
        • JPG to PDF
        • PNG Converter
        • PNG Maker
        • Image Compressor
    • Column 5
      • Creative
        • Image Pixelator
        • Color Splash
        • Draw on Pictures
        • Background Changer
        • Hair Color Changer
        • Color Picker
        • Circle Cropper
  • Features
  • Pricing
  • Learn
  • Support
  • More
    • About us
    • Affiliate program
    • Contact us
© All rights reserved.
Photo to Cartoon – Cartoonize Yourself & Create Avatar Characters for Free Photo to Cartoon – Cartoonize Yourself & Create Avatar Characters for Free
  • AI Tools new
    • Face Restoration
    • Inpainting & Removal
    • Background Removal
    • Image Upscale
    • Image De-oldify
    • Face to Sticker
    • Prompt Generation
    • Photo to Anime
  • Tools
    • Column 1
      • Essential
        • Photo Editor
        • Background Remover
        • Image Cropper
        • Image Resizer
        • Image Flipper
        • Image Brightener
        • Image Darkener
        • Text Editor
        • Color Replacer
        • Photo Blur
    • Column 2
      • Filters & Effects
        • Photo Cartoonizer
        • NFT Maker
        • Photo to Painting
        • Photo to Drawing
        • Photo to Sketch
        • Image Posterizer
        • Color Inverter
        • Sepia Converter
        • Grayscale Images
        • Photo Filters
        • Photo Frames
        • FX Cartoonizer
    • Column 6
      • Overlays & Masks
        • Image Masking
        • Mystical Fog
        • Falling Rain
        • Falling Snow
        • Add Glitch
        • Add Bokeh
        • Add Light Leaks
        • Image Blender
    • Column 3
      • Social Media
        • Profile Picture Maker
        • Avatar Maker
        • Meme Generator
        • Watermark Photos
        • Twitch Banner Maker
        • Photo Combiner
    • Column 4
      • Converters
        • PNG to JPG
        • JPG to PDF
        • PNG Converter
        • PNG Maker
        • Image Compressor
    • Column 5
      • Creative
        • Image Pixelator
        • Color Splash
        • Draw on Pictures
        • Background Changer
        • Hair Color Changer
        • Color Picker
        • Circle Cropper
  • Features
  • Pricing
  • Learn
Get started
Sign in

Sign in

Photo to Cartoon – Cartoonize Yourself & Create Avatar Characters for Free

How to Easily Add Borders and Frames to Photos

Home / Learn / Blog / How to Easily Add Borders and Frames to Photos
By Editorial inBlog, Tutorials

In the digital world, there are multiple ways to make a photo stand out. Borders and frames are components of creating a memorable image that captures attention. This will also make them look cohesive, sophisticated, and professional. It also helps with framing and balance in photos—especially when it comes to landscape shots.

And now, be ready to spice up your photos because, in this article, we will show you quick and simple steps on how to easily add borders and frames to your photos using Colorcinch’s frame effects.

Add Borders and Frames Using Colorcinch

Colorcinch gifted us with cool borders and frames to use. We will show you how to use some of them.

The Classic Borders

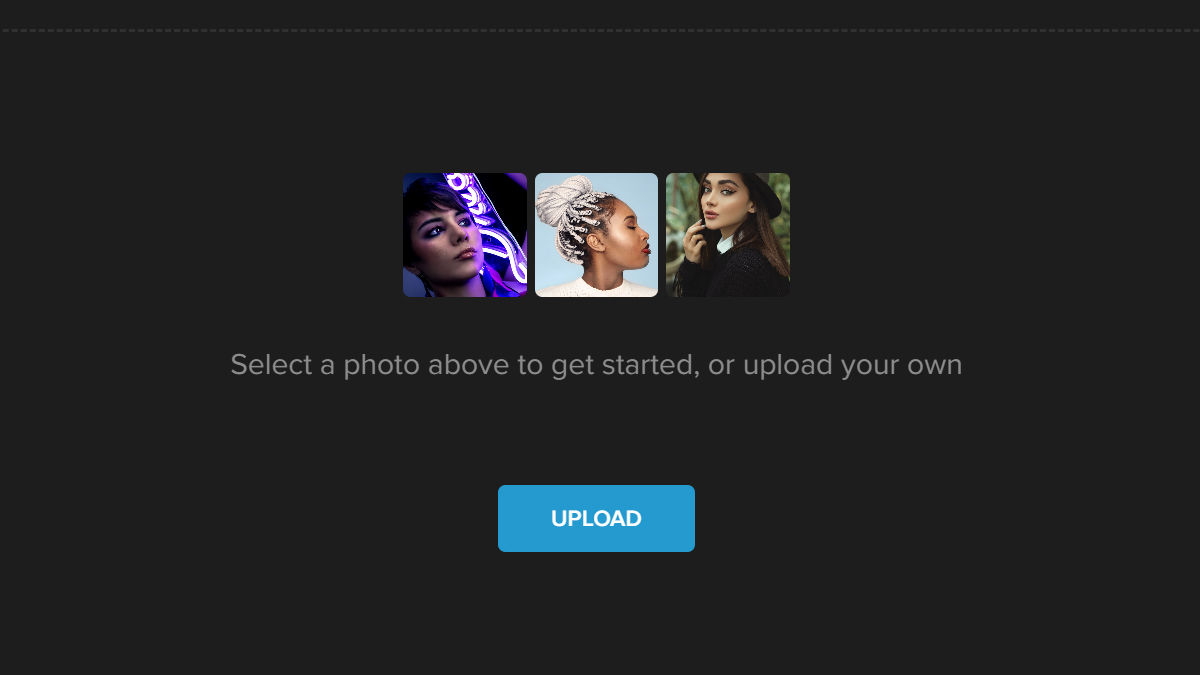
Step 1: Open Colorcinch and Upload an image.

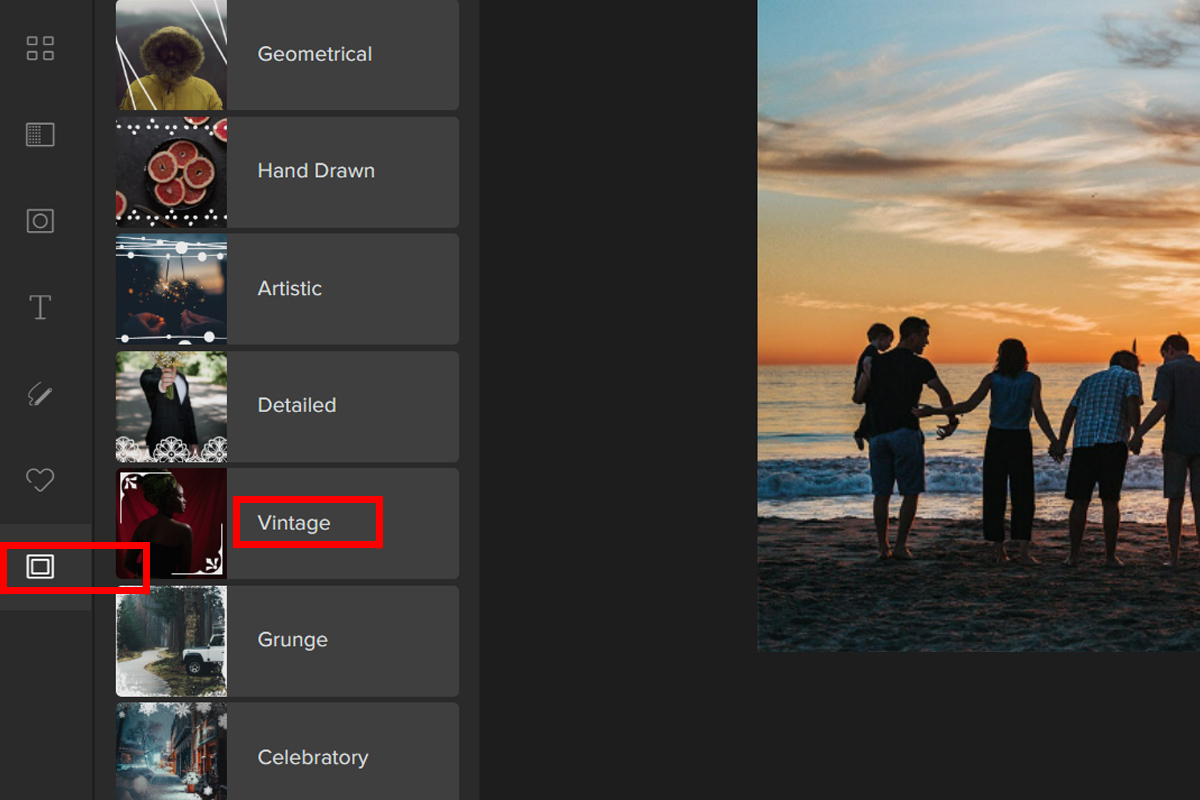
Step 2: On the left side of the panel, click Frames to open a new tab that contains a variety of frames. Choose Vintage.

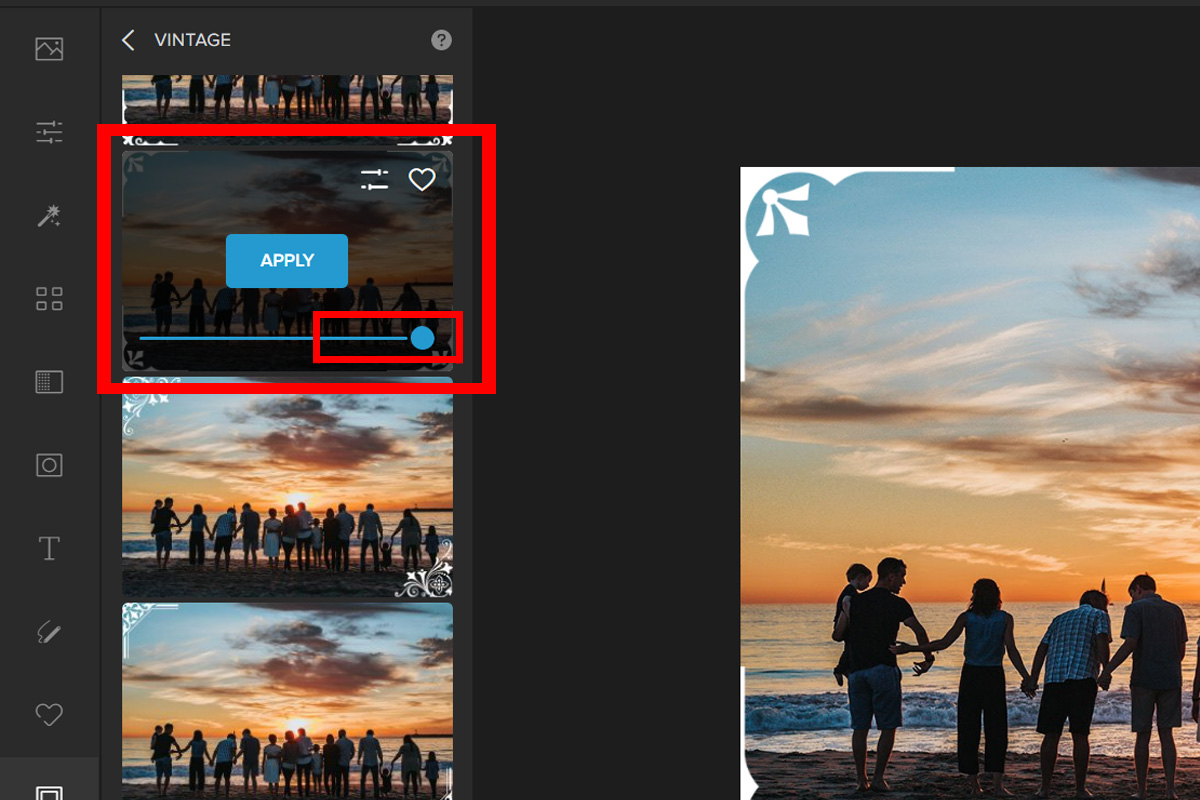
Step 3: Select a frame you like to go with your chosen image. You can adjust the opacity of the frame by dragging the Slider. Then, once you’ve found a setting that looks good, click Apply.

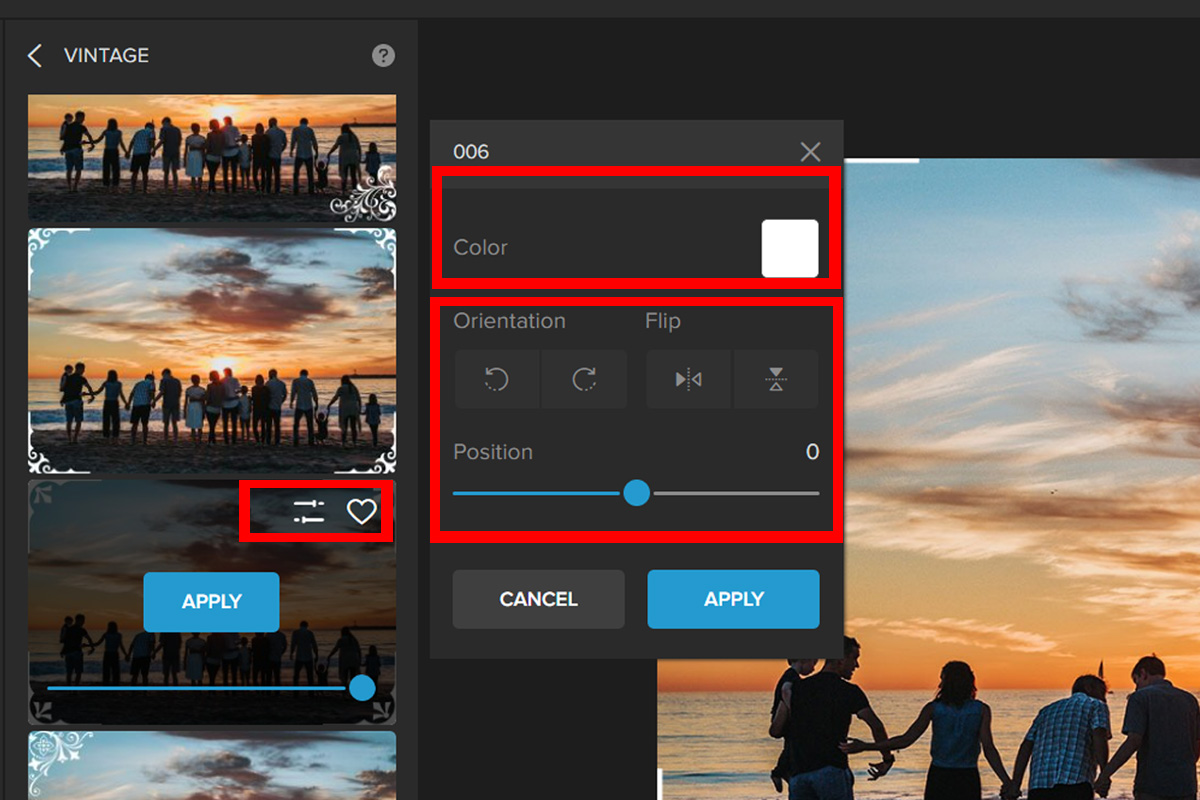
Step 4: Click on Settings to see advanced options. On the Settings tab, you can change the frame’s color. Just select the color panel and pick a color. You also have the option to Flip and Rotate the frame to your liking.

Isn’t that super easy? Now, let’s take a look at the output:

qsdweqsd
F1

Artistic Borders

Step 1: Navigate to Frames — Artistic.

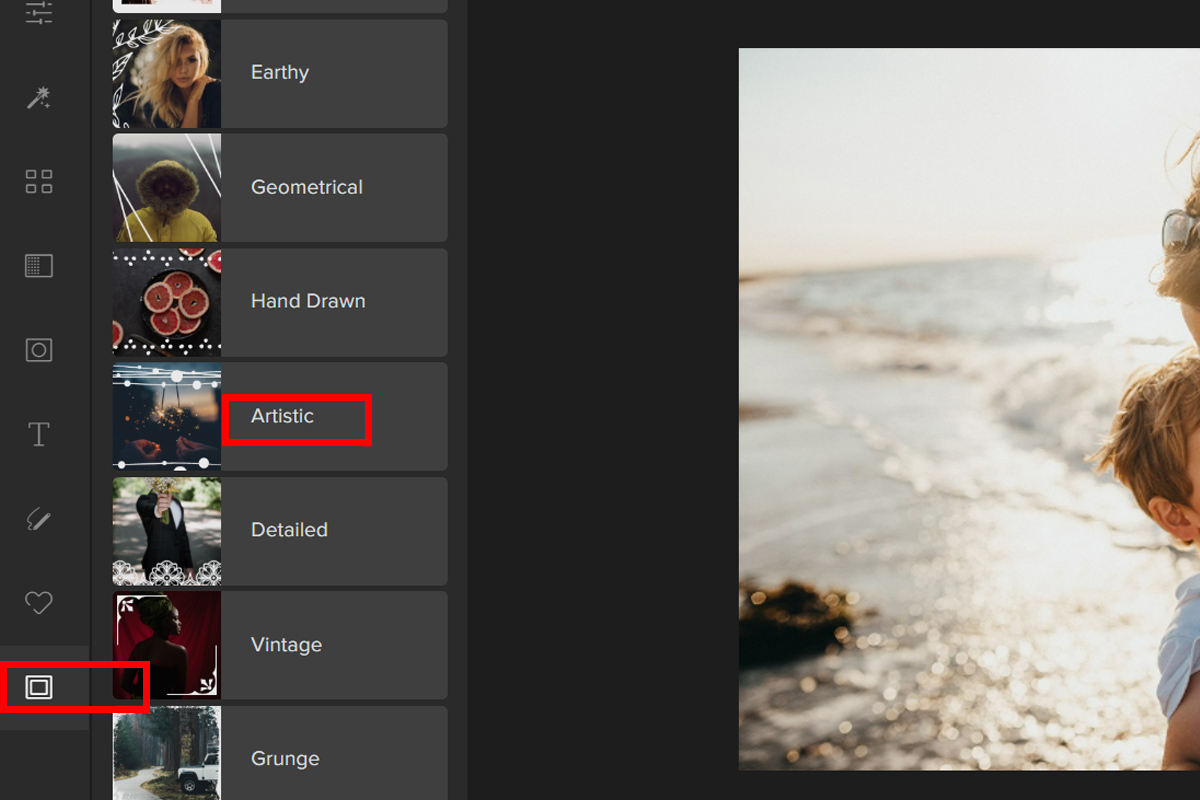
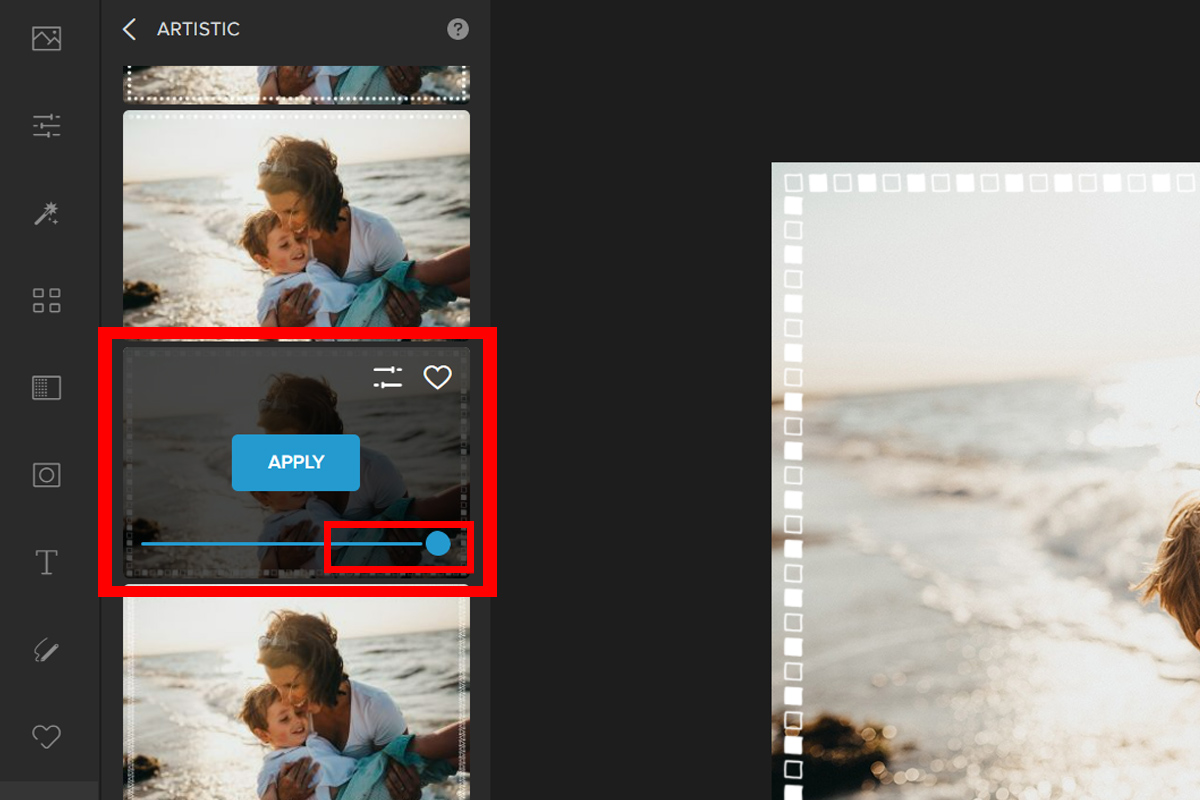
Step 2: Choose a frame that complements your photo. The frame’s opacity can be adjusted by using the Slider.

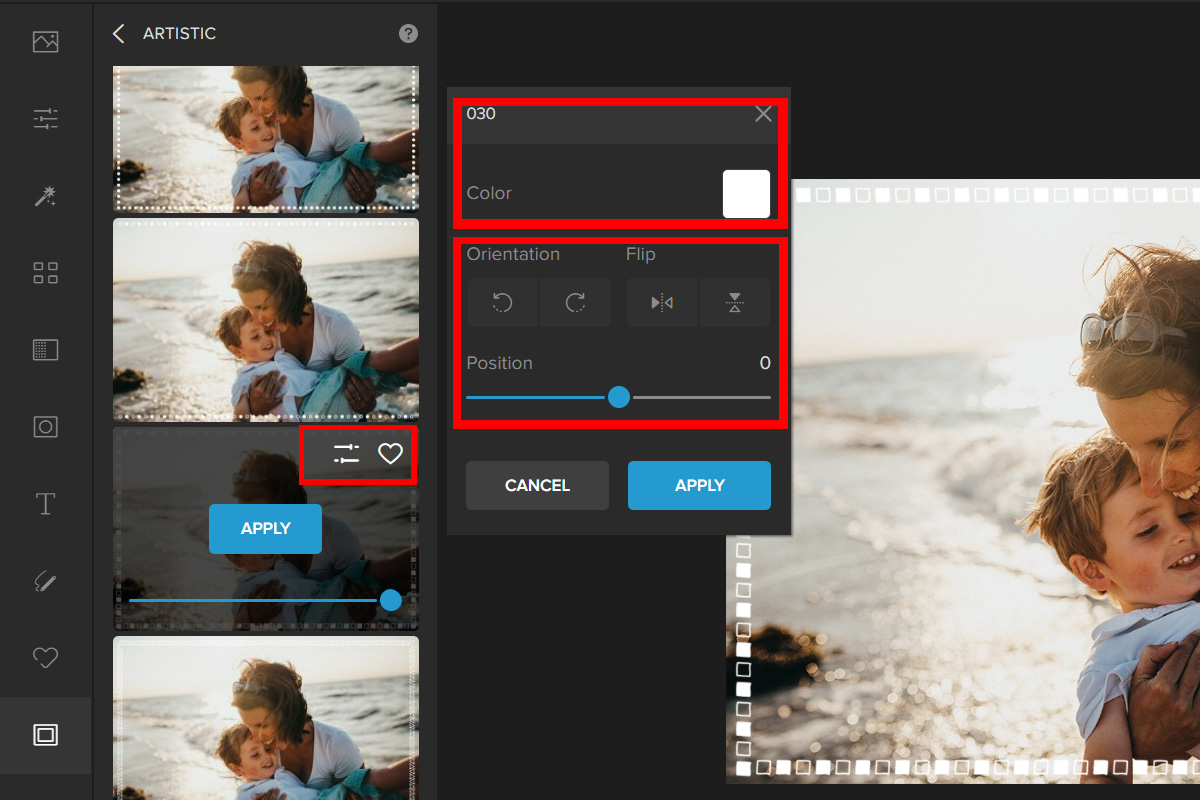
Step 4: Click Settings for further options. On Settings, adjust the frame color. Pick a color in the color panel. Flip and Rotate the frame as desired.

Let’s have a look at the result:

qsdweqsddfs
F4

Here are some other examples of borders and frames you can use in Colorcinch:

asr
F7
asrewr
F8

Conclusion

A border can give a photo a uniform and appealing look. To complete photographs, add frames and borders. Following these simple steps will help you bring attention to your image’s key elements. If your images are boring, try these simple actions today!

Today you learned how to frame and border photographs. If this article helped you, please like, share, and comment with any queries. We look forward to seeing your work with this fun and fascinating edit. Thanks!

Festive BordersFramesphoto borderpicture framevintage photo frame
137 Posts
Editorial
  • How to Magically Replace Any Color in Your Image
    Previous PostHow to Magically Replace Any Color in Your Image
  • Next PostHow to Quickly Create a Meme in Colorcinch
    How to Magically Replace Any Color in Your Image

Related Posts

The Principles & Elements of Design – The ULTIMATE Guide
Blog Creative Graphic design

The Principles & Elements of Design – The ULTIMATE Guide

Essential Design Tips for Non-Designers
Blog Creative

Essential Design Tips for Non-Designers

How to Innovate Graphic Design for Digital Advertising in 2024
Blog Creative

How to Innovate Graphic Design for Digital Advertising in 2024

Mastering Color Harmony for E-commerce Photography
Blog Creative

Mastering Color Harmony for E-commerce Photography

colorcinch-dark

All Rights Reserved
© Colorcinch

Product

  • Home
  • Get started
  • Features
  • Pricing
More
  • Sitemap

Company

  • About us
  • Leadership
  • Careers
  • Affiliate program
  • Contact us

Information

  • Getting started
  • Online Cartoonizer
  • FX Cartoonizer
  • FAQ
  • Blog
  • Support

Subscribe to our newsletter:

© Colorcinch. All Rights Reserved.

Terms of Service Privacy Policy Disclaimers

colorcinch-dark
English
  • English
  • French
  • Spanish
  • Indonesian
  • Turkish
  • Arabic
  • German
  • Italian
  • Portuguese
  • Russian

Terms of Service Privacy Policy Disclaimers

  • Home
  • Get started
  • Features
  • Pricing
Copy

Forgot password