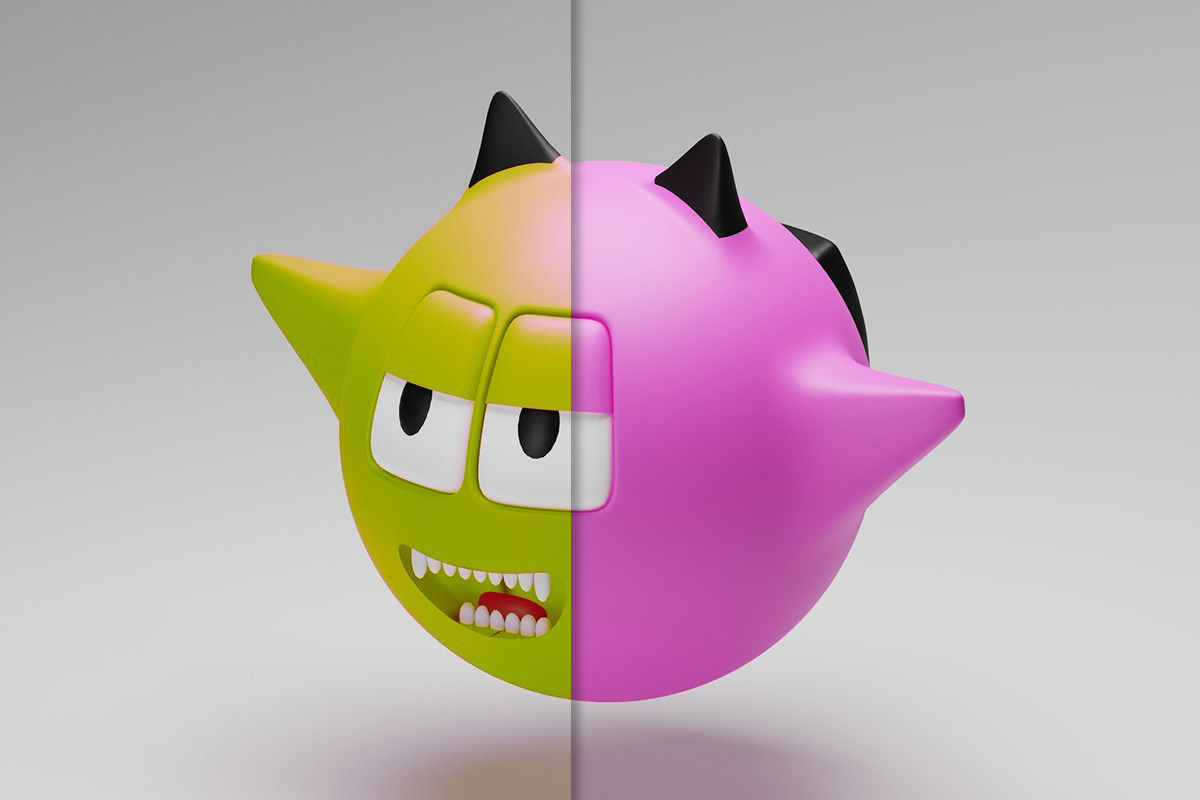
Let’s say you have a digital image, and it does not look exactly as you want. Maybe, the color of one or two objects needs to be changed? The easiest way to correct this is by using the color replacer tool in Colorcinch.
Color is an important element of design in photography. It is often used to improve the composition of an image while inducing emotion from its viewers.
In this article, we will help you maximize this tool especially when you want to create a realistic color that will bring your object to life. Let’s see how it works.
Easy Way to Replace Color in Colorcinch
Step 1: Open Colorcinch and Upload an image.

Step 2: Navigate to Edit — Replace Color.

Step 3: To get the color you want, click on the tool that looks like an eye dropper and then click anywhere on the canvas to sample a color and make it the From color. The same goes for the To color.
Other ways to alter the colors:
- The drop-down menu or hexadecimal code can be used to choose a color.
- You may also alter its Color Range to replace colors that match the pixel you chose.

Step 4: In removing colors in some areas, select the Erase tab and change the settings for the Brush, and then paint over the areas to redo or restore the original color.


Conclusion
This technique can be a great time-saver! In three quick and easy steps, you can now change the colors in your image in a snap. You don’t even need to manually drag your selected areas in changing their color.
You can also use the Color Replacer Tool if you want to change the color of a background. Colorcinch gives you a smooth and concise method of making your image pop with various colors.
We hope you found this review helpful, and if anyone has any questions, please let us know in the comments section down below! Happy editing!


