
A very common beginner practice that most of us follow is to always have the subject facing the light source. But, isn’t that the ultimate thing to do, you might ask. Otherwise, how else would you light your subject? Well, let’s learn about backlit photography.
Practically speaking, lighting a subject from the front may sound like a good thing to do. But when you look at it from an artist’s perspective, the results appear pretty boring. Things however get a little more interesting when subjects are backlit.
What is Backlighting in Photography?
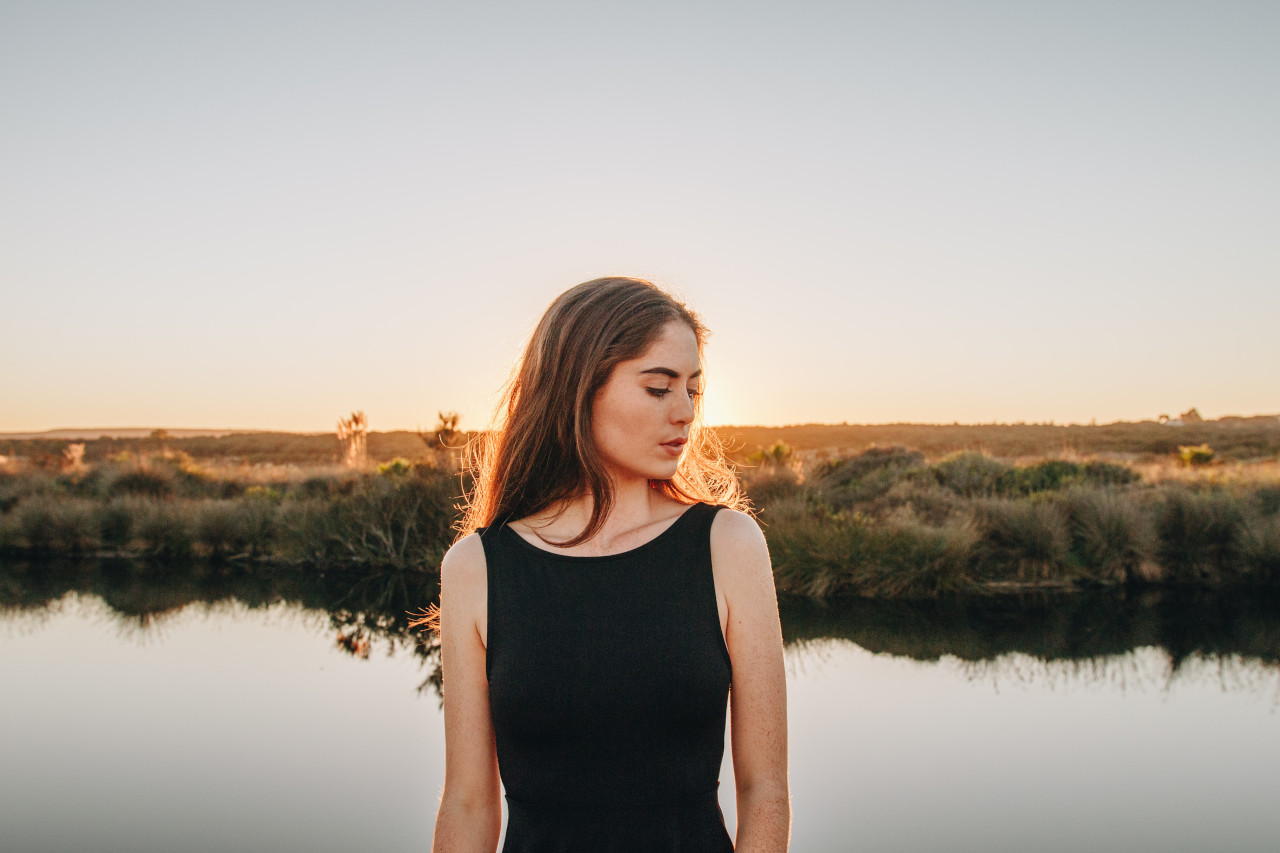
Backlighting in photography is exactly what it sounds like; illuminating a subject from the back. We can do this simply by placing the light source, whether natural or artificial, behind the subject.
If you’re new to photography there might be many questions in your mind right now:
- How does backlighting help light the subject properly?
- Wouldn’t a backlit subject just appear dark?
- Why would anyone want to place the light behind a subject and shoot from the front?
Frankly speaking, all of these questions are valid. We’ll try and answer all of these questions in this article.
Benefits of Shooting Backlit Photos
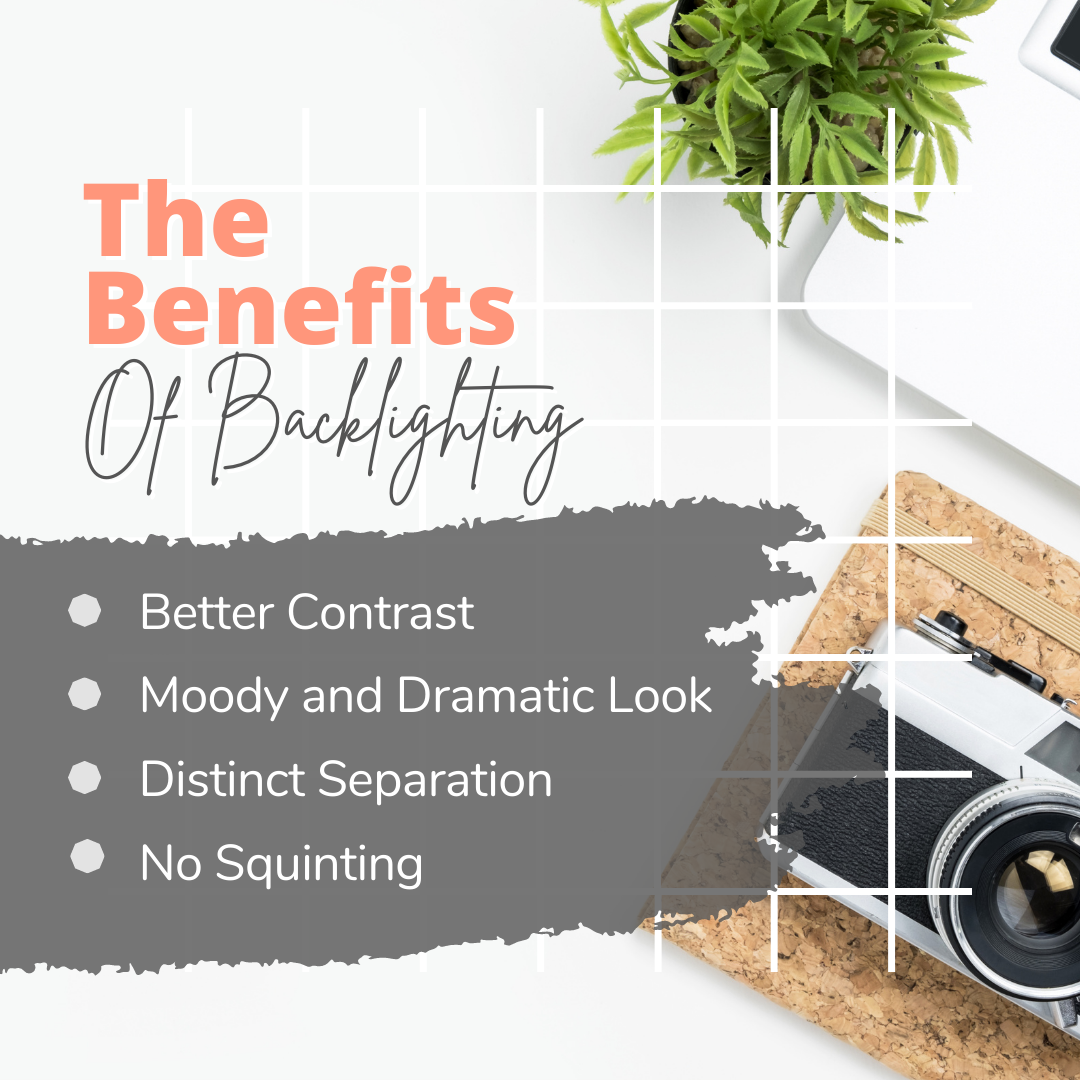
Backlit photos don’t just look different. In fact, by backlighting your subject, you can add much more value to your images.
- The bright background and a darker foreground creates higher contrast
- Portraits with lighting from behind appear moody and very dramatic
- There’s a fine separation between the subject and the background thanks to the lit edges
- Your subjects don’t end up squinting like they do when the light source is in front of them
6 Simple Techniques for Backlit Photography
Taking backlit photos is definitely a challenging task. Having the light source behind the subject in no way helps to illuminate your subject properly, but it really helps in taking your photography to the next level.
There are a handful of things that you should take care of and you’ll be taking photos with brilliant backlighting in no time.
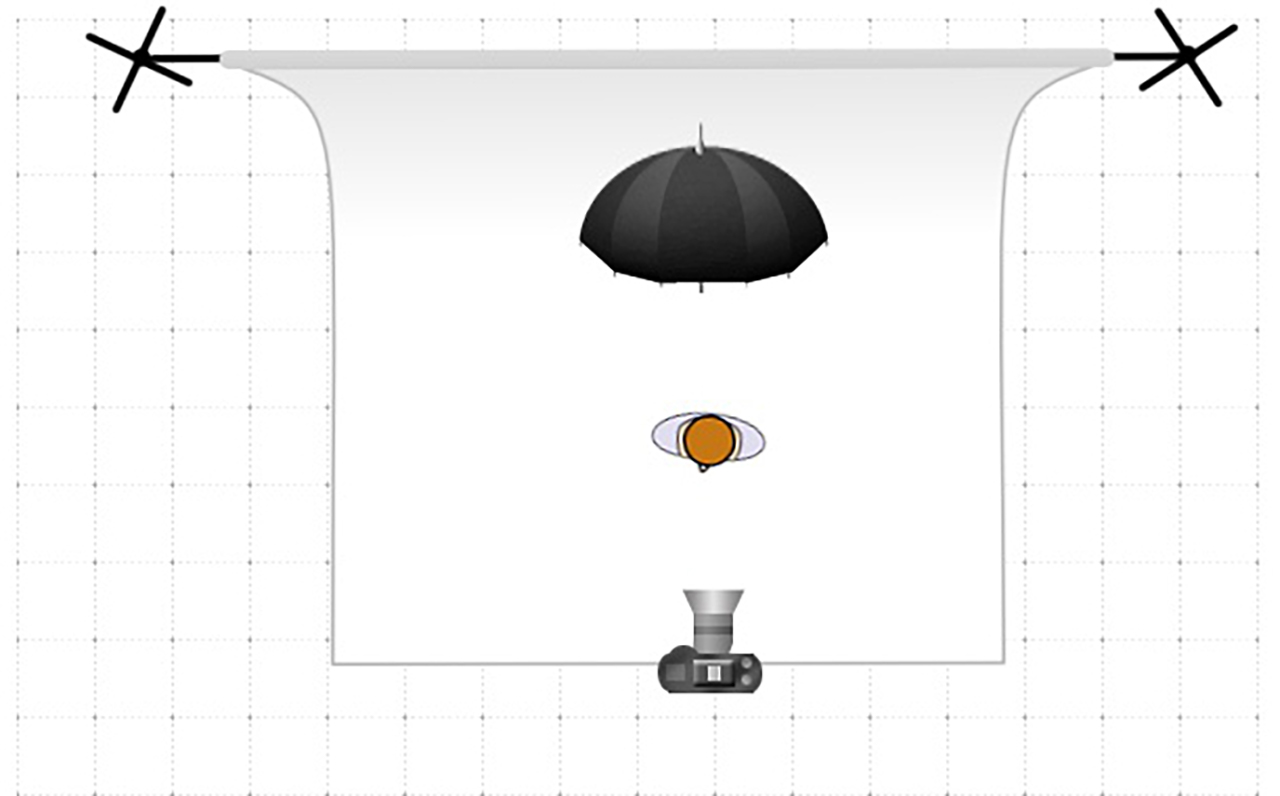
1. Use a Reflector
Reflectors are very budget-friendly and portable equipment that can make a huge positive impact on your photography. They simply work by bouncing the light back to the subject and illuminating them.
This way, even though the light source is behind the subject, the front of the subject won’t be totally dark. Furthermore, you can adjust the amount of light being reflected on the subject by moving closer or farther away, or by tilting the reflector in a different direction.
Reflectors come in handy whether you prefer to work in a studio or shoot outdoors and work great for backlit portraits. However, you will want to have somebody with you to help you move the reflector around while you compose your shot.
2. Use Fill Flash
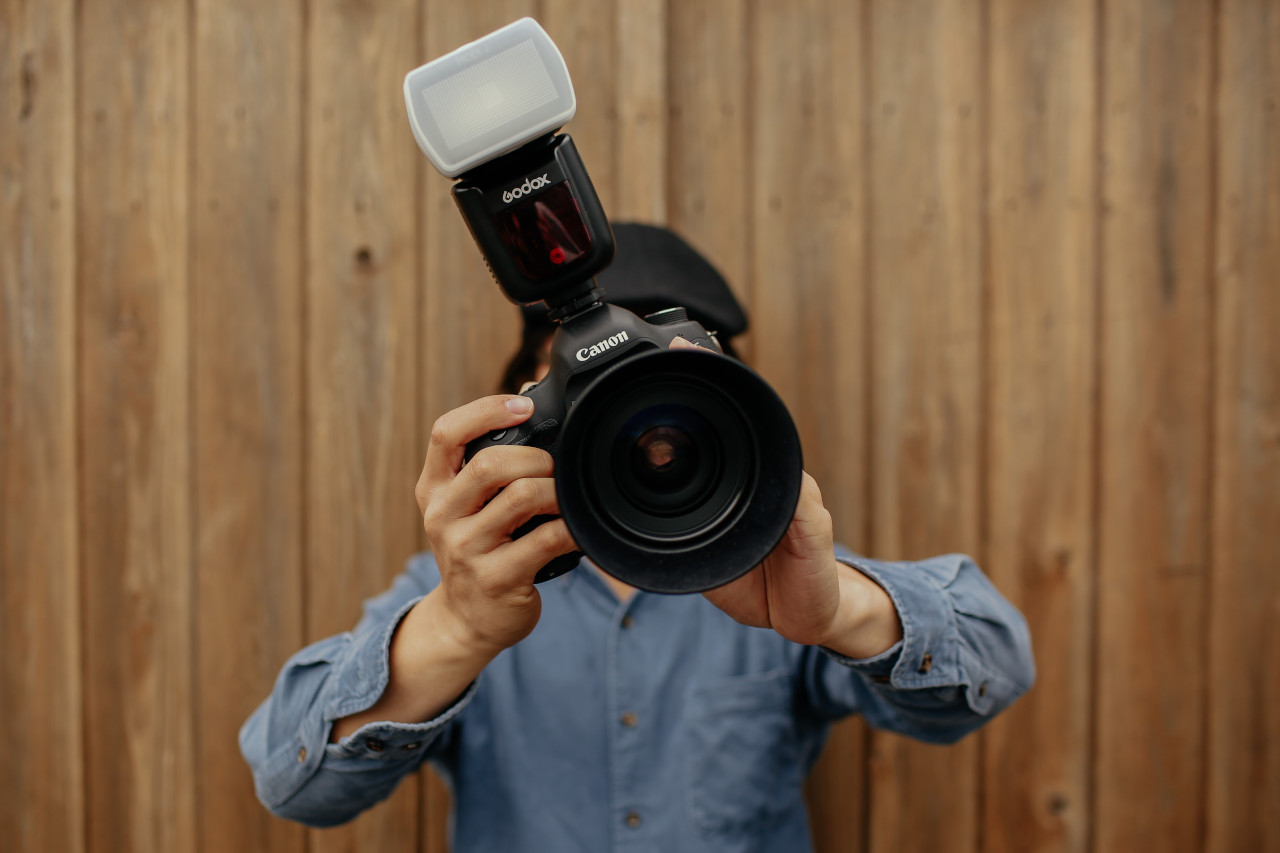
If you do not want to use a reflector for any reason, a good alternative can be to use a fill flash. This helps in filling in the dark shadows caused by backlighting and causes the subject to pop.
However, using the built-in flash on a camera is a bad idea. That’s because you can’t change the direction of the built-in flash, causing the light to fall directly on the subject head-on.
By using an external flash, you can either turn the flash head upwards or bounce it off a wall if you’re indoors which causes the light to soften. The soft light beautifully wraps around the subject and adds to the depth.
And don’t shy away from being meager when you set the output power of the flash. Have it low enough to just fill in the dark shadows.
3. Make Use of Exposure Compensation
This tip is very much useful for those of you who use the camera’s auto or semi-auto modes – aperture priority (A or Av) or shutter priority (T or Tv) modes with the matrix or evaluative metering mode selected.
What happens is that the camera tries to average out the overall exposure and gets totally confused in backlit situations. The camera’s meter sees a bright background and decides to reduce the exposure causing the foreground to appear darker.
In such cases, press the camera’s Exposure Compensation button (+/-) and select a positive value. +1 or +2 is a good place to start. This will force the camera to take a brighter image increasing the chances of capturing a bright subject.
Sometimes, when getting the exposure correct for the subject, there are chances that the background will come out very bright. You can easily tone down the highlights in such cases using Colorcinch. Simply follow these steps:
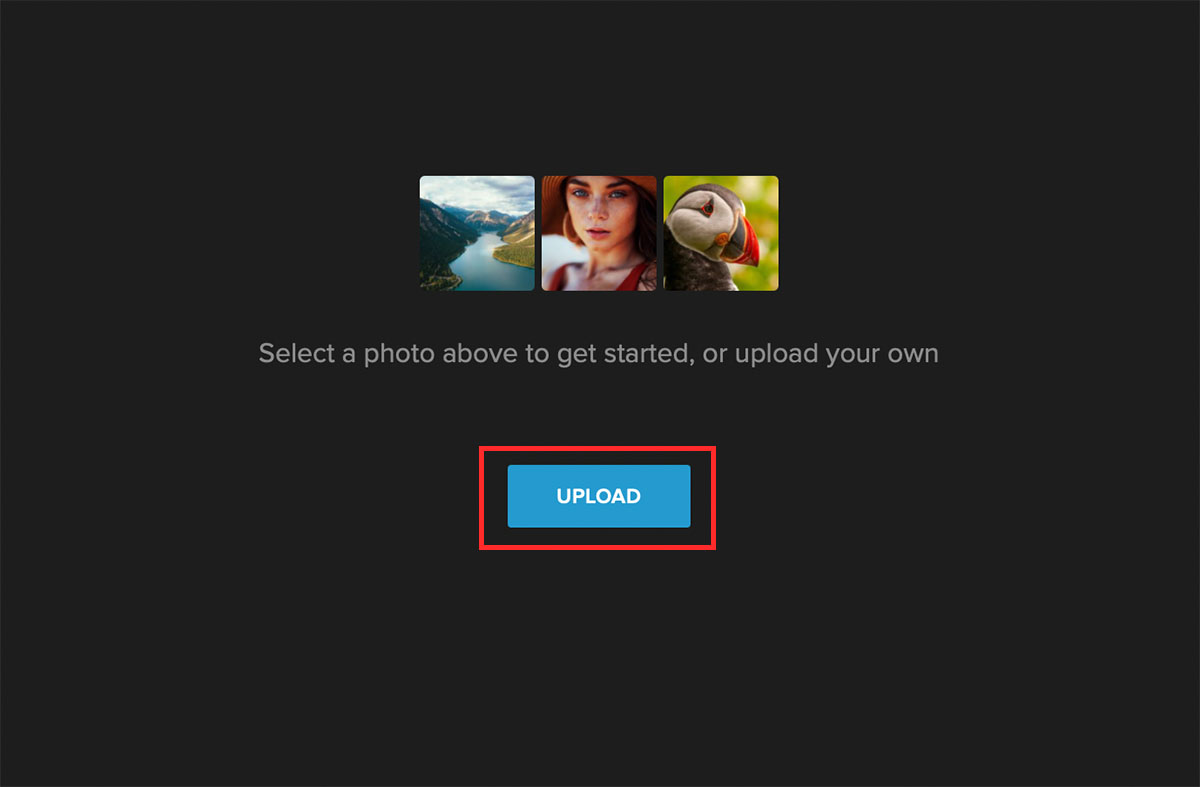
Step 1: Upload your image to Colorcinch
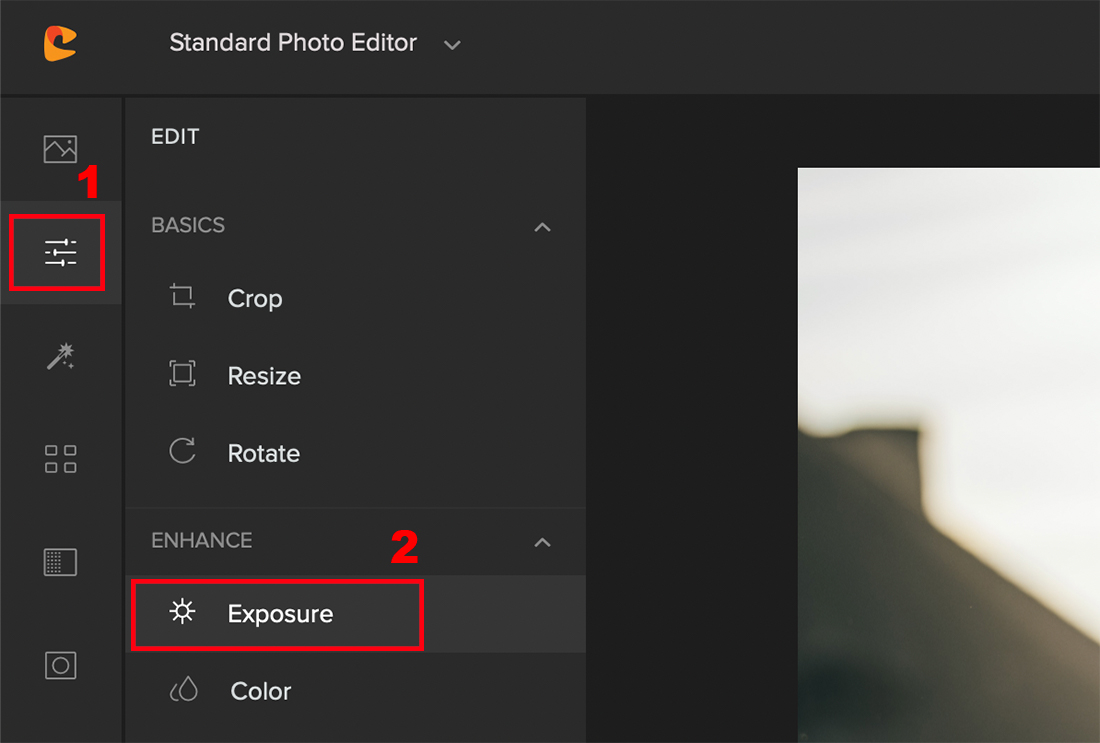
Step 2: In the Edit menu, click on Exposure
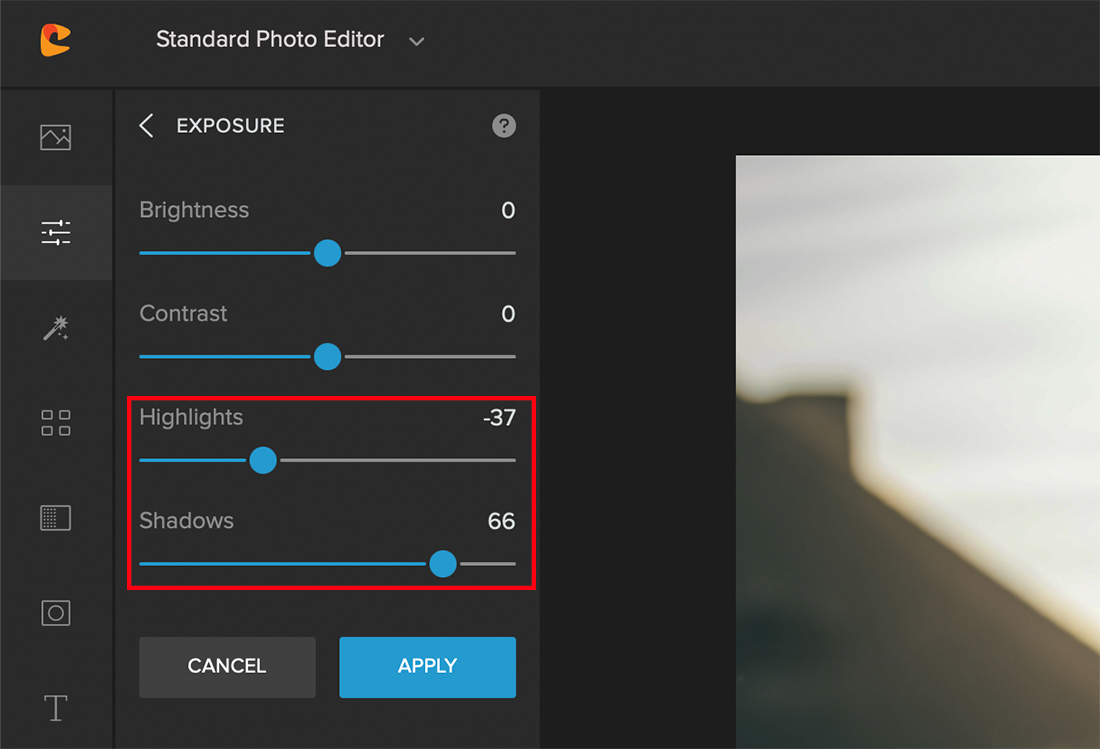
Step 3: To recover details from the bright portions, slide the Highlights panel to the left, and to brighten the darker portions only, slide the Shadows panel to the right. Then click on Apply.
Check out the before and after of the image below and notice how we have recovered some details from the blown-out sky.


4. Use Spot Metering Mode
Unlike matrix or evaluative metering mode that evaluates the entire frame for a balanced exposure, spot metering is very precise. When you use the spot metering mode, the camera evaluates only about 5% of the entire frame for correct exposure.
Therefore, by selecting the spot metering mode and by placing the metering spot over the subject, you can tell the camera to properly expose that particular area.
So, even if the subject is strongly backlit, the camera will adjust the settings to properly expose the subject in the foreground.

5. Set The Right White Balance
Cameras these days do a great job of selecting the right white balance setting even on Auto White Balance mode. However, keep in mind that a backlit scene is very complex and the camera can be easily fooled.
Due to this reason, chances are high that the camera will select the wrong white balance in case of backlit photographs. So, be sure to either preview your images constantly when shooting and make the necessary adjustments, or correct the white balance in post.
Colorcinch has a very handy tool to let you adjust your white balance easily. Just follow these simple steps:
Step 1: Upload your image to Colorcinch
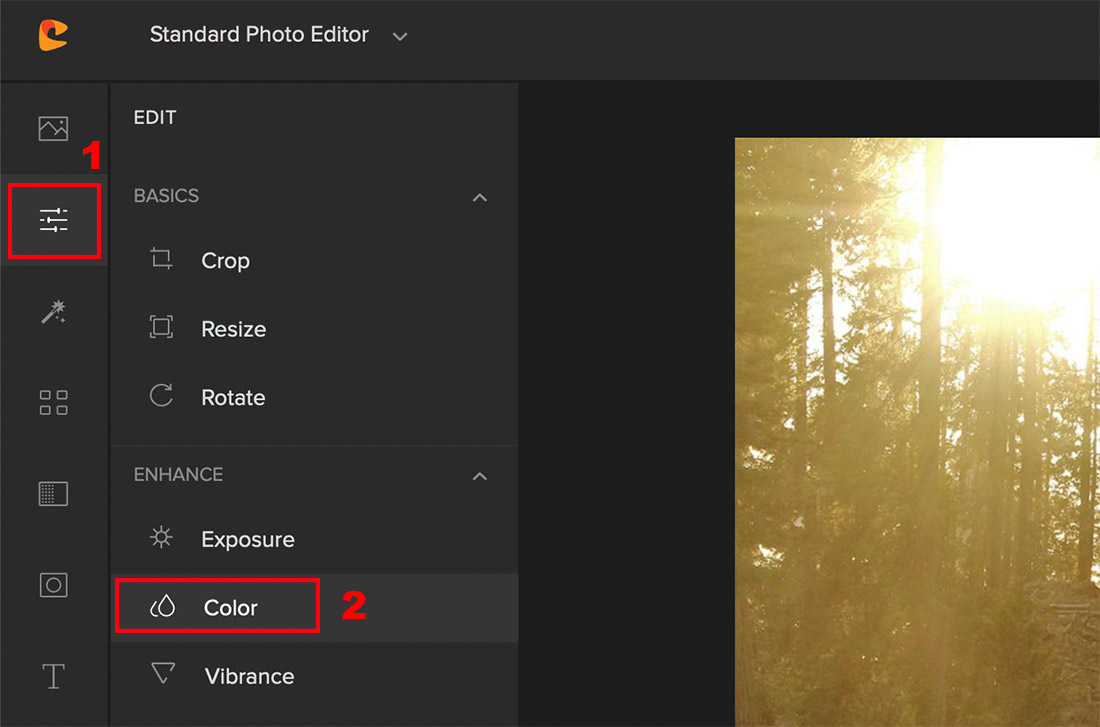
Step 2: In the Edit menu, click on Color
Step 3: If the image appears too cool (dominant blueish tone), slide the Temperature panel to the right until you get a balanced tone. Similarly, if it is too warm (dominant yellowish tone), slide it to the left. Once you’re happy, click on Apply
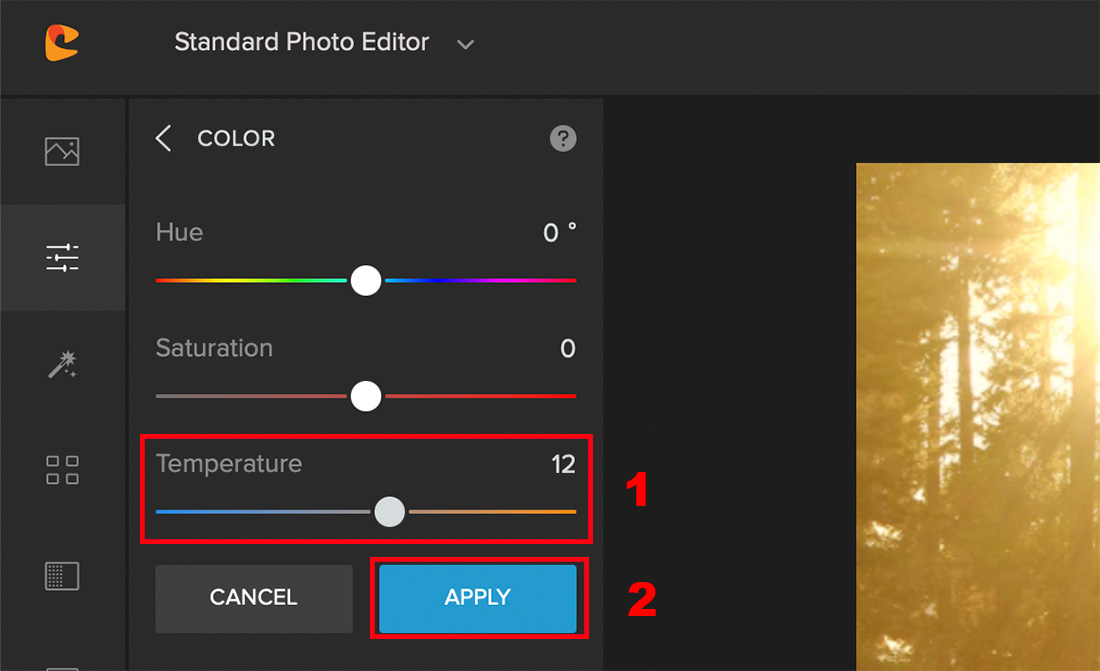
Have a look at the following before and after images of a backlit image after white balance adjustment.


6. Use A Lens Hood
A common issue that everyone faces when pointing their cameras directly towards a light source is the appearance of a lens flare. It happens when very bright light enters through the lens and scatters on the camera’s sensor.
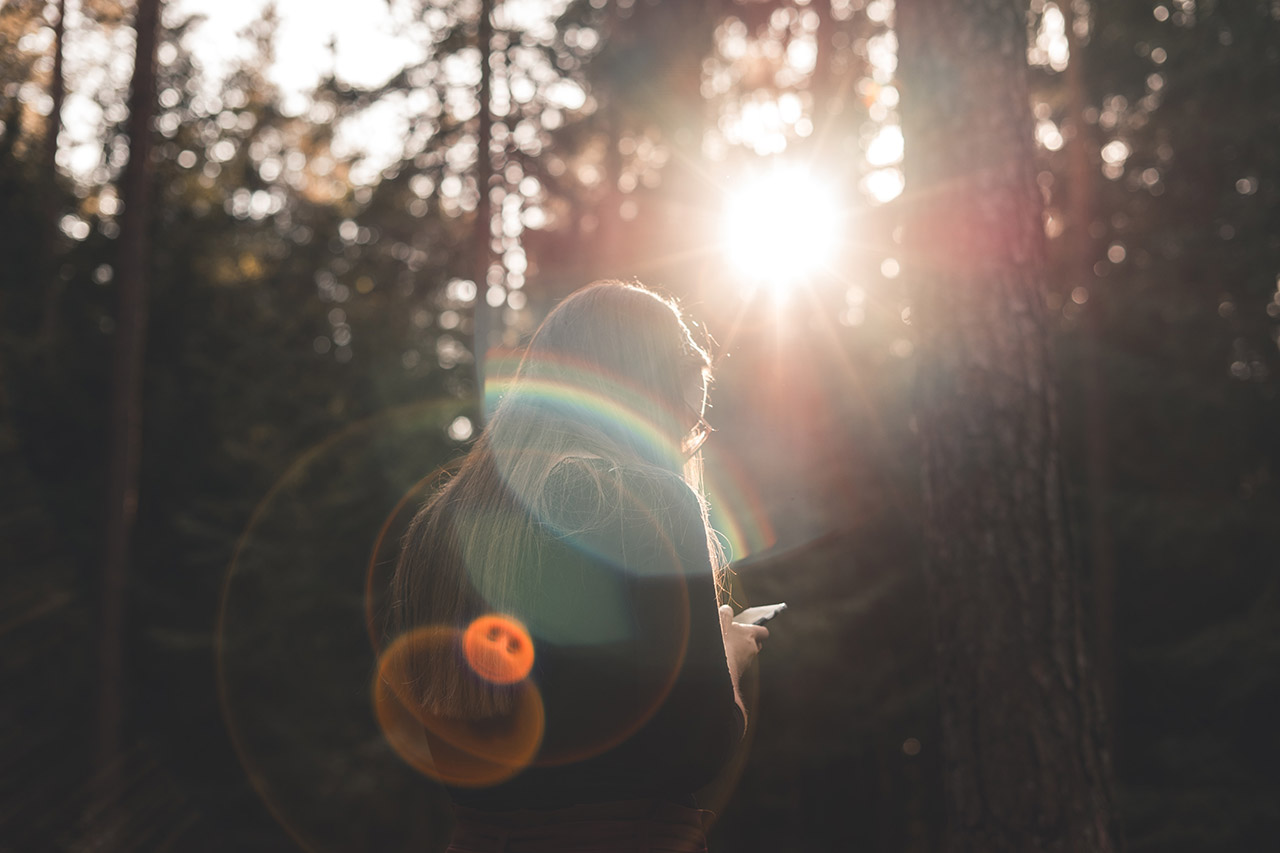
Lens flares unless used intentionally and meaningfully can be very distracting. However, getting rid of them is very easy. Simply make sure that the lens hood is on the right way. It acts as a shade and prevents direct light from entering the lens.
In cases where even the lens hood isn’t of help, try placing the light source behind the subject or some background element.
To Sum It Up
If you haven’t tried it already, taking backlit photos is a great way to expand your creativity while getting a grasp of some of the technicalities of exposure. It may take some time getting used to but once you’re comfortable with it, the possibilities are endless.
The great thing about backlight photography is that you can implement the concept in various genres of photography. So, don’t just restrict yourself to taking backlit portraits.
You can even try backlighting in street photography, landscape photography, and also when shooting plants. Give it a shot!