
Coming up with unique photography ideas is not the easiest thing, especially if you are a beginner. In this article, we highlighted ten photography techniques that will help you learn the basics of photography. Then we listed ten DIY photography ideas to practice these techniques. Follow them, and see how easy it is to make stunning photos.
Top 10 Photography Techniques for Beginners
1. Background
The background should be as simple as possible to avoid distracting the viewer’s attention from your subject. Make sure the background scene is not full of clutter, and try to change the angle or use aperture to blur the background. Another way to blur the picture naturally is to place the subject a long way in front of an open space.
2. The Rule of Thirds
The rule of thirds is a compositional technique used to make photos look more attractive. It happens when you divide your photo with three equal lines, both horizontally and vertically. The central square serves as a frame, and you can place your subject along or around one of these lines. The rule of thirds will help you create an eye-catching photo and attract your viewer’s attention right on the subject.
3. Understand Exposure Triangle
Hearing the word triangle might sound more complicated than it is. Exposure triangle deals with three essential elements for making sharp pictures:
- ISO – This allows you to adjust the camera’s sensitivity to light. Use low ISO for outdoor pictures as you need less sensitivity to light. When taking pictures with low light, use high ISO to balance the difference.
- Aperture – This is a hole on the lens that allows the light to come through. By adjusting the aperture to wide or narrow, you can control how much light gets through the lens. For portraits, use a wide photo aperture to focus on the subject and a narrow photo aperture for landscapes.
- Shutter Speed – Shutter speed refers to how much time the shutter stays open when taking a picture. While slow shutter speed is good for blurred motions, fast shutter speed is better for freezing actions.
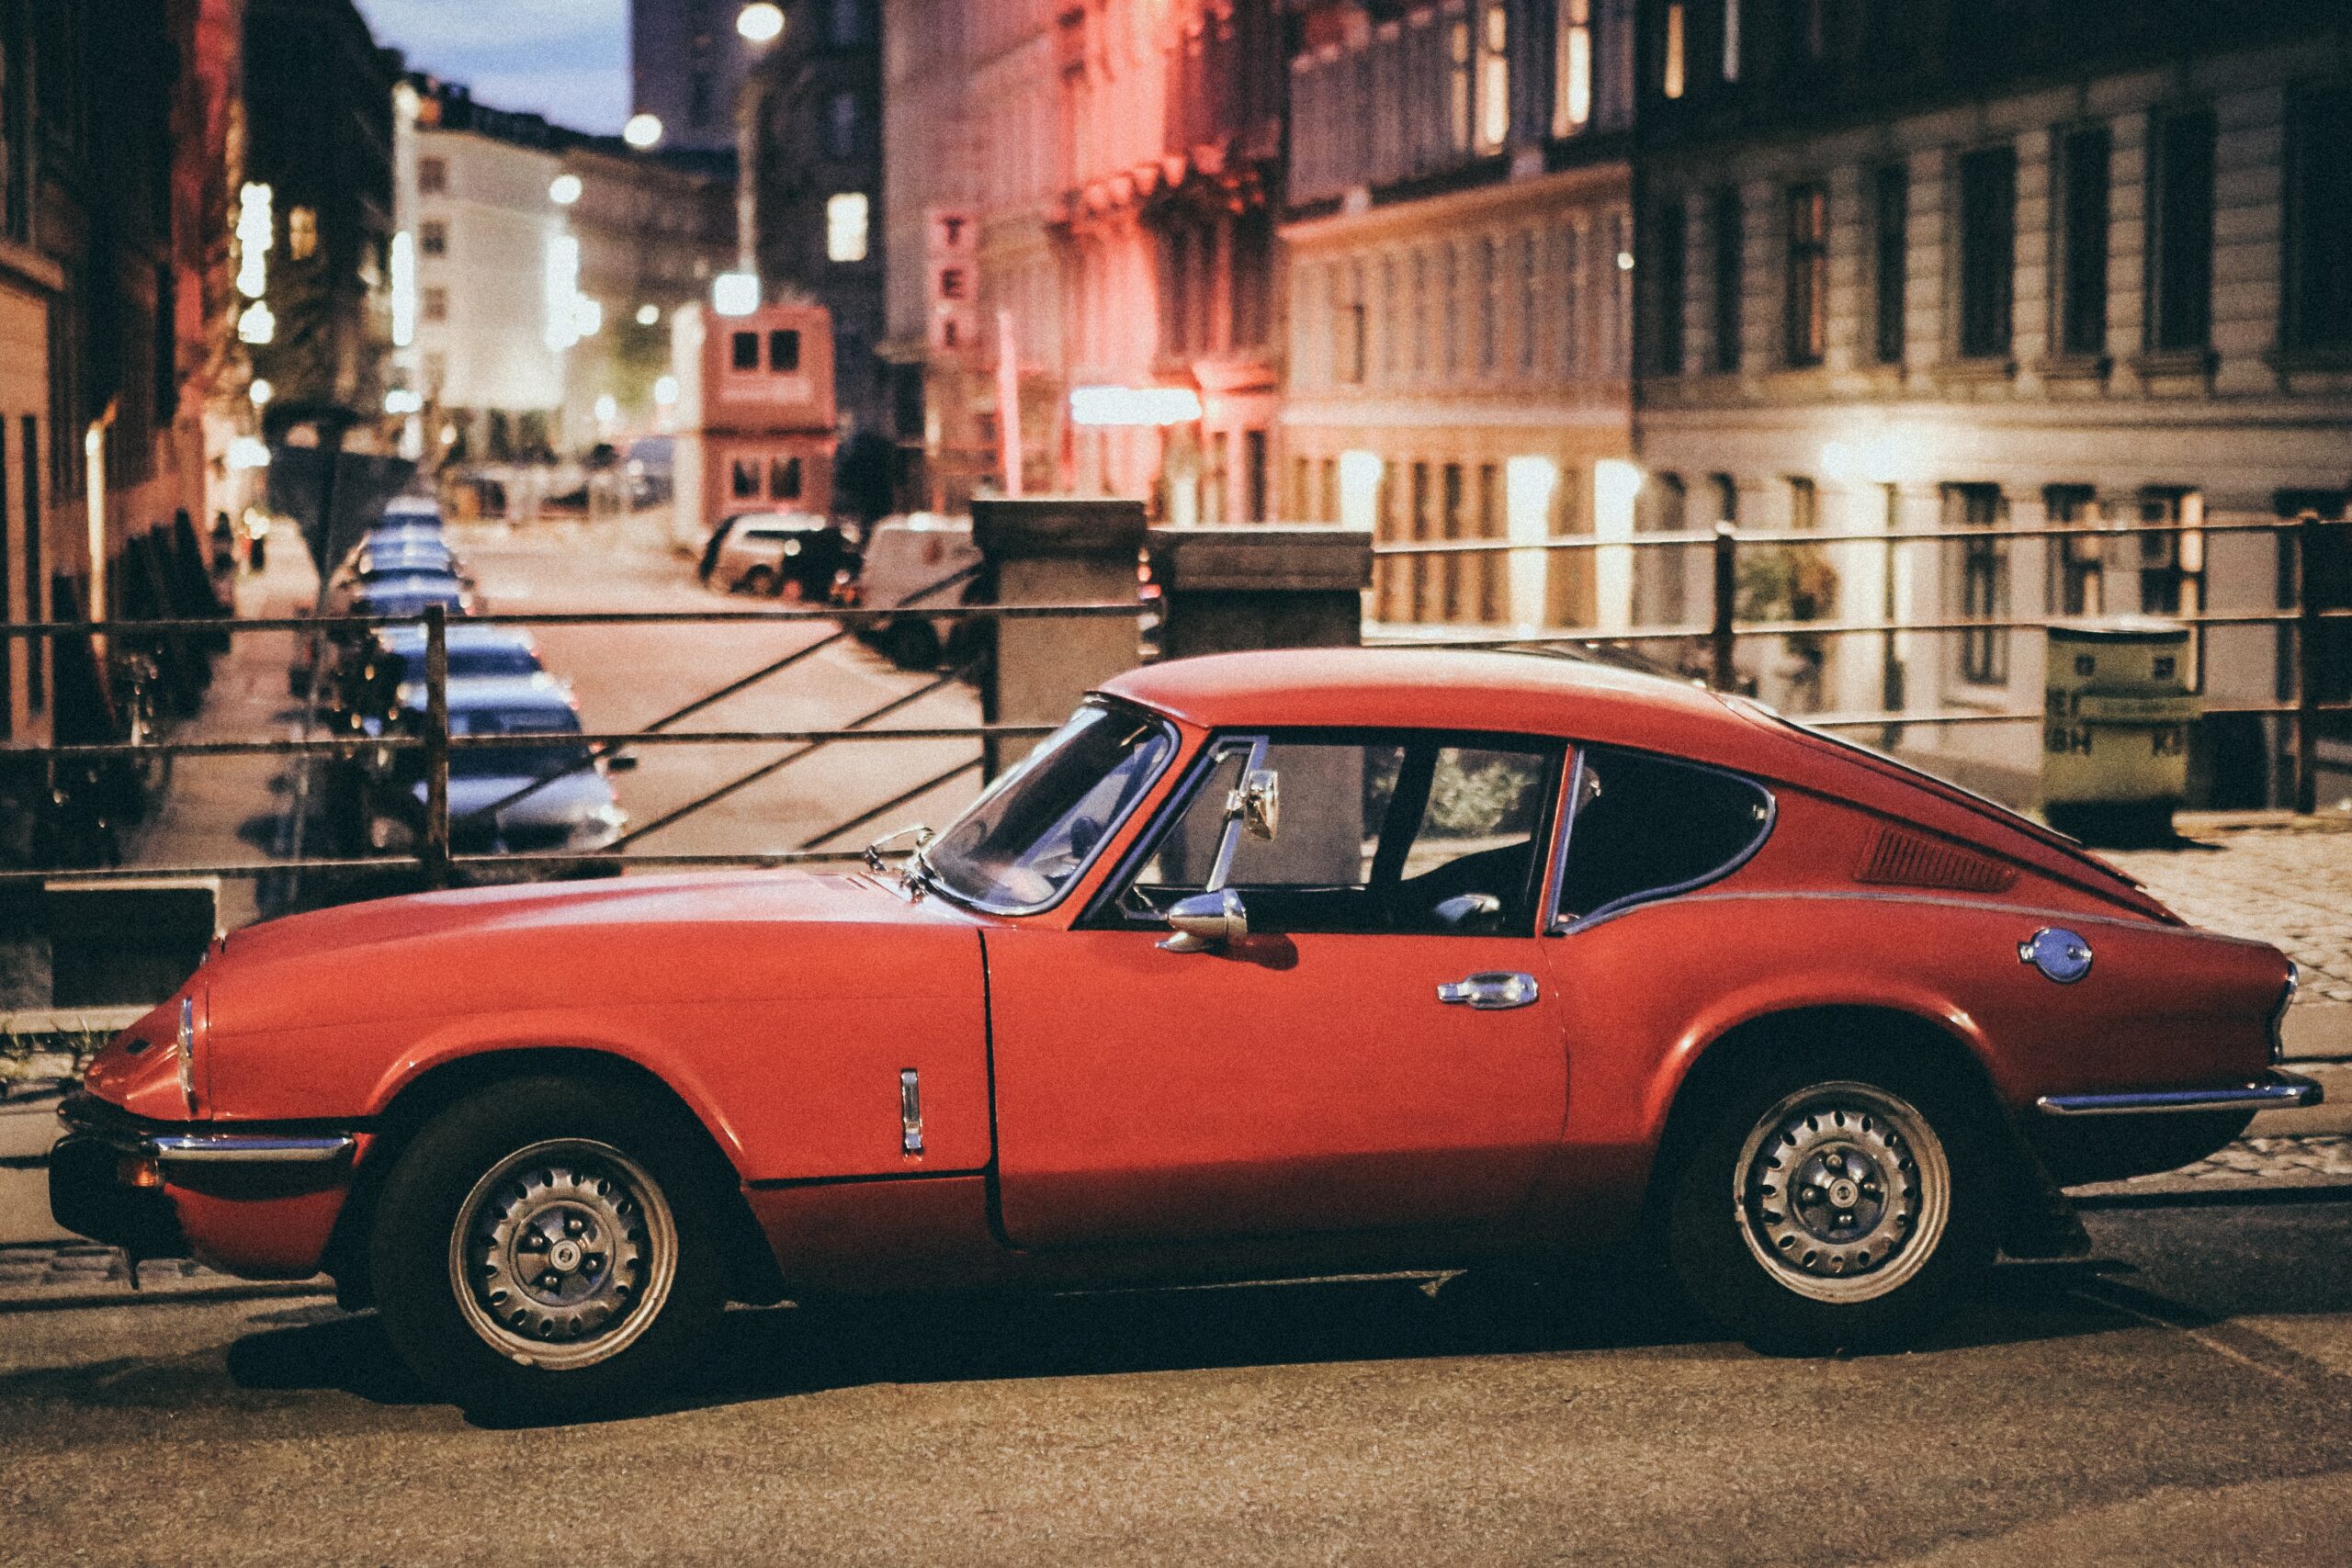
4. Take photos from different angles
It is a common mistake for beginners. Photographers get used to taking pictures from one angle. They make a habit of taking the same photos only with different settings. In reality, try to move around as much as possible. To make a beautiful, spontaneous photo, you need to try different perspectives. When you move around, engage with your subject, and make them as comfortable as possible, you can expect some beautiful shots.
5. Don’t overdo the highlight
Taking pictures using auto setting is okay for taking a few shots. But, as you develop yourself as a photographer, don’t forget to use the exposure triangle. It is vital to adjust the lighting to avoid too much highlight. You want to keep the nice texture of your photographs. That is why you need to pay attention to the setting of your camera before you start taking shots.
6. Learn when to use a flash
Too many times, photographers get confused when they hear that they can use flash even outdoors. Photographers often use flash indoors to enhance the light in dark places. However, you can use flash outdoors to take beautiful photos. It is called fill flash, and it helps with gloomy shadows that may destroy your photos. Knowing when to use the flash will make your photos look high-quality.
7. Get organized
This technique applies to beginners and experienced photographers since the organization is vital for anything we want to do. Being organized boosts your time management and productivity, and we all know how difficult it can be to find old photos if you don’t categorize them in separate folders.
8. Learn to edit your photos
Knowing how to set up your camera to take stunning photos is a good start. Learning to edit your photos once you’ve taken them takes you one step ahead. You can try out Colorcinch and you will see how professional your photos can seem.
9. Meet other photographers
The best way to motivate yourself and keep learning is to engage with people who share similar interests. Go out there, meet other photographers, and you will be surprised how many opportunities are out there. And why not check out photography blogs to get some inspiration?
Don’t limit yourself to photographers only. There are professions like graphic designer, art director, interior designer, and others that express their creative side through photography. Be social and open to new experiences.
10. Adjust your image when editing
Don’t panic if you notice that your photos are not in line with the environment. It takes time to get used to keeping both eyes open when taking shots. Edit your images in a program to straighten them up and cut the unnecessary parts.
10 DIY Photography Ideas
Working as a photographer requires a lot of creativity and problem-solving. Continue reading for some of the best DIY photography ideas that can help you express your creative side without expensive equipment.
1. Create your lightbox
Having perfect equipment and setting might not always be possible, so you need to be ready for any challenges you might face working as a photograph.
Marketing agencies are looking for high-quality content, so you need to take photos that will meet your expectations.
Making your lightbox is easier than it seems. Cut out the sides of a box, replace it with white paper, and there you have it – your lightbox.
2. Make your dim effect with a plastic bag
To make your photos look mysterious and attractive, you can use a simple technique to dim the light. You don’t have to adjust your camera to any particular setting. It is enough if you use a plastic bag. Place it around your lens and play with angels until you get a perfect shot.

3. Use a fishing line for product photos
Using a fishing line is a good tip if you’re taking photos of products. Often, you don’t get models, and you need to figure out how to make it look professional. Don’t worry, here is a simple solution. Hang clothes or other products on a fishing line, and edit your photos in a program to remove any visible line from the picture.
4. Make beautiful effects using patterned objects
Place the objects with an interesting pattern, for example, a strainer, or a mesh on the window. Place your subject in front of the window to cast the outdoor shadow on it. In this way, you will create gorgeous shots of high quality.

5. Make Macro Bokeh with your laptop
Google the background that you wish to have in your photo. Place your subject in front of your laptop, and there you have it – the perfect macro bokeh effect that looks great!

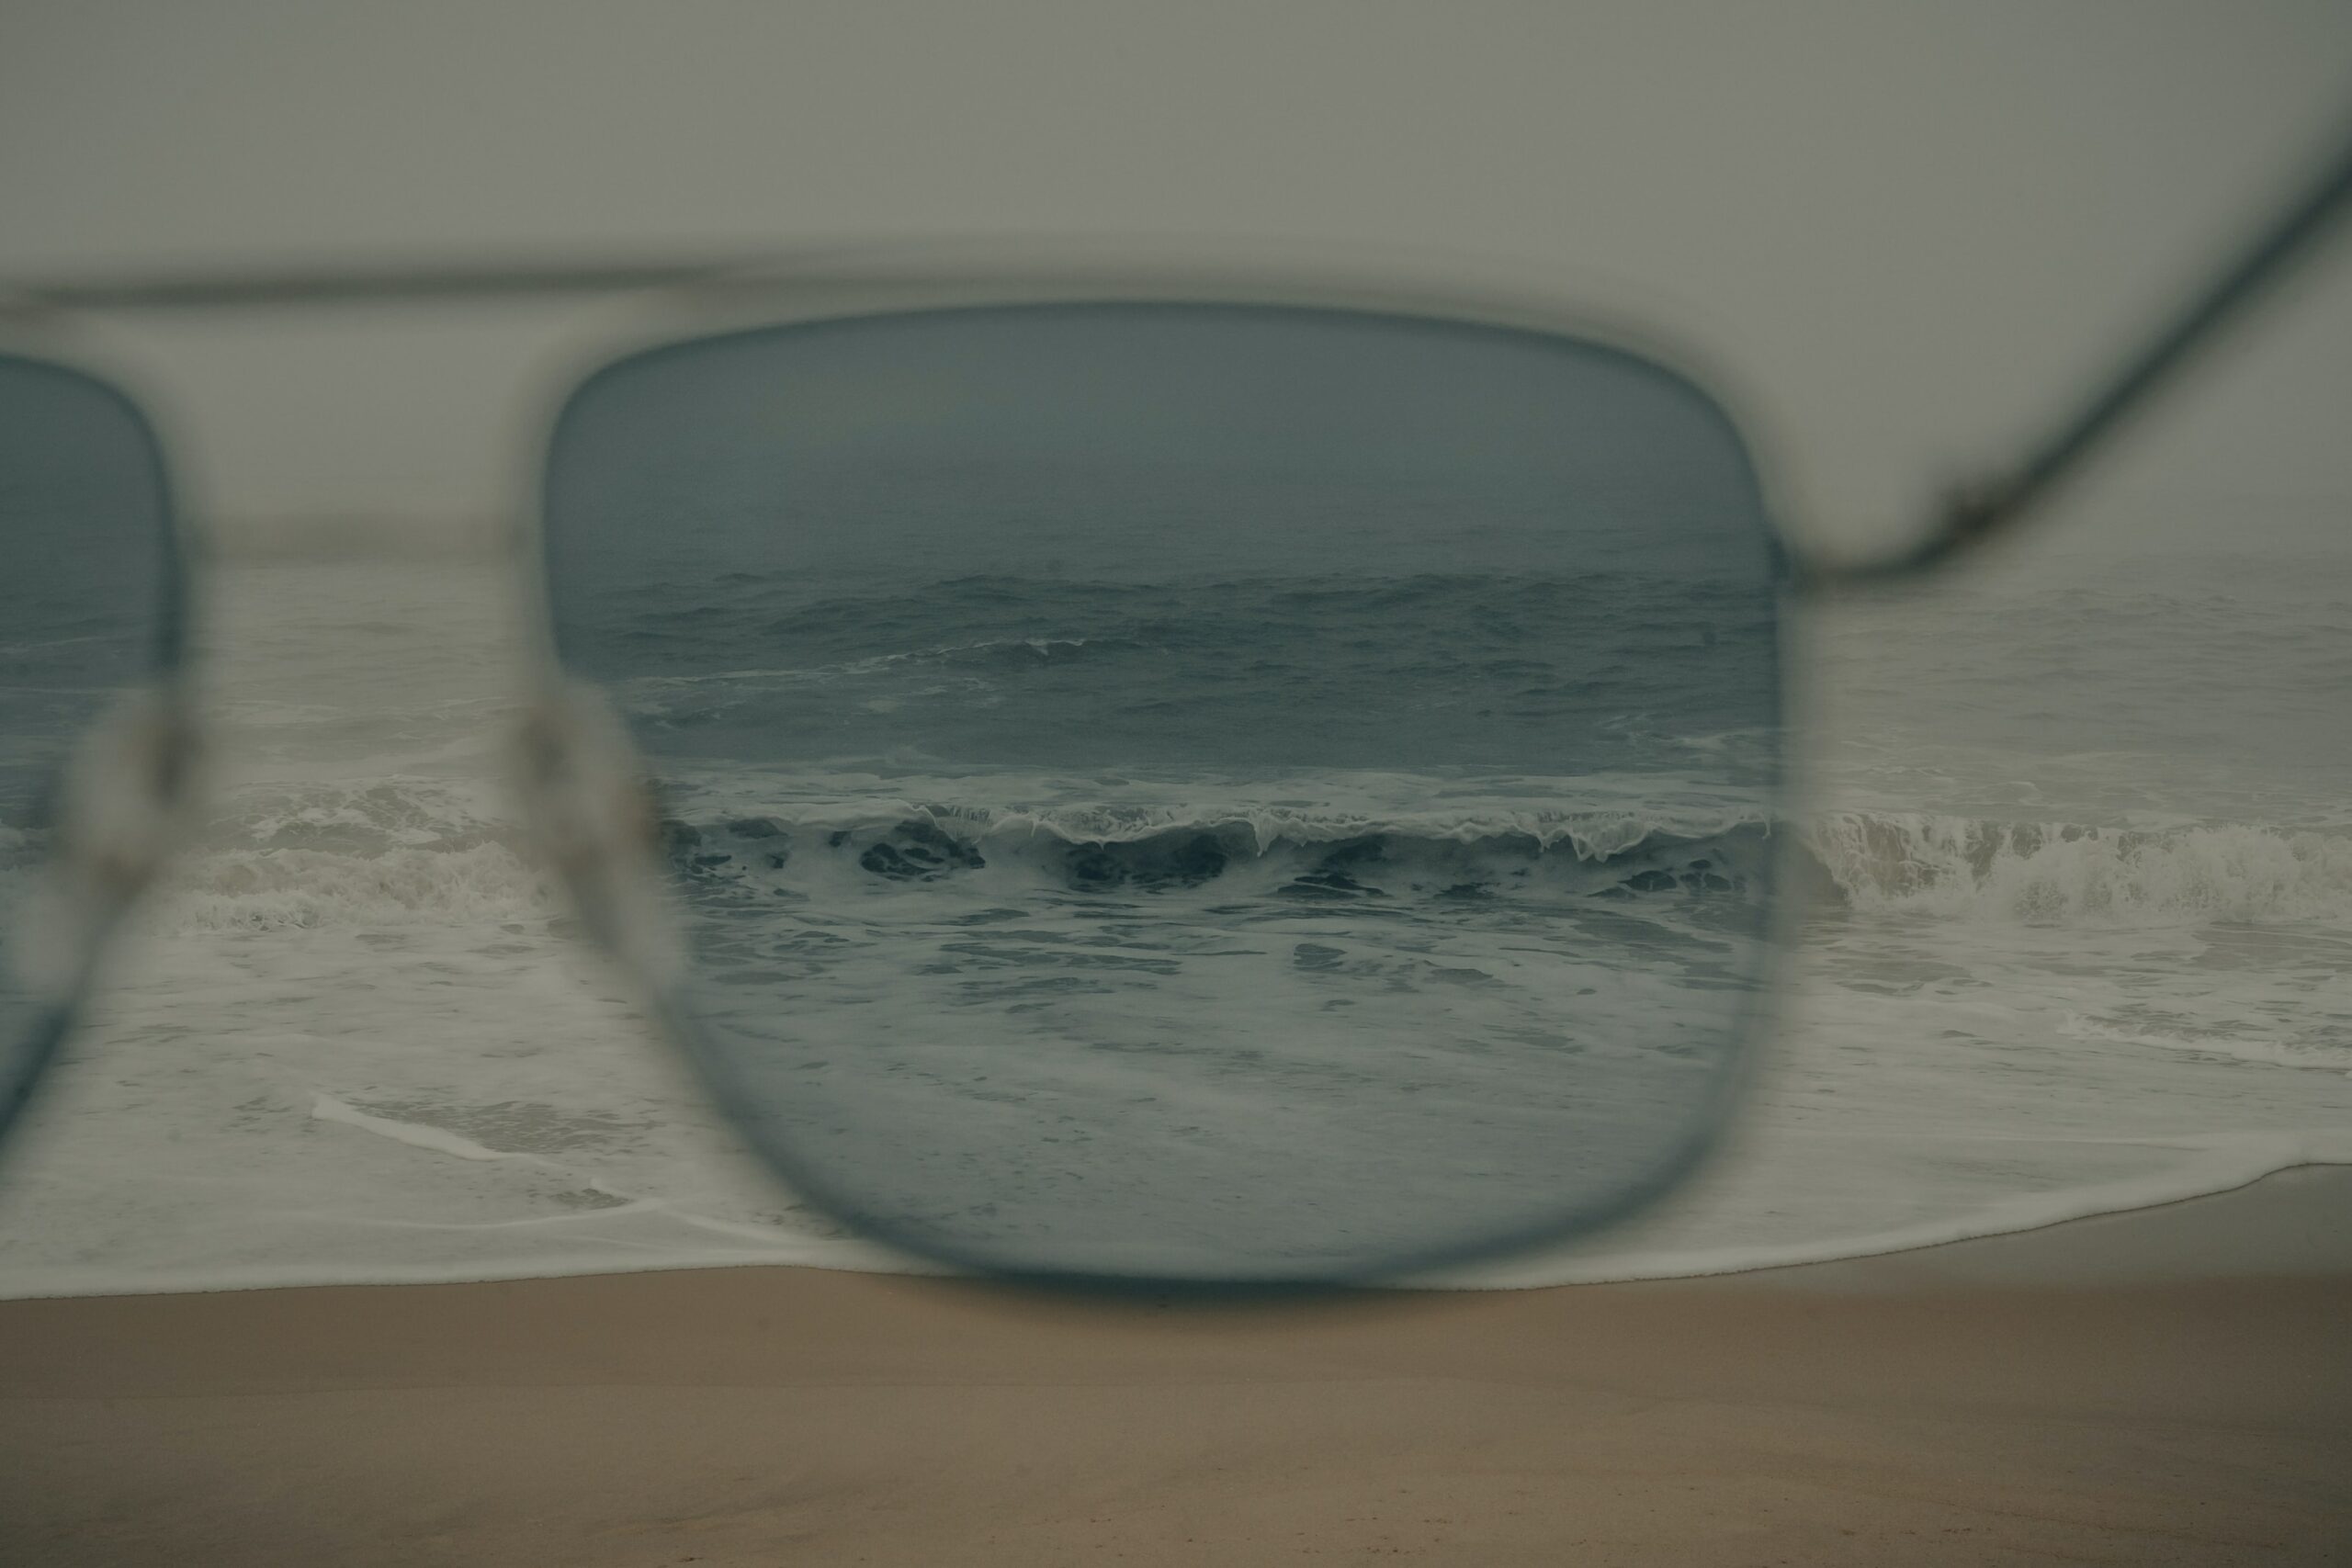
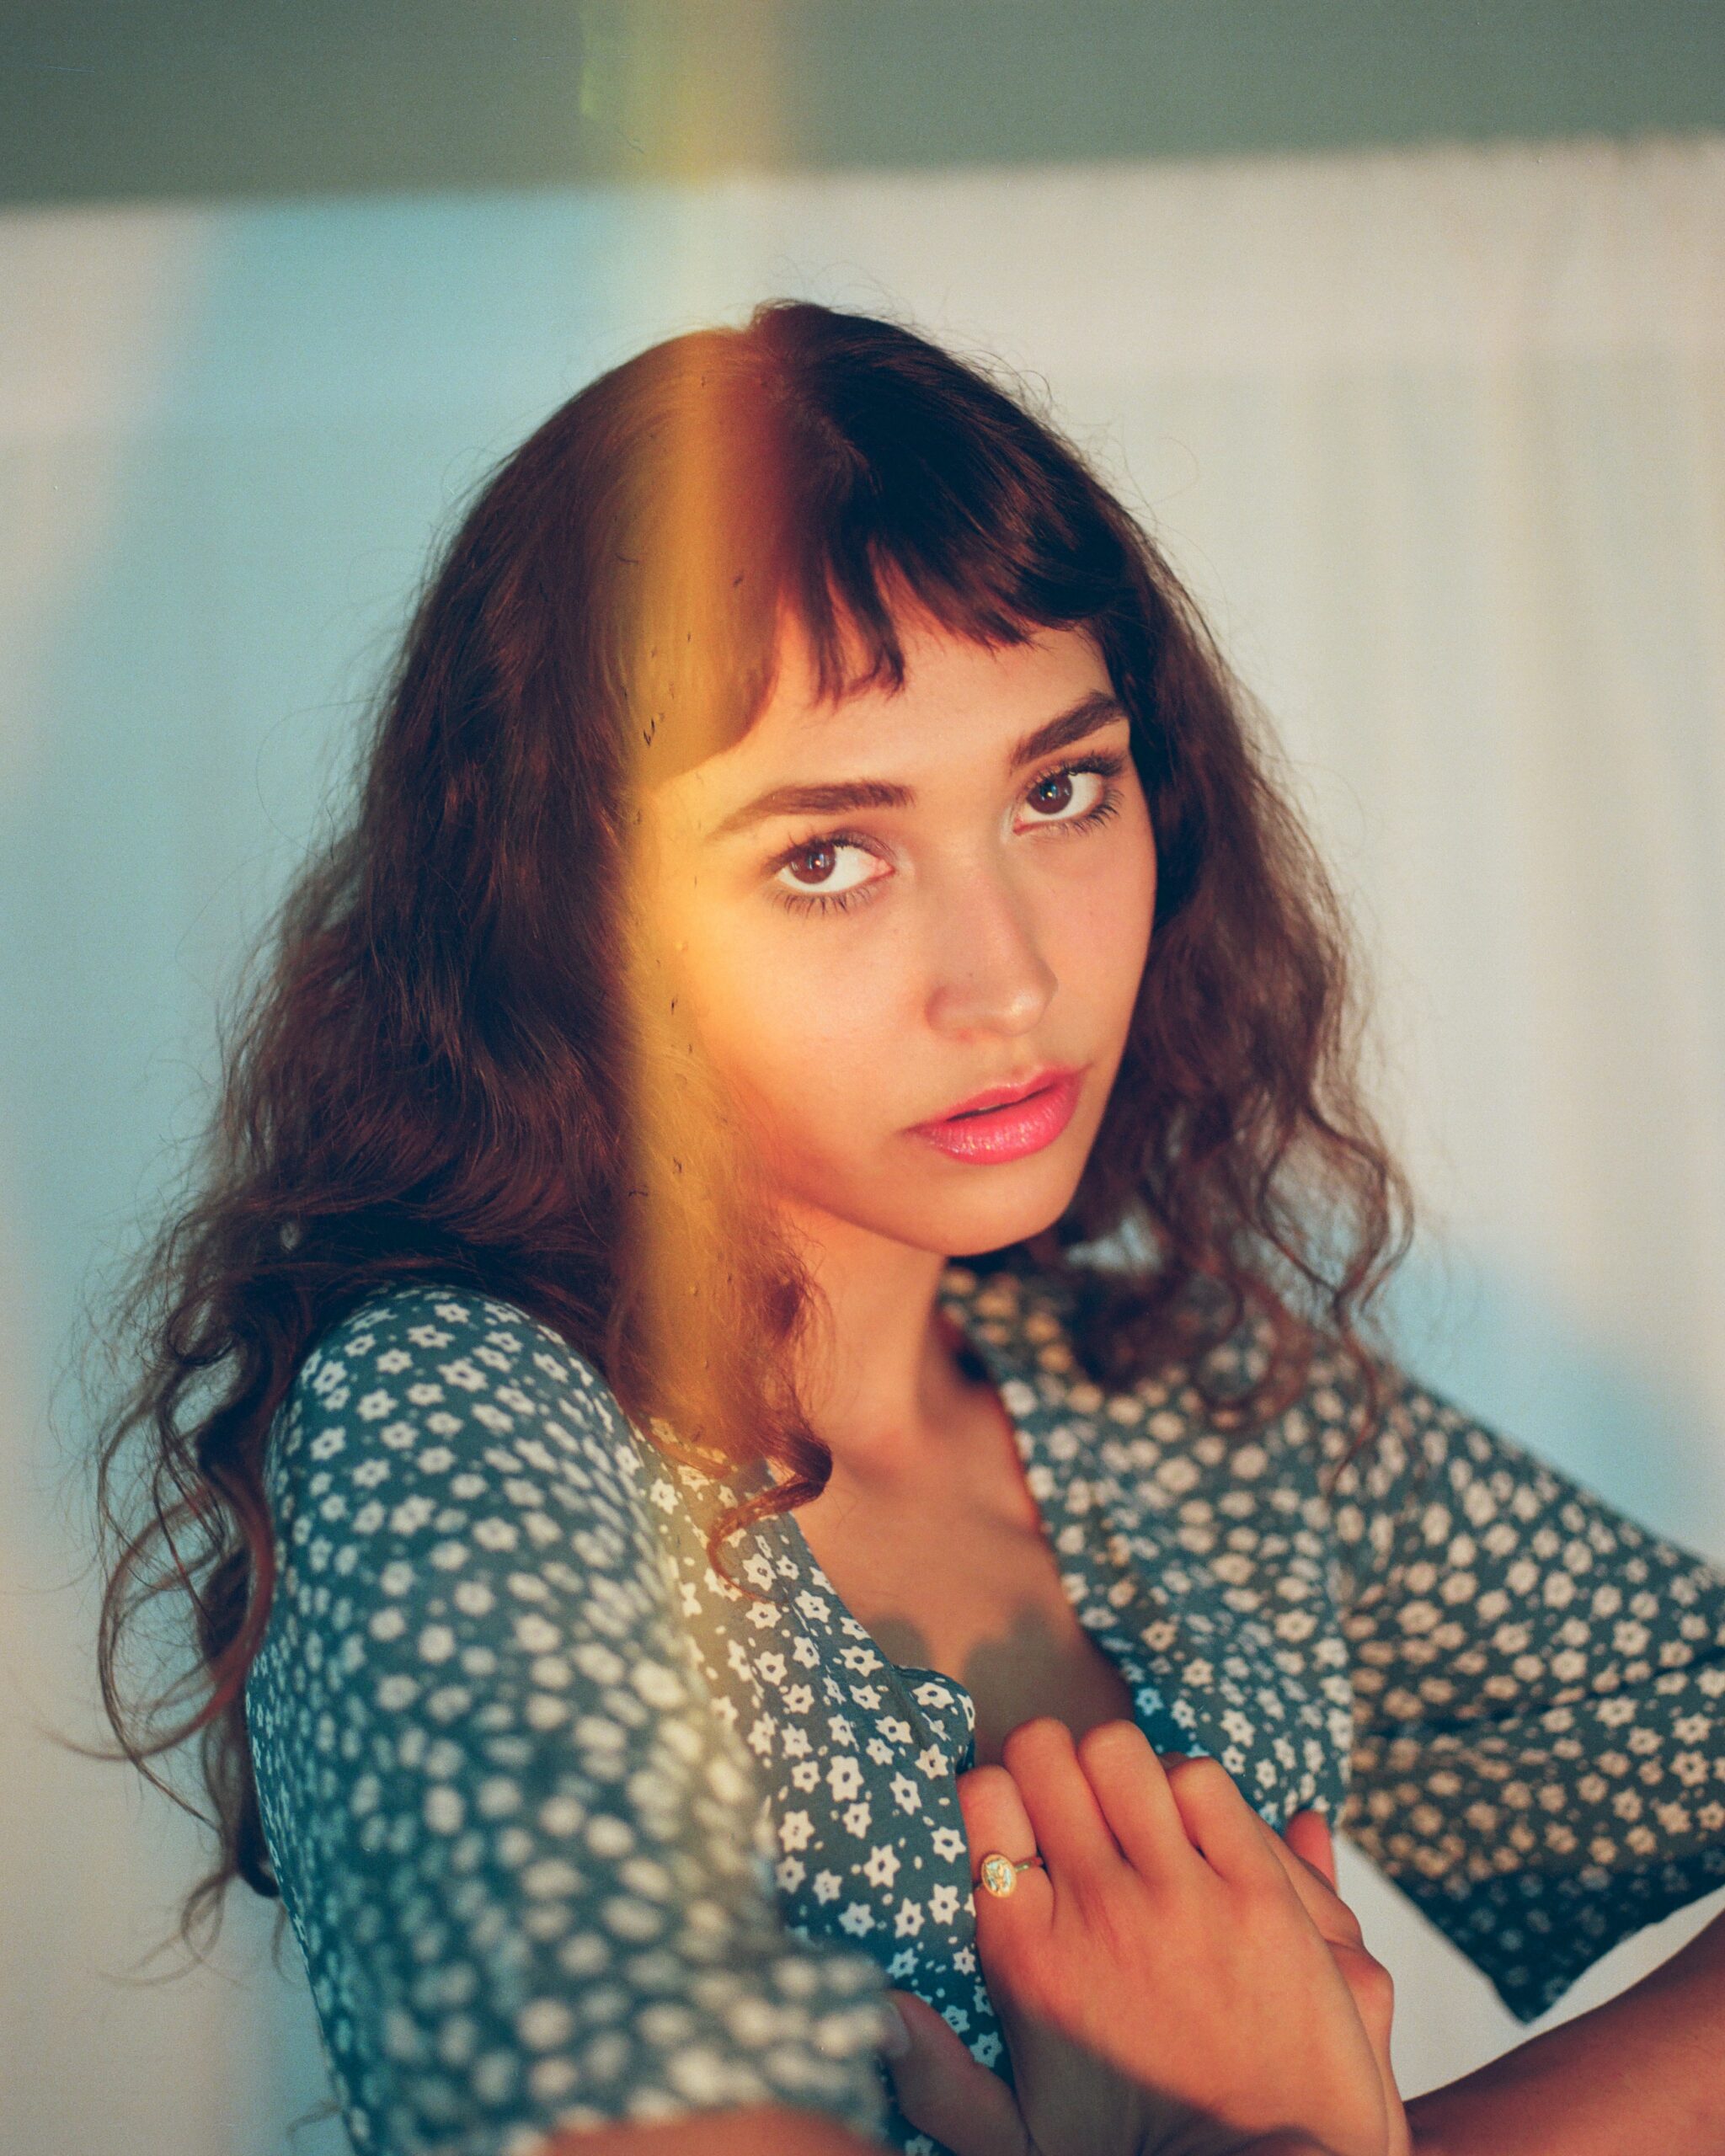
6. Create your filter
Don’t be afraid to break some rules and express your creative side. Try different self-made filters that add light to your photo and make it look different and unique. One way to do so is to use your sunglasses as a filter. It will add color and make it look professional.
7. Use the reflective card for product photos
This DIY idea is an affordable way to create stunning product photos for any brand. All you need is a piece of cardboard and aluminum foil to wrap up the cardboard. Put the white paper on the window to enhance the light and place the table in front of it. Put your aluminum foil cardboard on the table, place the product on top of it, and you’re ready to take amazing photos.
8. Take close-up photos
Here, focus on the small parts of your subject. Make sure that you highlight every detail and try out different angles to find the best lighting.
9. Use glass to create impressive effects
A piece of glass can be a great asset when you’re trying to take amazing photos. There are many ways that you can use it to make great shots.
Place a piece of glass over your face for a glittery effect. You can add water drops and bring that glass closer to the camera. Change the angels to get diverse photo effects.
10. Bokeh DIY shapes
You can go the extra mile and make your custom bokeh shape. Take a piece of round paper, and fold it into a tube. Cut out a circle with the desired shape and place it on the paper tube. Once you finish, put the paper tube on your lens. Adjust the focus right to get the effect you like.
Final Thoughts
Learning photography can be challenging at times, but it is all about creativity and expressing yourself. Following these techniques and ideas can improve your skills and help you develop as a photographer.
What are your favorite DIY photography ideas?
About Guest Author: Nada Bundalo
Nada is Digital Marketer and self-owner of NadaLinks. She has excellent communication skills, but her main skill is Off-Page SEO. Privately, she is an unshakeable optimist with a great sense of humor.