
In today’s world, getting into photography is easier. The internet provides access to a vast amount of readily available information and tutorials. You can never have a valid reason to not jump right into it.
Taking photos and posting them on social media has become a popular trend. Hence, words such as “instaworthy” and “instagramable” were born. And the quality of the photo should be of the utmost importance when it comes to capturing special moments.
How your photos turn out depends a lot on how you set the exposure on your camera. Once you learn a few simple terms and techniques, it’s easy to know how to expose an image correctly.
What is Exposure in Photography?
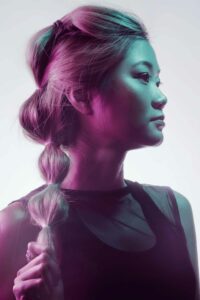
Exposure is the overall brightness or darkness of the photo. More specifically, it is the amount of light that gets to the film or camera sensor. The photo will be lighter the more you let light hit the film or camera sensor. The darker your photo is, the less light it will have.
Exposure is one of the most important factors in determining whether a photograph appears amateurish or professional. It is best to have a simple understanding on this.
What Influences Exposure?
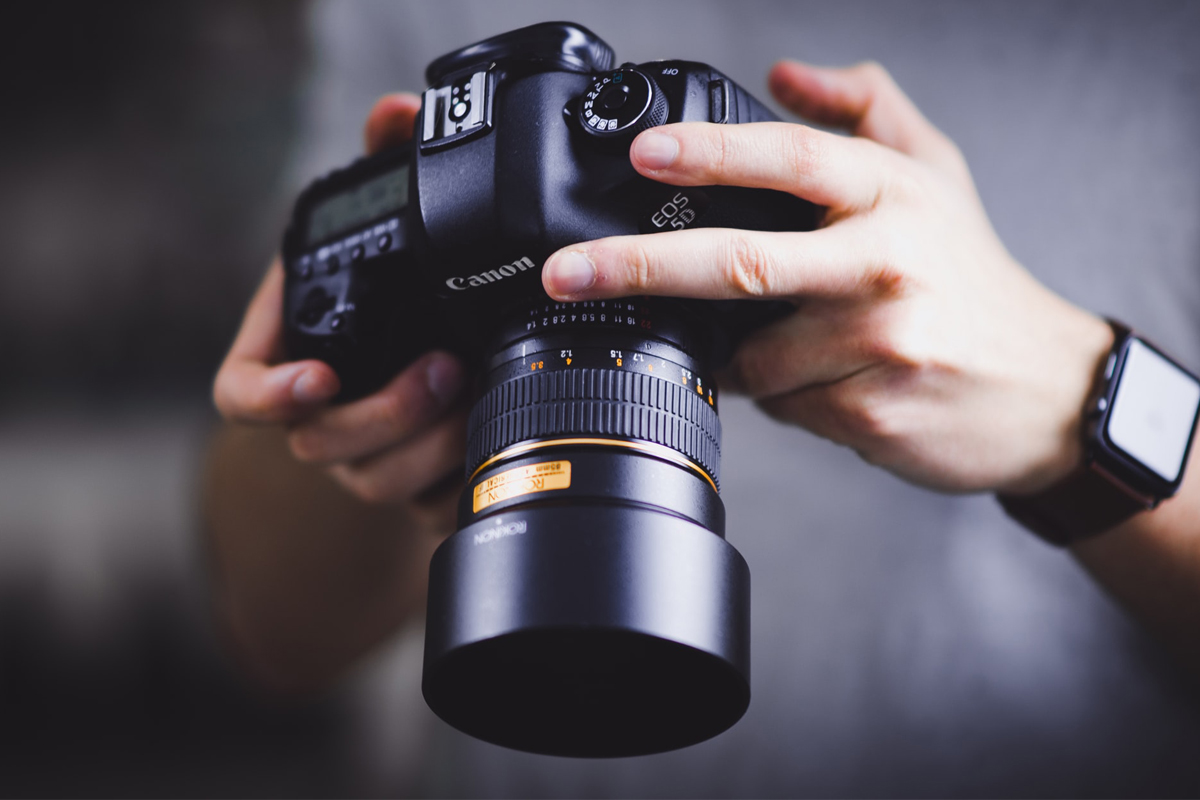
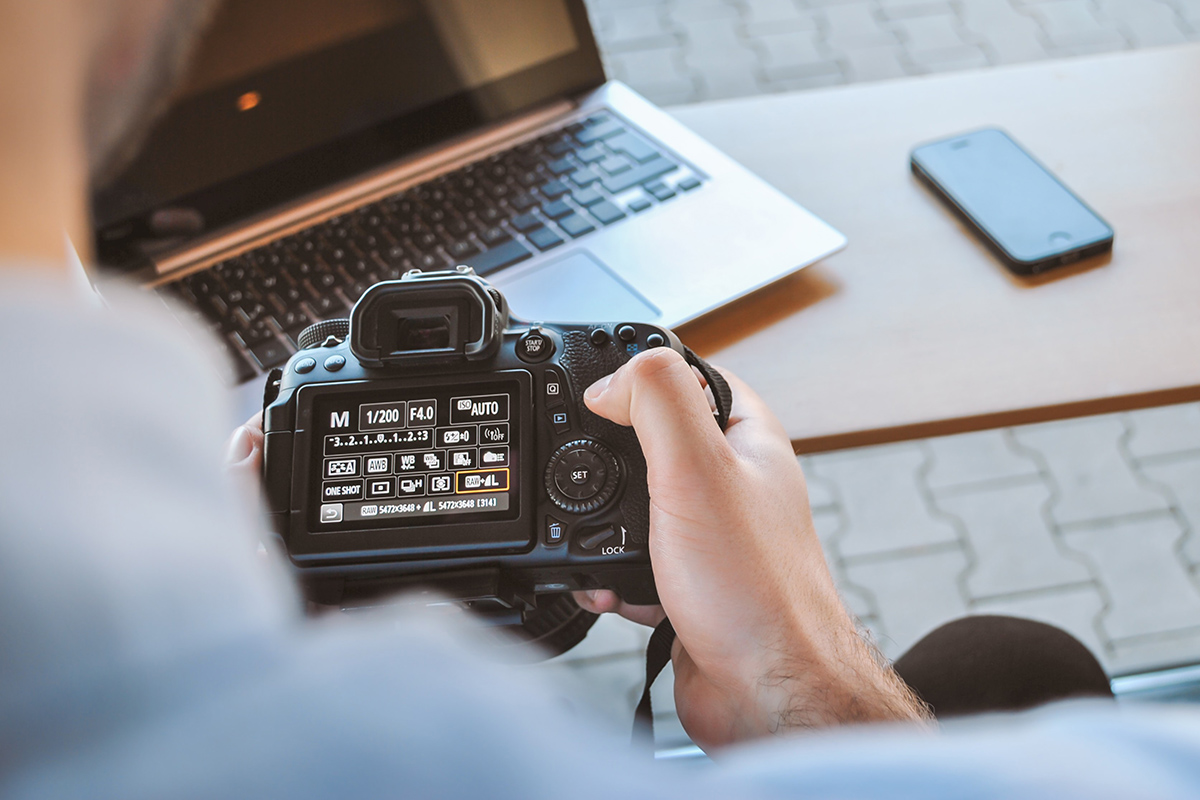
There is not just one method for adjusting the exposure settings on a camera. There are three distinct data settings that affect exposure, collectively referred to as the exposure triangle. The shutter speed, the aperture or the size of the opening, and the ISO all play a role in photography.
- Shutter Speed – The length of time that the camera’s shutter is open, expressed in seconds, is referred to as the shutter speed. For instance, 1/100 means that your shutter is open for 1/100th of a second. The longer the shutter is open, the brighter the photo will be because there is more time for light to get in.
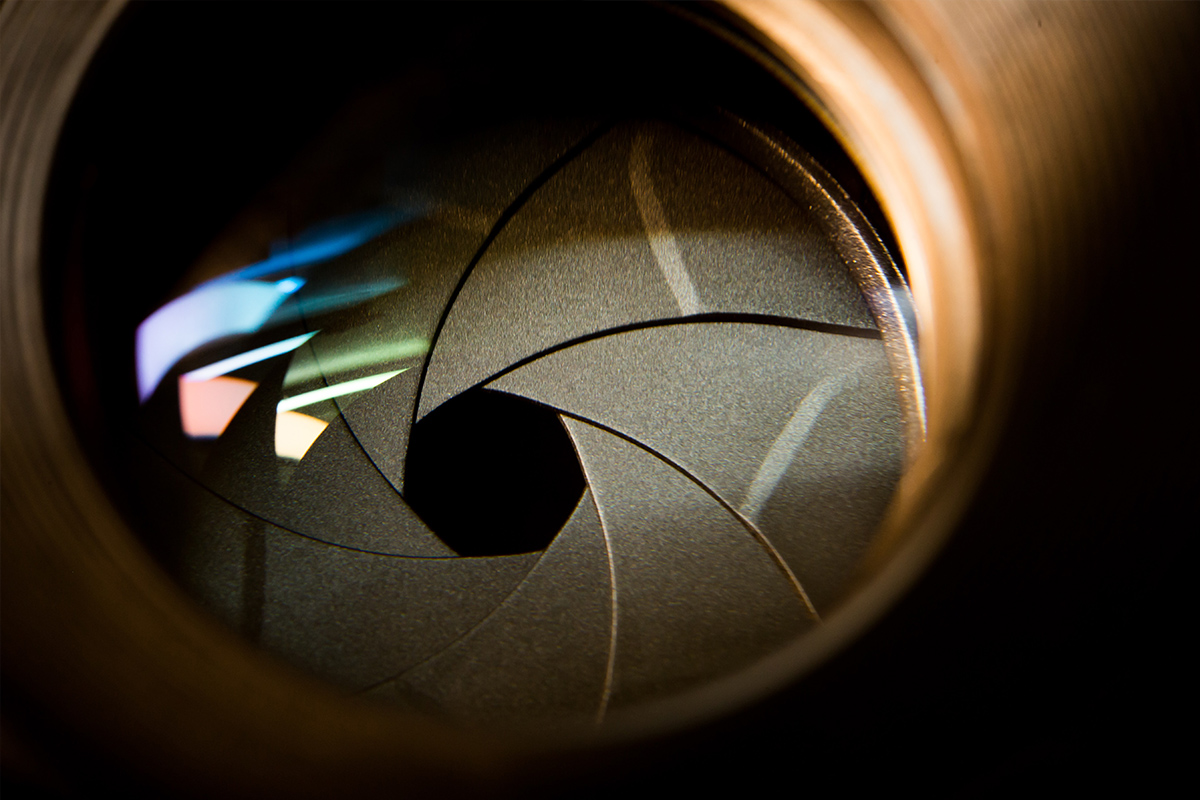
- Aperture – This is the size of the opening that lets light in. It is measured in f-stops. Contrary to what you might think, the higher the number, the smaller the opening. The aperture affects the depth of field. When the opening is bigger, the depth of field is shallower, while when the opening is smaller, more of the image is in focus.
- ISO – An ISO number indicates your camera’s sensor’s sensitivity to light. The greater your camera’s sensitivity to light, the higher its ISO setting.
Adjusting Exposure Using Colorcinch
Even inexperienced photographers can edit their photos and produce stunning images. There are numbers of web-based editing software to use. This time we will be exploring Colorcinch to manipulate and adjust a photo’s exposure.
A Step by Step Guide Using Colorcinch
This step-by-step guide will show you how to use an easy-to-use app to make your photos look more professional. Let’s begin!
Step 1: Open Colorcinch and Upload image
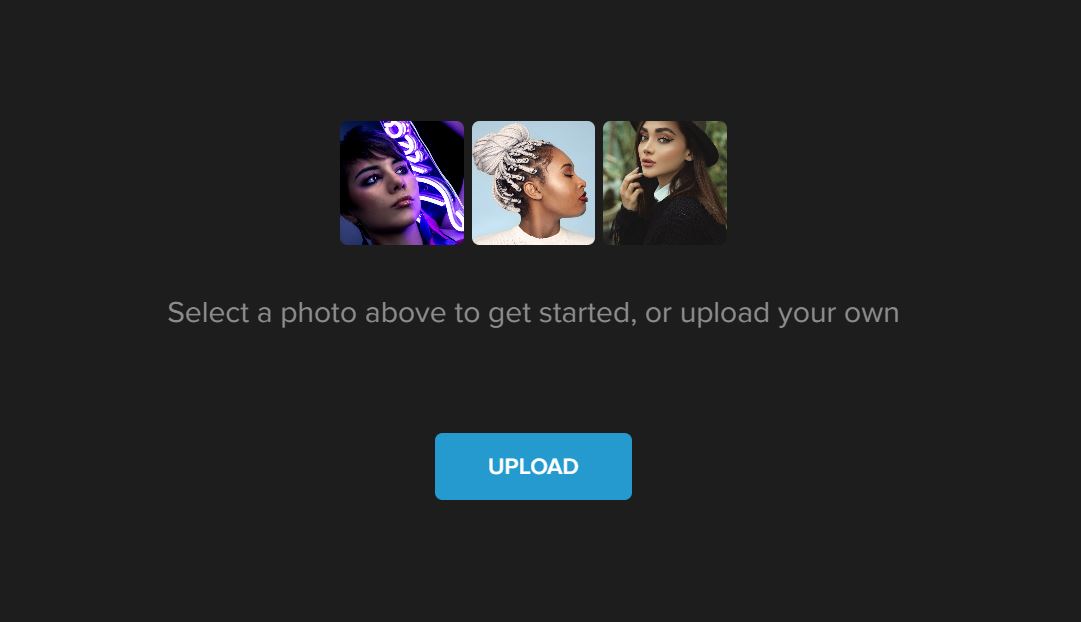
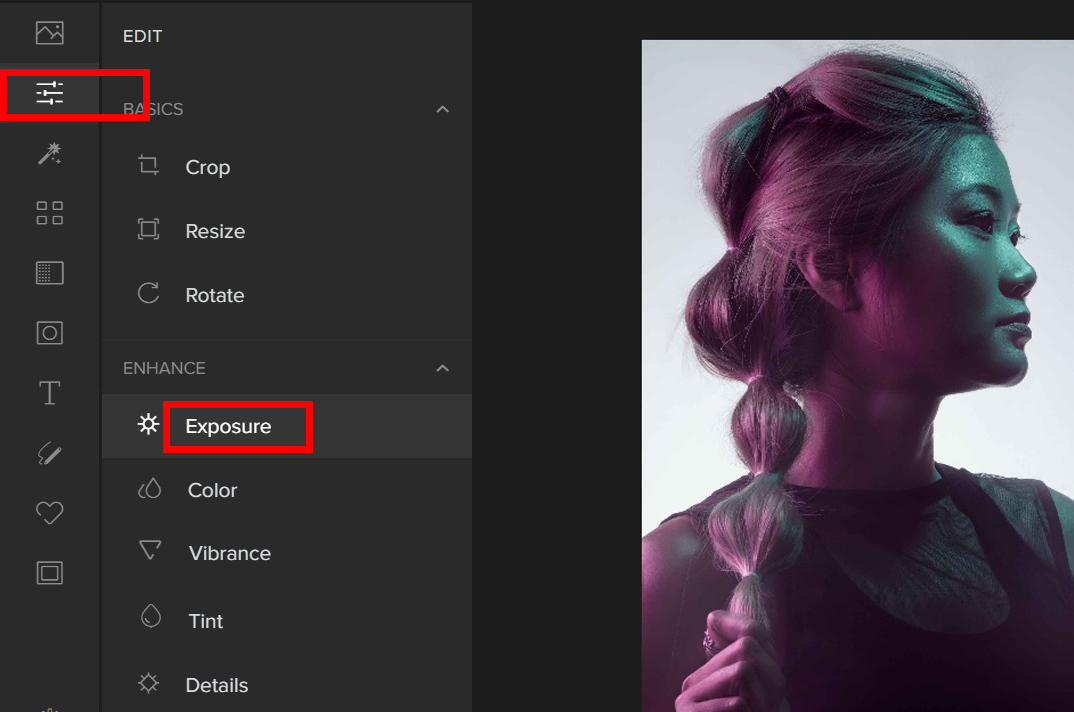
Step 2: Click Edit – Exposure
You will see a bar of features on the left side corner of the application that will help manipulate your photo.
Click on the Edit tab and you will see sub-groups such as Basics, Enhance, and Creative options. The Enhance option brings you to where the exposure feature is located.
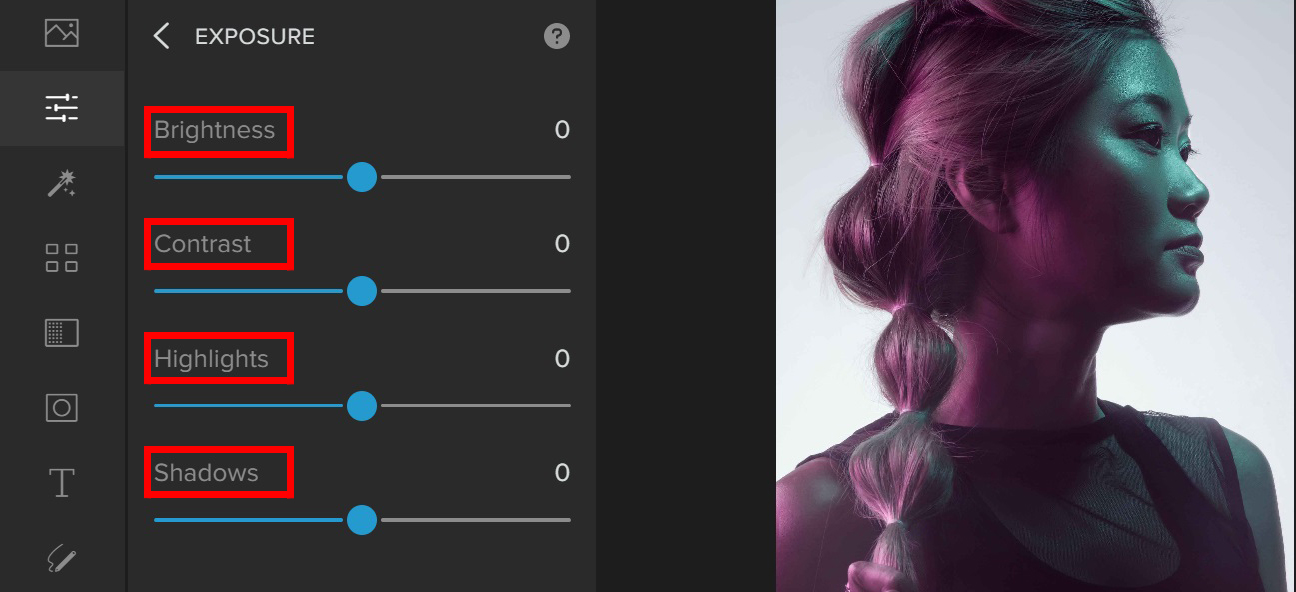
Step 3: Navigate Exposure
By using the Exposure tab, you will have complete creative control over your photographs. It has four essential components, allowing you to make straightforward adjustments to the exposure.
The four components that you can easily adjust with a slider are:
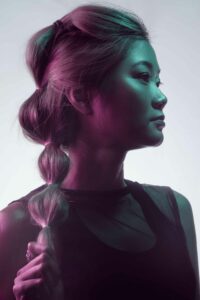
- Brightness – Brightness refers to how light or dark the image is as a whole. When the brightness is turned up, every pixel in the frame gets brighter.
- Contrast – Contrast is the difference in brightness between objects in an image. Increasing the contrast makes the light areas brighter and the dark areas of the frame much darker.
- Highlights – In photography, the term “highlight” refers to the area of an image that is the most illuminated.
- Shadows – In photography, the shadow is the darkest area of the picture while retaining some level of detail.
Experiment with the sliders and make adjustments until you achieve the desired result.
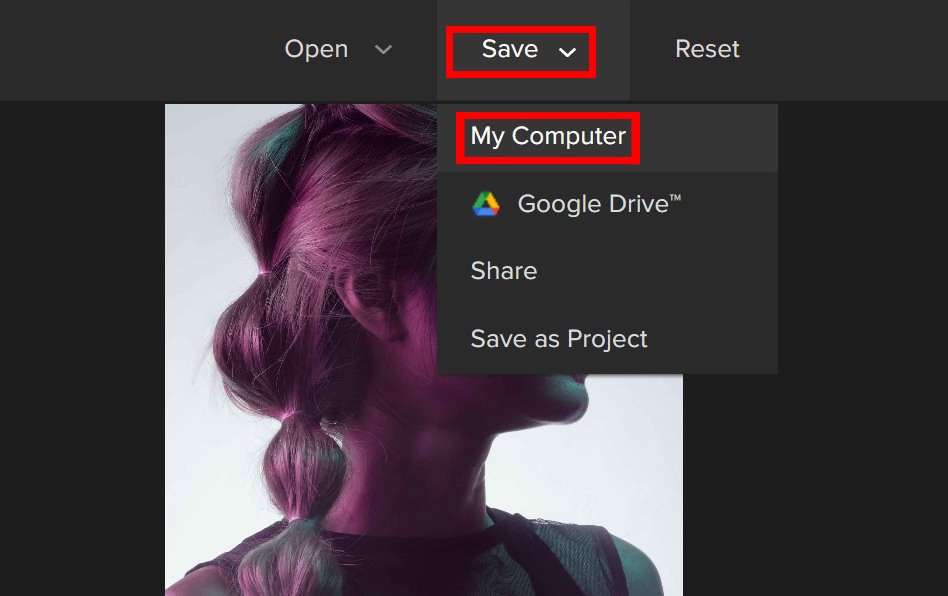
Step 4: Save and Share
Once you get the correct exposure, you can Save the image and may start sharing it on various social media platforms.
Why Should You Properly Expose Your Photos?
When you take a picture with the correct exposure, you are able to see every detail in the highlights and shadows. Underexposure is the term used to describe the effect that occurs on the camera’s exposure when the sensor does not receive enough light.
People who are new to photography or who only take pictures for fun and not as a means of earning a living may find it especially difficult to understand all of this photography jargon.
If you are not familiar with how to use the exposure triangle, it will be difficult for you to ensure that the exposure is correct. The good news is that there are a lot of web apps that make it simple for novices to get the results they want and to adjust the exposure of a photograph.
In conclusion, the quality of your photographs will undoubtedly improve if you take the time to get the exposure in-camera right. When you expose the photos correctly, it will give the impression that you are more professional and that your photos are more appealing.
However, if the photos taken directly from the camera require additional adjustments, just keep in mind that there are other ways to fix the problem.