
The exposure triangle forms the foundation of photography. Also commonly referred to as photography’s holy trinity or the three pillars of photography, having a firm understanding of the exposure triangle is a must if you’re serious about photography.
In this article, we’ll take a deep dive to learn in-depth about the exposure triangle. We’ll also see how we can use it to improve our photography.
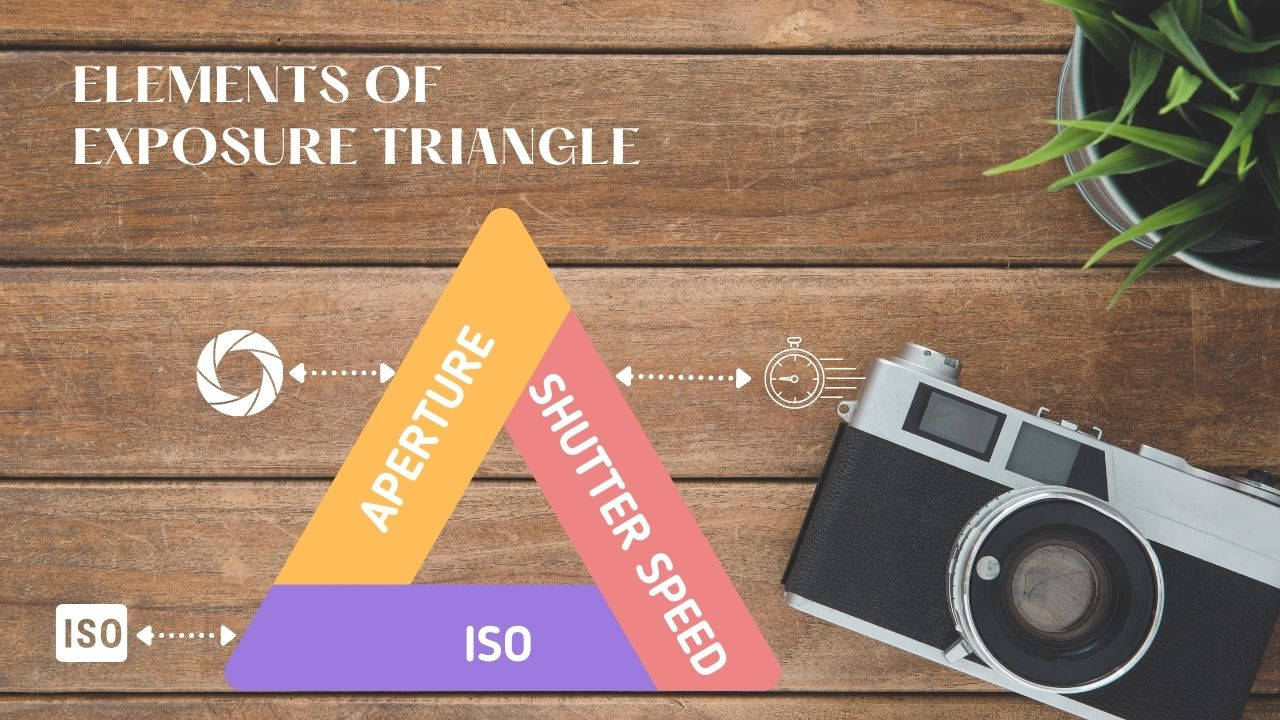
Elements of Exposure Triangle
The exposure triangle is made up of the following three fundamentals. We’ll learn more about them as we progress in the article.
- Aperture
- Shutter speed
- ISO
Aperture
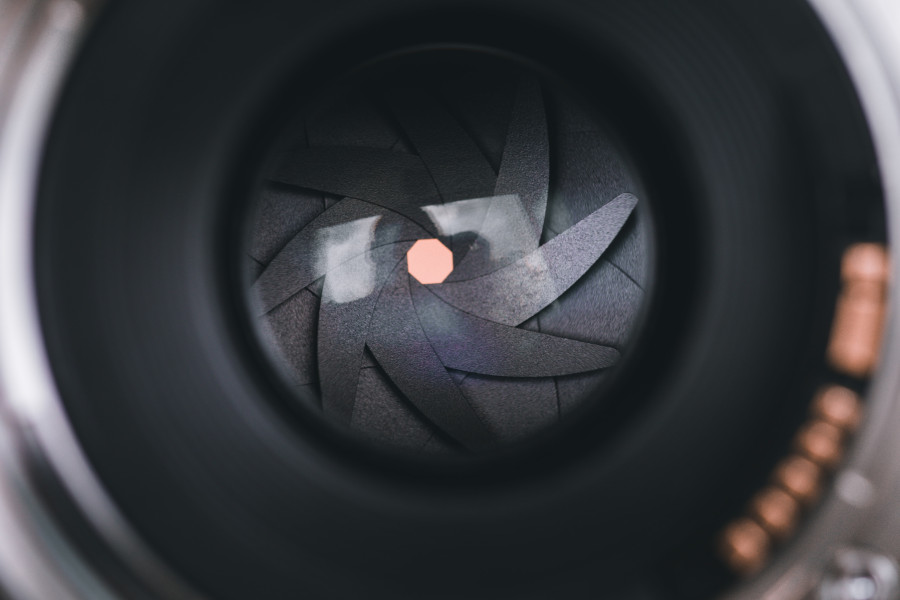
The aperture is the physical opening in the lens through which the light has to pass through to make it to the camera’s sensor. It’s made up of multiple layers of blades that open or close to control the size of the aperture.
By now you must’ve understood that the aperture controls the amount of light entering the camera – hence the brightness
Aperture and Depth of Field
Aperture also controls what’s called the depth of field. A lens cannot have everything in focus from front to back. At any given aperture, there’s a certain range within which the image is acceptably sharp, which is known as the depth of field.
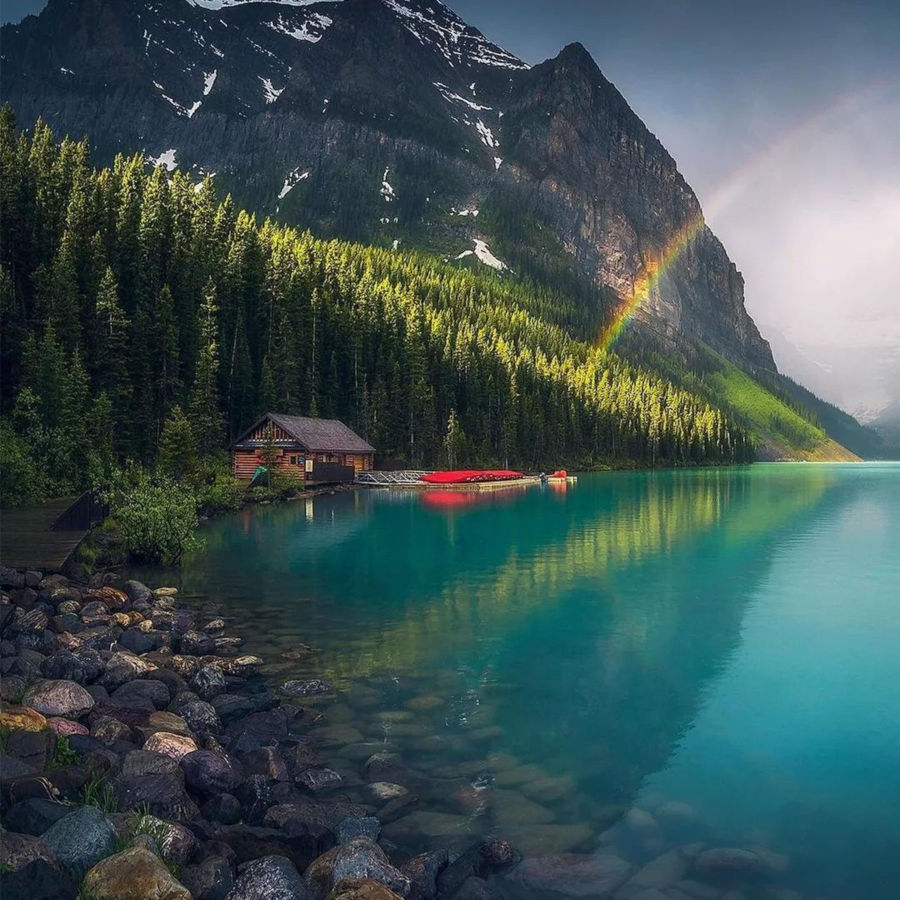
A greater depth of field means that a greater portion of the image is in focus and appears sharp. This is mostly the case with landscape images. You can achieve a greater depth of field by closing down the aperture i.e. narrow opening.
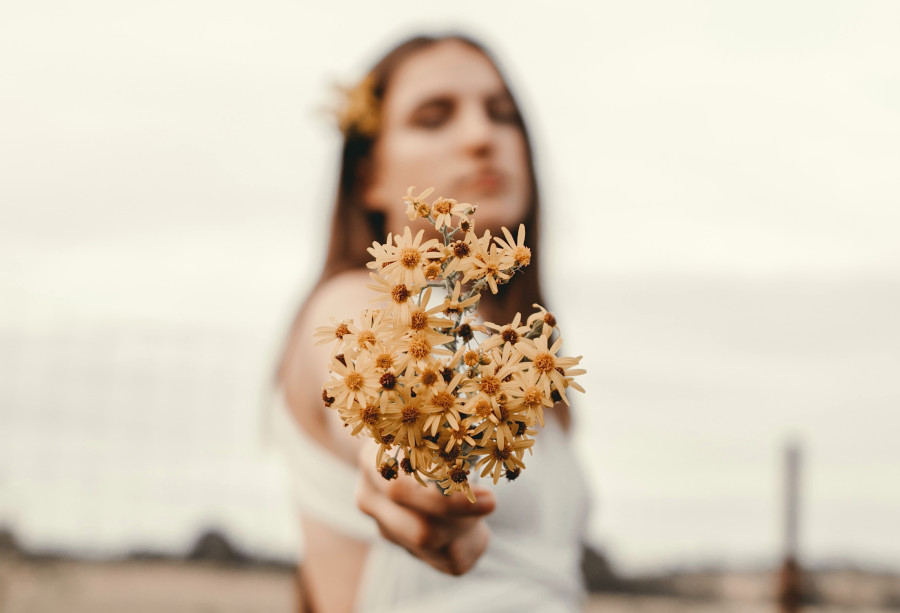
On the other hand, a shallow depth of field means that only a smaller portion of the image is in focus and most of the image appears out of focus and blurry. For instance, this is prominent in portrait and macro photography. You can have a shallower depth of field by widening the aperture.

Aperture Notation
Aperture is measured in terms of f-stops. Mathematically, an f-stop (also known as f-number) is the ratio of the focal length to the diameter of the aperture. It is represented as fractions like f/1.8, f/5.6, f/8, and so on.
It is worth noting that wider apertures have smaller f-numbers like f/1.8, f/2, and so on. Whereas, a narrower aperture will have greater f-number such as f/8,f/13, and so on. It can be a bit tricky at first so it’s important that you pay attention to this.
Aperture Summary
In summary, a wide aperture:
- is represented by smaller f-numbers such as f/1.8
- allows more light to enter the camera
- has a shallow depth of field i.e. less things in focus
On the contrary, a narrow aperture:
- is represented by bigger f-numbers such as f/13
- allows less light to enter the camera
- has a greater depth of field i.e. more things in focus
Every lens has a fixed range of aperture values and they vary from lens to lens. Be sure to go through the specifications of your lens to know about its maximum and minimum aperture range.
Shutter Speed
It’s not that the light can reach the camera as soon as it passes through the lens. Right in front of the sensor is the shutter which controls when the sensor is to be exposed to light, and for how long. Think of a shutter as the blinds on your windows.
Basically, the shutter opens when you click the shutter release button on the camera to take a picture. You can control the duration for which the sensor is to be exposed to light by defining the shutter speed.
The shutter speed is thus the duration for which the shutter opens to let the light. Since it’s a time period, it’s measured in terms of seconds. If it’s fast, shutter speed is represented in terms of fractions like 1/1000s (read one thousand of a second), or 1/500s. But if it’s slow, it is represented simply as 1s, 2s, 30s, and so on.

Shutter Speed and Brightness
When you set a faster shutter speed like 1/500s, the shutter opens and closes almost instantly letting very little light into the sensor. This is useful when the scene is brightly lit, or when you want to take a dark image.
On the other hand, when you set a slow shutter speed like 1/2s, the shutter opens for a significant time letting a considerable amount of light into the sensor. This is useful when the scene is dimly lit, or when you want to take a bright image.
Shutter Speed and Motion
Besides controlling the time duration for the light to strike the sensor, shutter speed also plays a pivotal role in capturing or freezing motion.
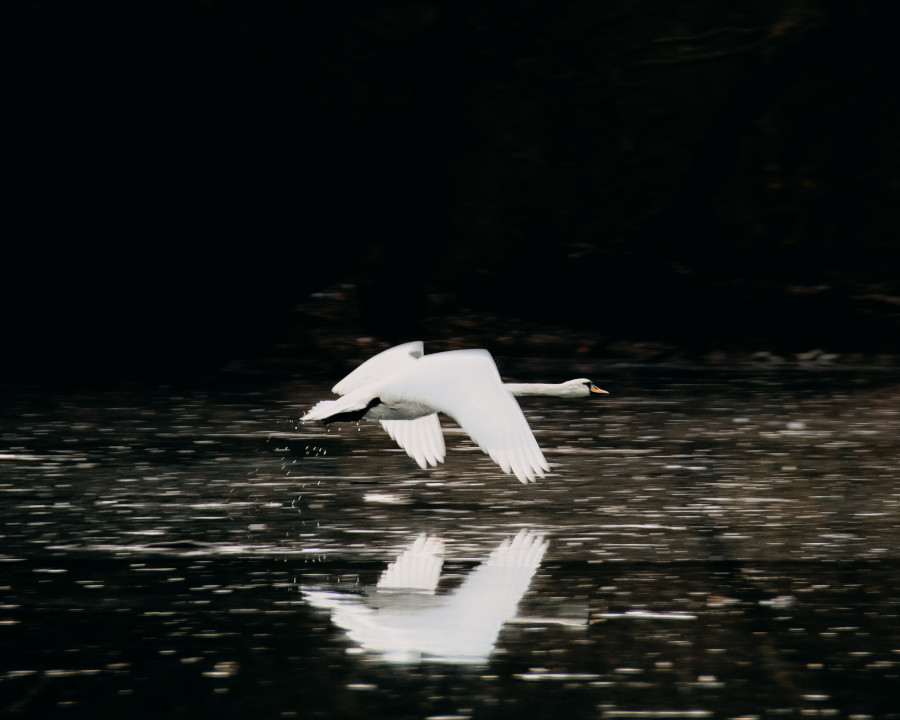
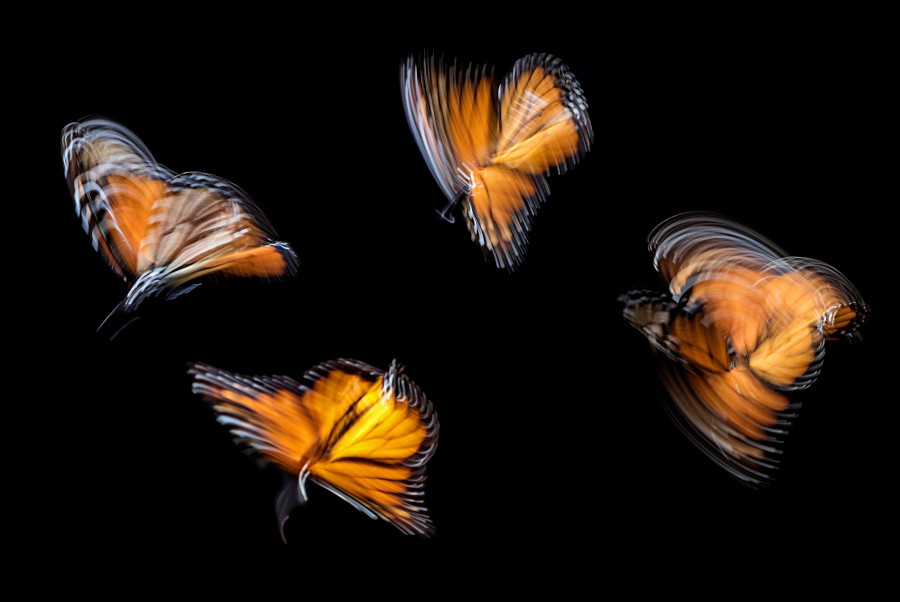
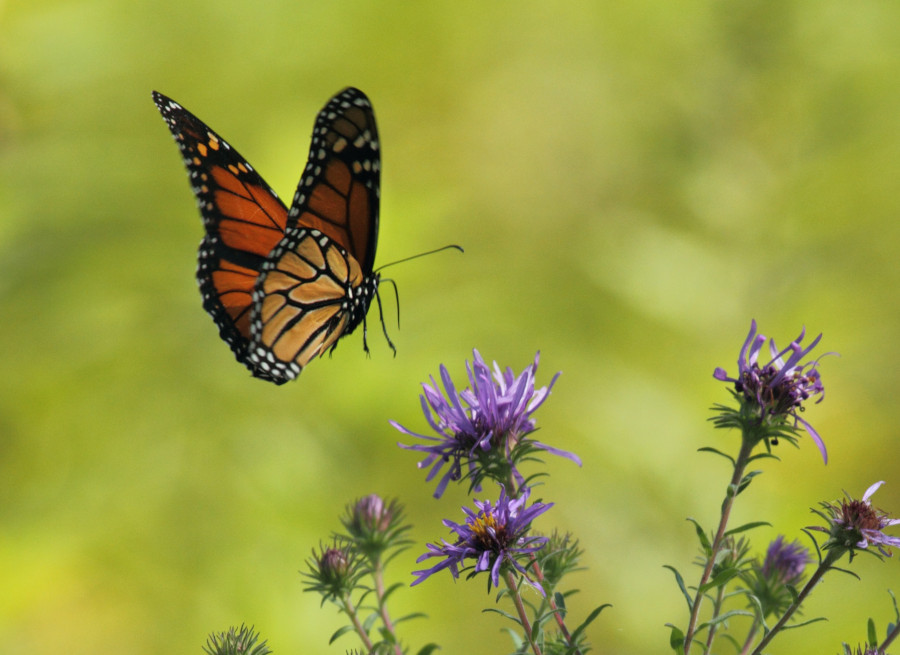
Using a fast shutter speed ensures that your subject appears well-frozen and tack sharp. A fast shutter speed nullifies the subject’s motion and freezes them. This is why sports and wildlife photographers use a shutter speed of 1/1000s and even faster.
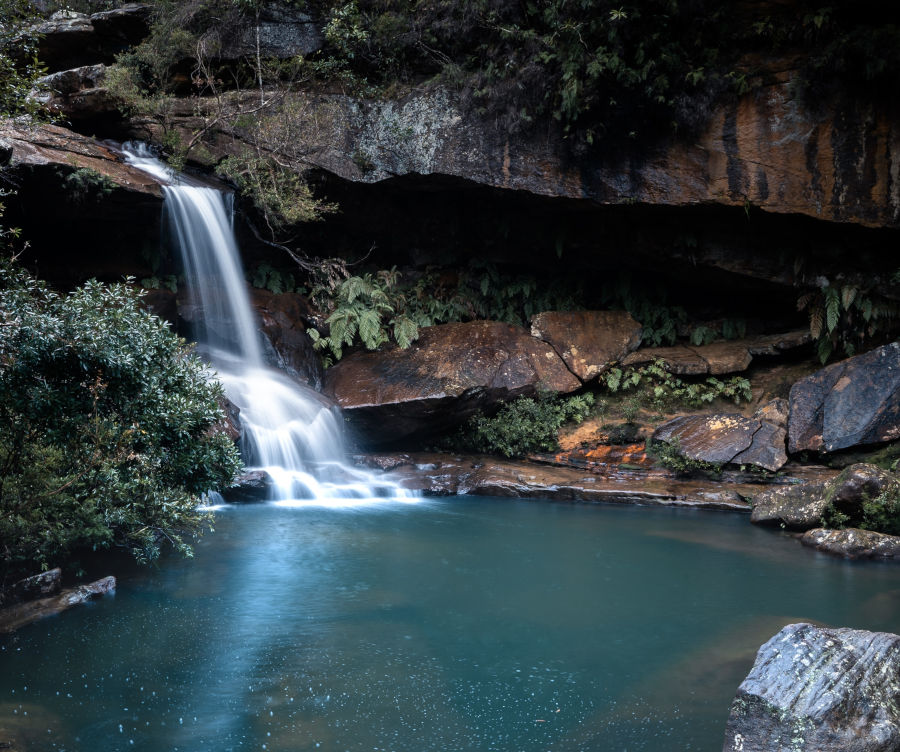
Sometimes, especially for creative reasons, you’d want to capture the subject’s motion in your images. This is where using a slow shutter speed comes in handy. Notice how the waterfall appears silky smooth in the image above.
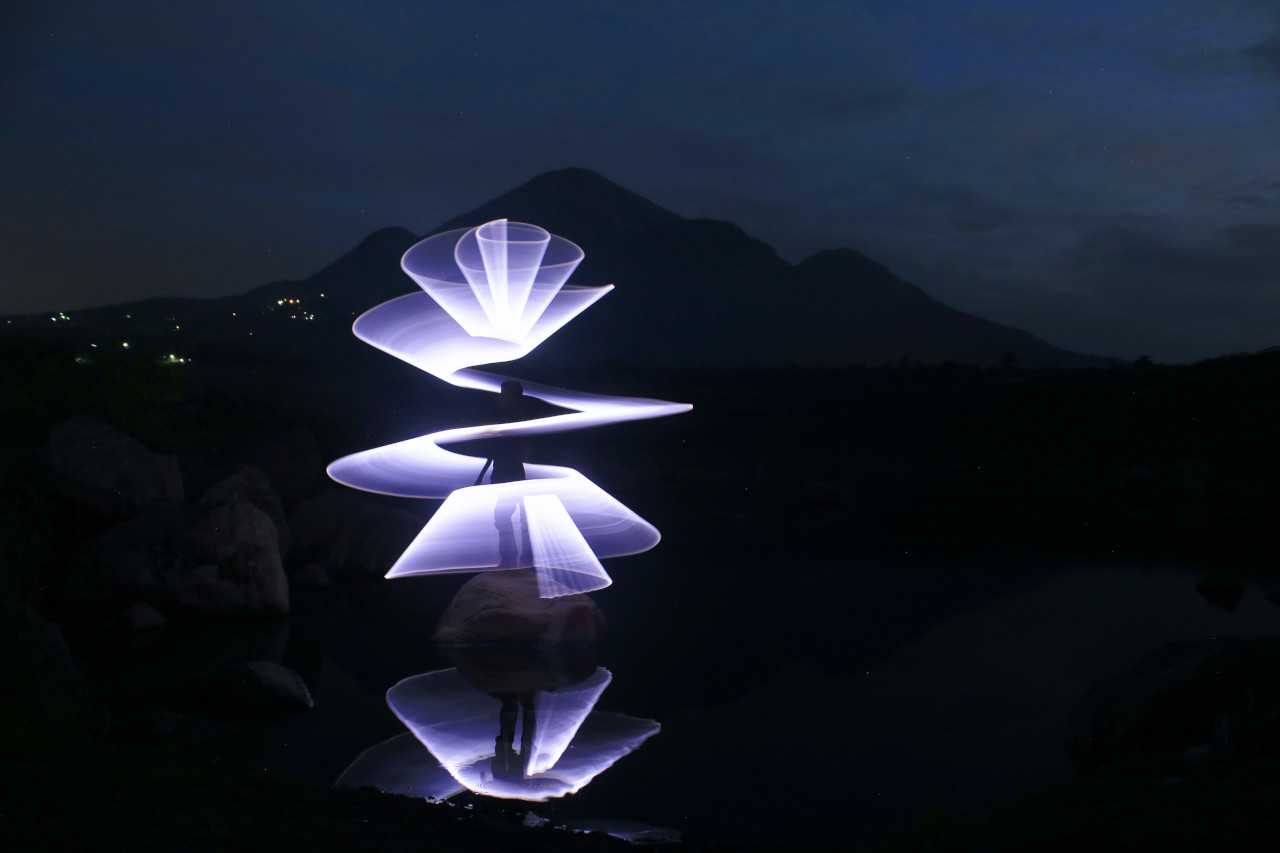
You can also use a slower shutter speed in a dimly lit situation and for creative purposes like light painting. In such cases, the camera records the movement of the light source for a dramatic effect.
In case the shutter speed is too slow, you will need to use a tripod. Otherwise, the image will come out blurry either due to the shaking of your hands, or the movement of the subjects.
ISO
ISO determines the level of amplification of the light signals done by the camera’s image processor. When the ISO is set to its base value (usually 100), no boosting occurs. In all the other values, the signal gets boosted so that the image appears brighter.
ISO is measured in terms of absolute numbers like 100, 200, 400, 800, 1600, and so on. When you double your ISO, you double the brightness of the image.
Now, while ISO might sound like the holy grail to tackle dark images, there’s a catch. Simply increasing the ISO won’t help you take photos in dark conditions as it has an adverse side-effect.
Amplifying the light signals gives rise to grain-like artifacts in an image referred to as noise. They reduce the details on an image and also result in inaccurate colors. So, you’ll need to be very much aware of your camera’s ISO capabilities as every sensor has its own limitations.
Exposure Triangle: Deciding on the Variables
Now that you have an idea of the elements of the exposure triangle and how they affect your image, let’s see how you can decide on your camera settings for the perfect exposure.
1. Prioritize the Aperture or Shutter Speed Setting
Ask yourself if you’re more concerned about the depth of field in the image, or the motion of the subject. For instance, if your subject moves around quite a bit and you’re concerned about their speed, prioritize shutter speed.
Start by setting a fast shutter speed of about 1/1000s while leaving the ISO to its base value. Since this will cut down the light significantly, you’ll need to reduce the aperture. While keeping an eye on the light meter of your camera, reduce the shutter speed until the light meter points to the middle 0 value.
If the moving subject appears frozen and tack sharp, you’re well and good. But in case you weren’t able to freeze the motion on your first try, you can try again by increasing the shutter speed to let’s say 1/2000s.
Again, since you’re reducing the exposure duration, you will need to widen the aperture while keeping an eye on the light meter so that it points to 0. Repeat the process until you’re able to completely freeze the motion.
On the other hand, if you are more concerned with the depth of field, dial in your aperture setting first while leaving the ISO to the base value. Then, let the shutter speed setting follow.
For instance, if you want to isolate your subject, set your aperture to its widest setting, let’s say f/1.8. Since this will let in a lot of light, you’ll need to increase the shutter speed while keeping your eye on the light meter until it reads 0.
On the contrary, if you want an image with a large depth of field, start with a narrow aperture, preferably around f/8 or f/11. Since this will cut down the light, you’ll need to use a slower shutter speed. So, reduce the shutter speed while keeping your eye on the light meter.
2. Set Your ISO
We highly recommend that you keep the ISO at its native value as far as possible. This is why we suggest that you set your ISO only after you’ve dialed in your aperture and shutter speed.
Increase your ISO only in cases where camera shake or motion blur becomes unavoidable due to a slow shutter speed. That’s because the image comes out the cleanest at the base ISO. Once you increase the ISO the camera will introduce some level of noise in the image.
Having said that, it should also be noted that modern cameras have fantastic high ISO performance. So, be sure to check how your camera performs at higher ISOs. This will give you more confidence to switch over to higher ISO values when needed.
Giving Your Exposure a Final Touch
During the initial phase of learning photography, expect your exposures to be all over the place. You’ll overexpose some images, underexpose some, and take blurry photos most of the time. Just don’t stress yourself. That’s how we all learn.
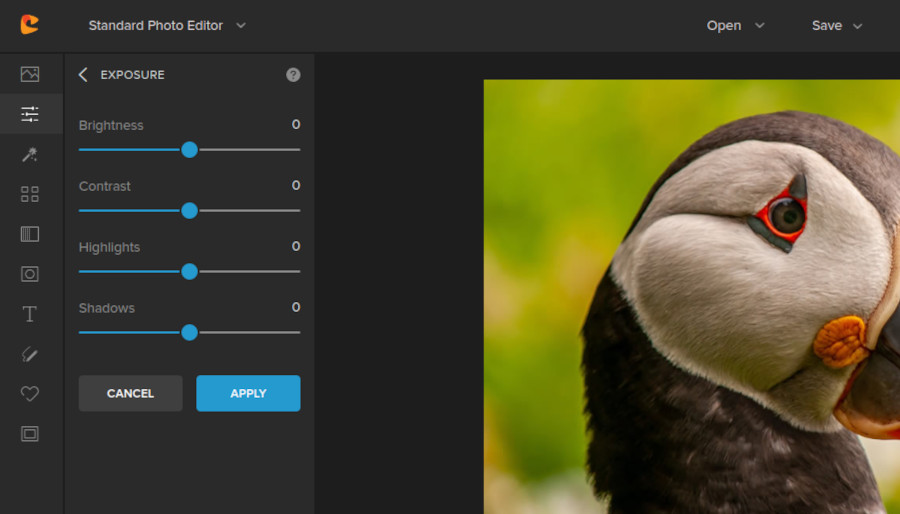
While there’s no fix for blurry images, we can take the help of photo editing tools like Colorcinch to fine-tune exposure-related issues. In Colorcinch, if you navigate to Edit – Exposure, you’ll come across the following options that will help you drastically improve the exposure in your image.
- Brightness: This controls the overall brightness of the image
- Contrast: This controls the extent of difference between the brightness and the darkest parts in an image and helps to add a pop to flat images
- Highlights: This affects only the brighter regions of the image
- Shadows: This affects only the darker regions of the image
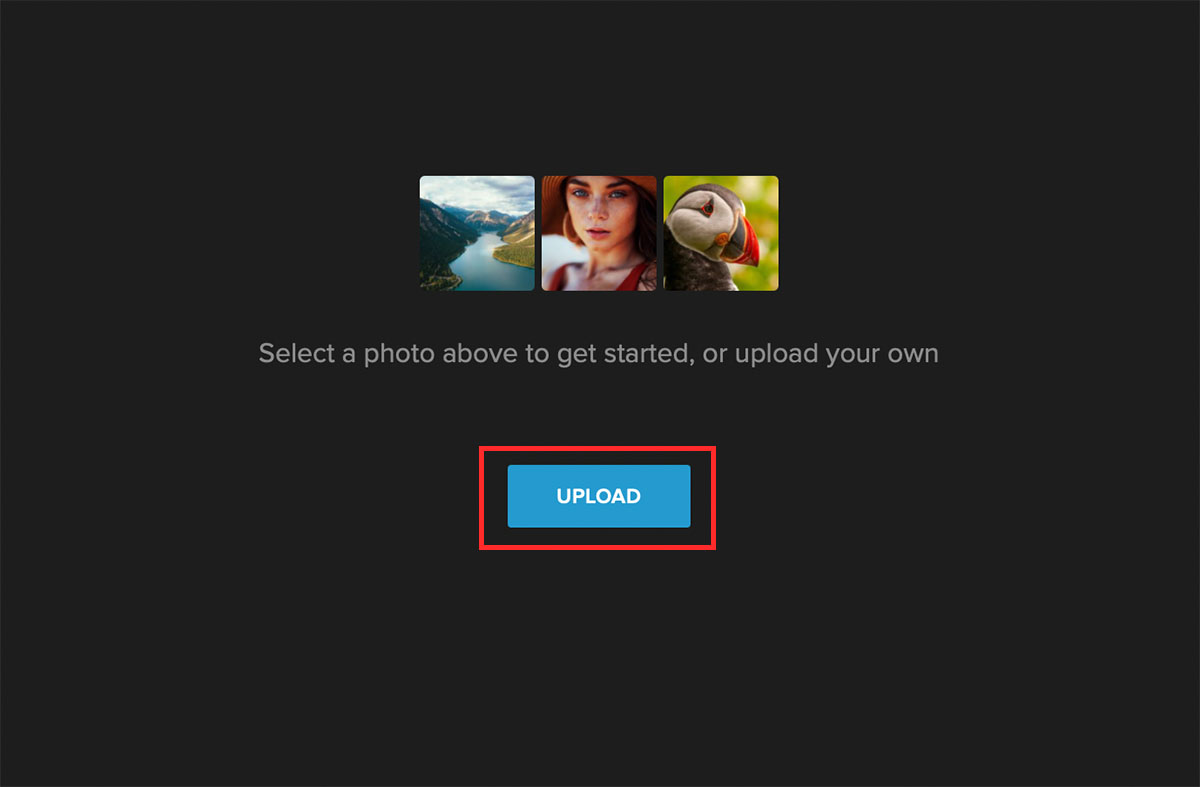
For instance, let’s have a look at how we can transform an underexposed image in Colorcinch.
Step 1: Upload the image to Colorcinch.
Step 2: Navigate to Edit – Exposure. There, you’ll find the exposure controls.
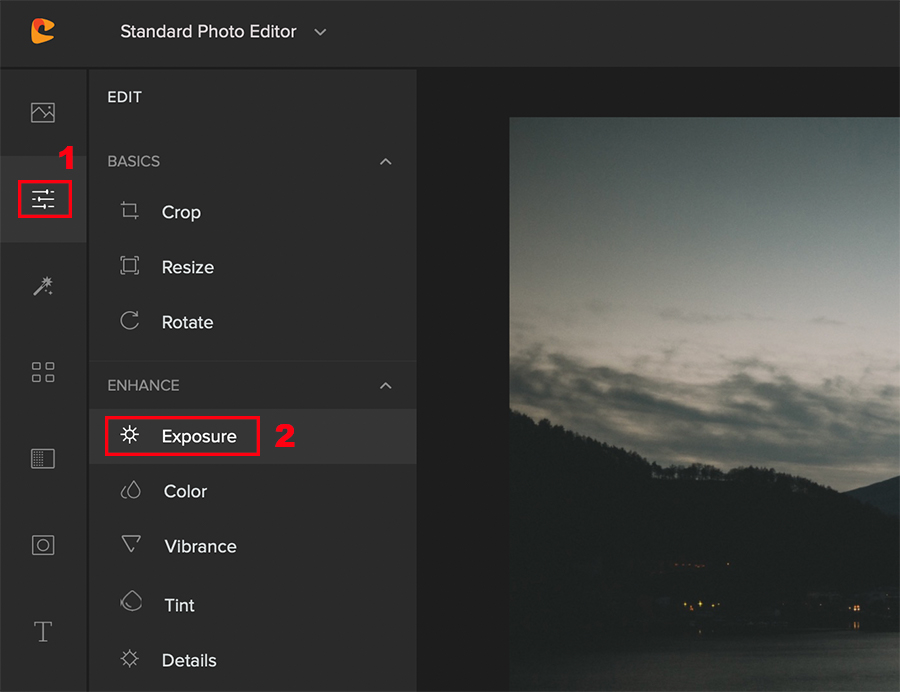
Step 3: Start by adjusting the overall brightness of the image using the Brightness slider. To adjust the sky region (bright), use the Highlights slider, and to adjust the landscape region (dark), adjust the Shadows slider. Finally, add some kick to the image using the Contrast slider.

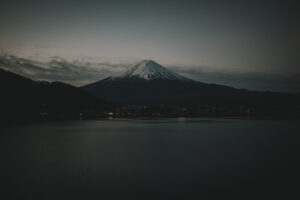
Here’s how the image appears after the adjustments.

To Sum it Up
Photographing feels a lot more challenging in the earlier stages. But once you get a hang of things like the exposure triangle, you can concentrate more on the creative aspects of photography. And that’s where all the fun and other challenges come into play.
We’re sure that our discussion here regarding the exposure triangle will help you kick start your photography journey. All the best!