
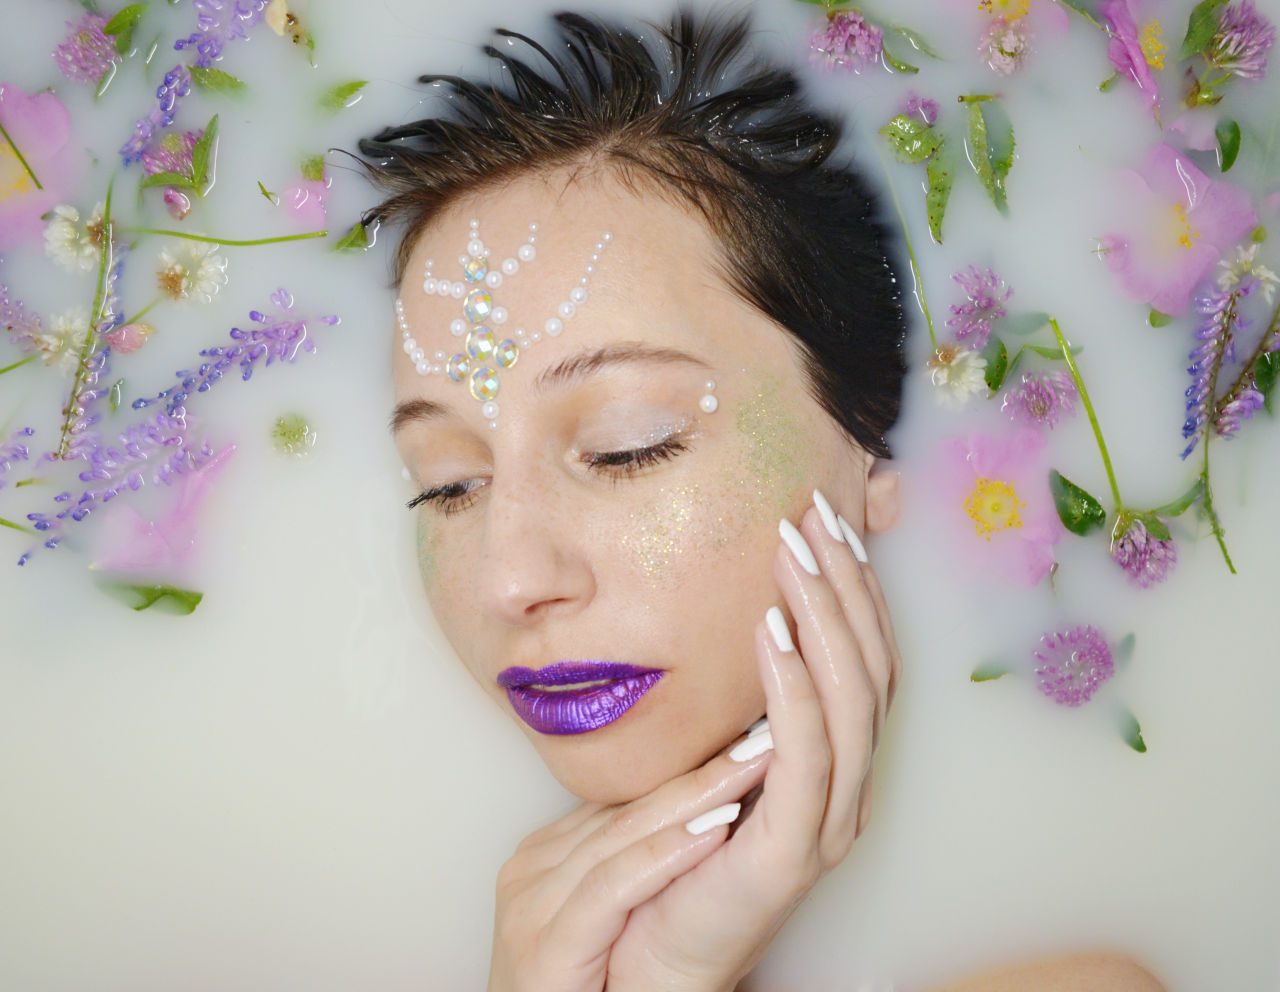
Milk bath photography is one of the best themes that you can go for if you’re looking to create photos that appear cute, unearthly, or even bold and sensual. That’s why this is a popular choice for photographing babies, expecting moms, and even for fashion and boudoir shoots.
The best part of photographing with milk baths is how it allows you to draw the viewers’ attention solely to your subject. The white negative space lets you compose with the least distraction and ensure that you capture only what you want to portray.

Another great thing about milk bath photography is how easy it is to do and that too at the comfort of your own home. The results might give you a feeling that shooting milk bath photos is tough, but that’s totally not the case.
You just need to pay attention to a few basic things to be able to ace your milk bath photography session. Let’s see how you can create surreal photos with milk bath photography.
Milk Bath Photography: The Essentials
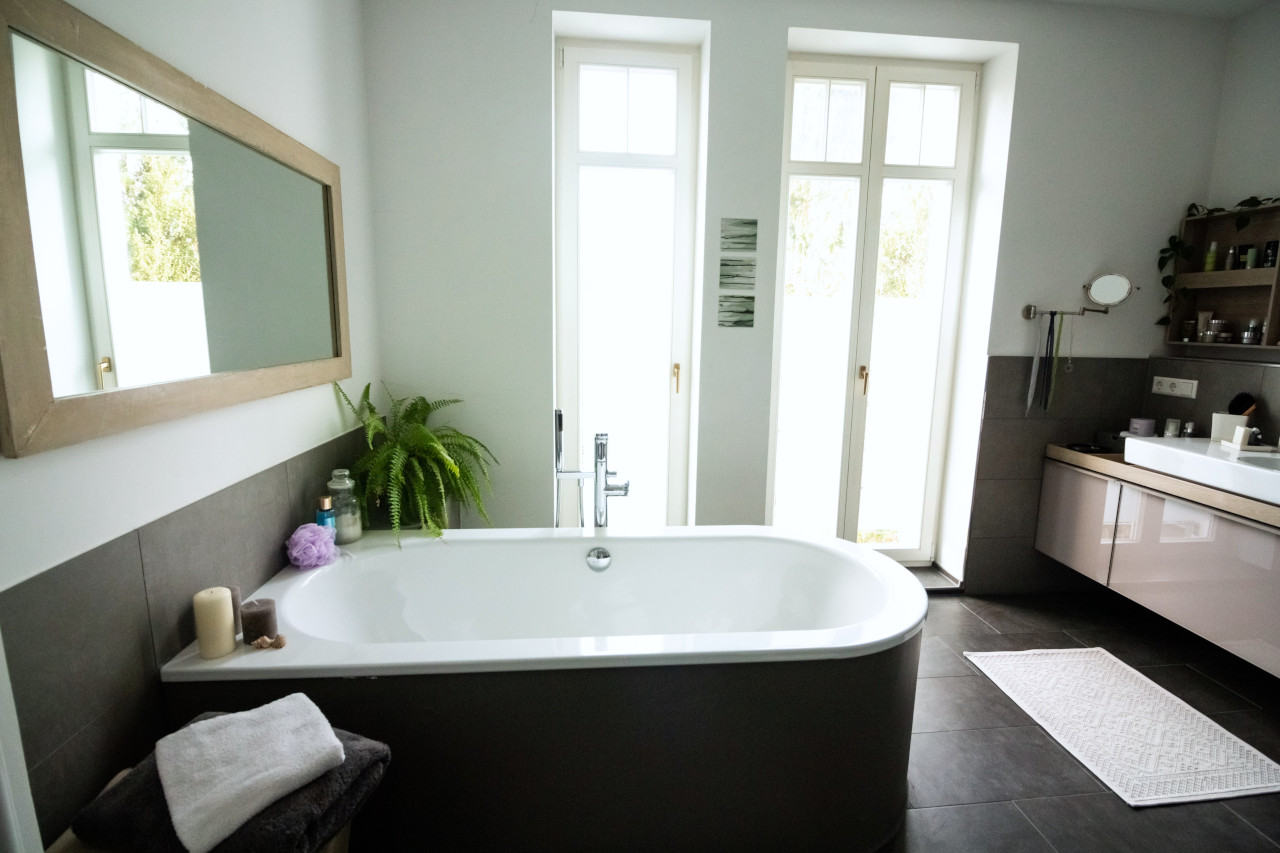
There are a few things that you need to prepare before you can start taking milk bath photos so that your session goes uninterrupted.
- Have the bathtub squeaky clean preferably a day prior to the shoot to ensure that no stains are visible in the photos
- In case you’re preparing for a maternity milk bath photography session, ensure proper ventilation as any sort of smell can easily trigger sickness in pregnant women
- If you don’t have one, get a step ladder that you can easily fit in the bathroom; this makes taking photos from above a whole lot easier
- Purchase some flowers (optional) and non-fat milk powder from the grocery store
- Keep extra towels handy and ask your subject to bring a fresh pair of clothing and undergarments as well
How to Take Milk Bath Photographs
1. Lighting
Lighting is the first thing you should consider when doing milk bath photography. Since you’ll need to work indoors in a very limited space, it really helps if there’s a window or a doorway closeby through which ample natural light can come in where the bathtub is.
In case there’s no sufficient natural light, you will need to make use of flash with a light modifier such as a softbox.
If space is really an issue and you can’t use a modifier, be sure to turn the flash head up towards the ceiling. Doing so will soften the light significantly and help you in making flattering images.
2. Camera Settings for Milk Bath Photography
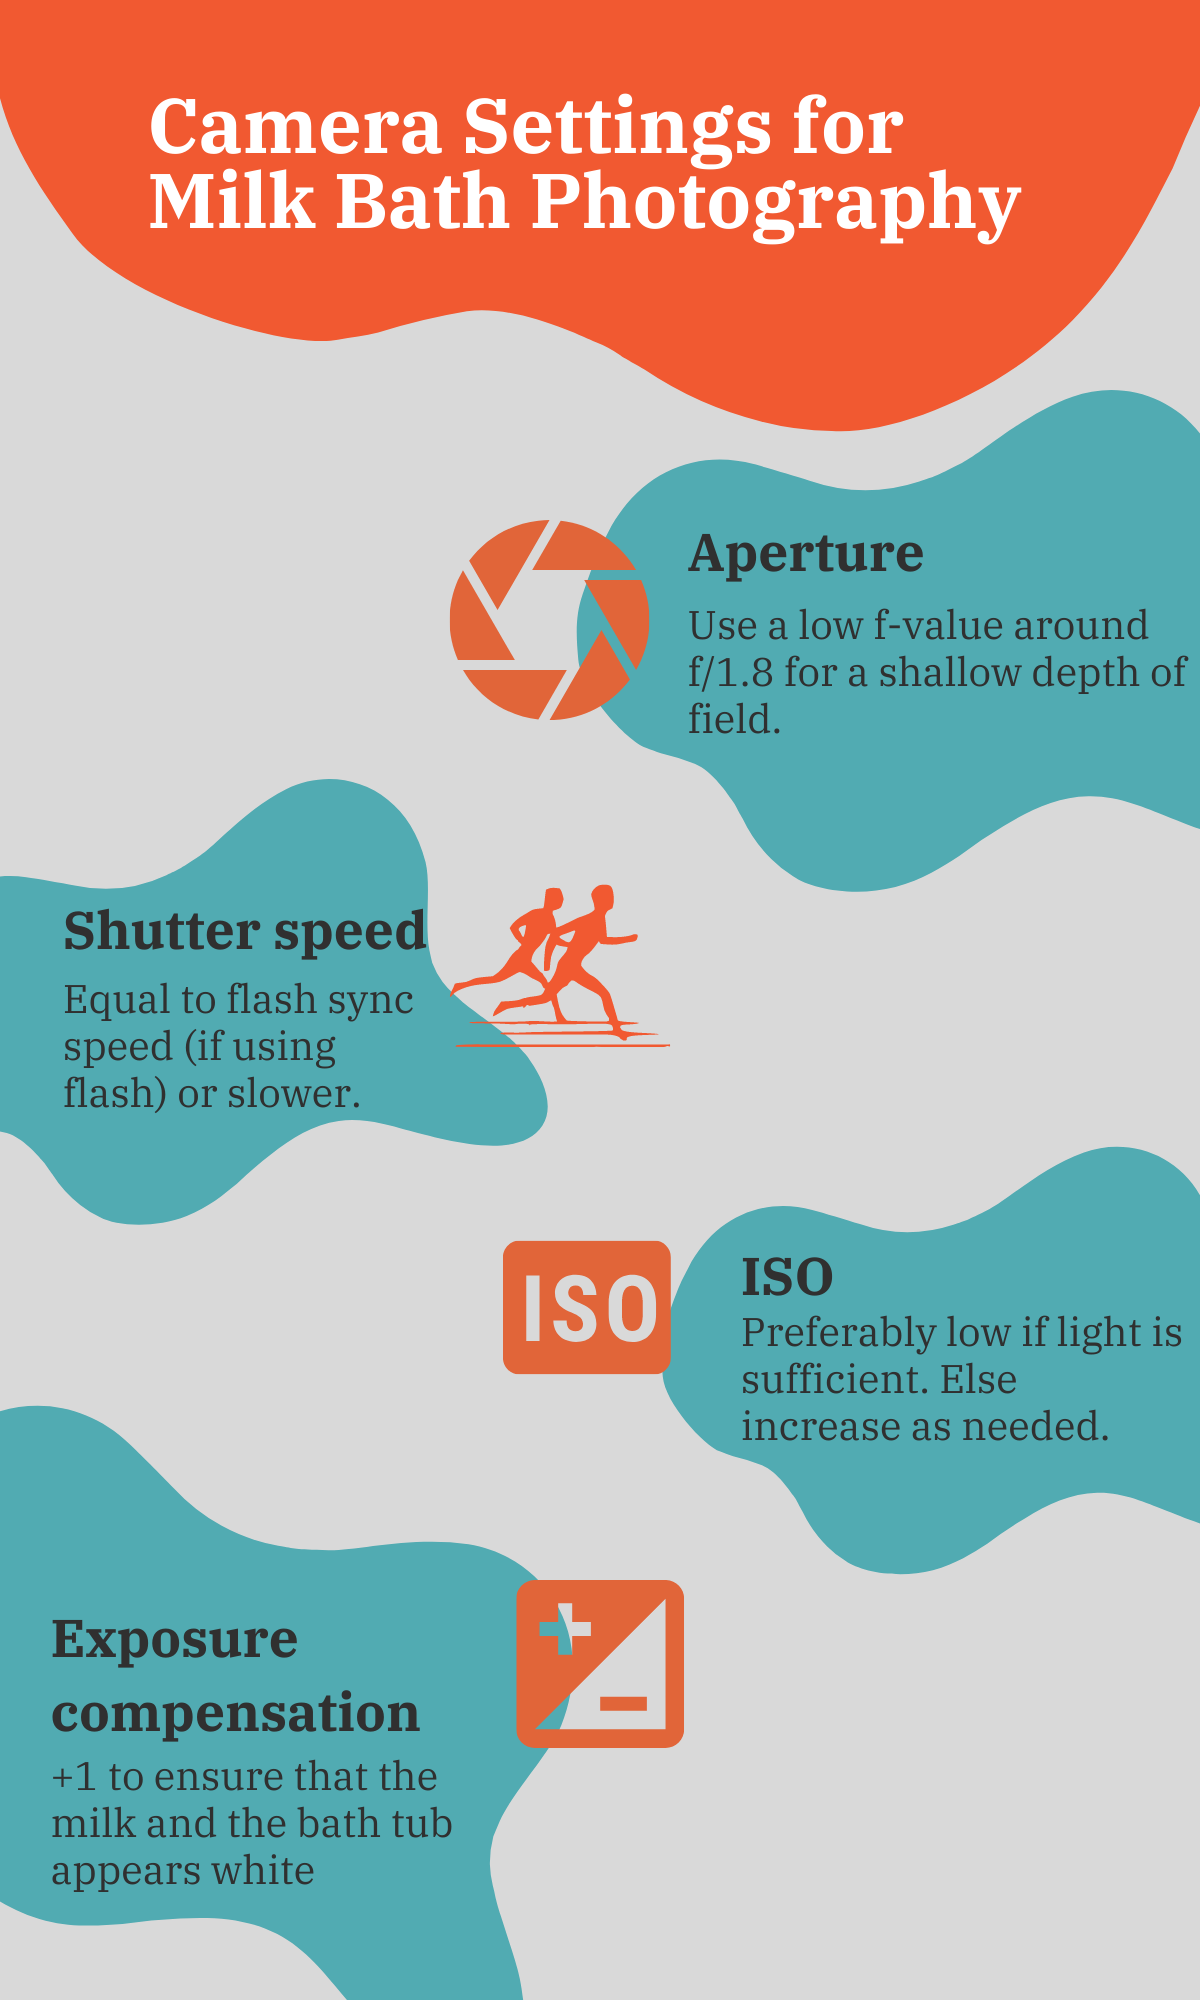
Milk bath photography is not very different from portrait photography. The camera settings that you’ll need for milk bath photography are thus not very different from what you can use for portrait photography.
- Aperture: Use a wider aperture setting (around f/1.8-f.2.8) to keep just the subject in focus
- ISO: Set the ISO to the lowest setting if the light is ample but feel free to raise it if you need to
- Shutter speed: If you’re using flash, set the shutter speed to the camera’s sync speed (usually 1/250s), otherwise, you can go slower as the subject won’t be moving
If you choose to work with the camera in semi-auto modes like aperture priority mode or shutter priority mode, be sure to set the camera’s exposure compensation to around +1. This will ensure that the whites will appear white.
To know more about exposure compensation, be sure to go through our guide to snow photography.
How to Make a Milk Bath
Thankfully, you don’t need to fill your entire tub with milk to make a milk bath. Start by filling your tub with warm water as if you’re going for a bath. Warm water is essential so that it can dissolve the milk better.
Then, slowly start pouring in the powdered milk while you gently stir the water with your hand to help with the mixing process. The answer to how much milk you should pour in really depends on the size of your tub and the volume of water.
As you’re gradually pouring the milk and stirring with your hand, notice when the mixture becomes milky enough to appear opaque. You shouldn’t be able to see the portion of your hand immersed in the bath. You can stop pouring additional milk once that happens.
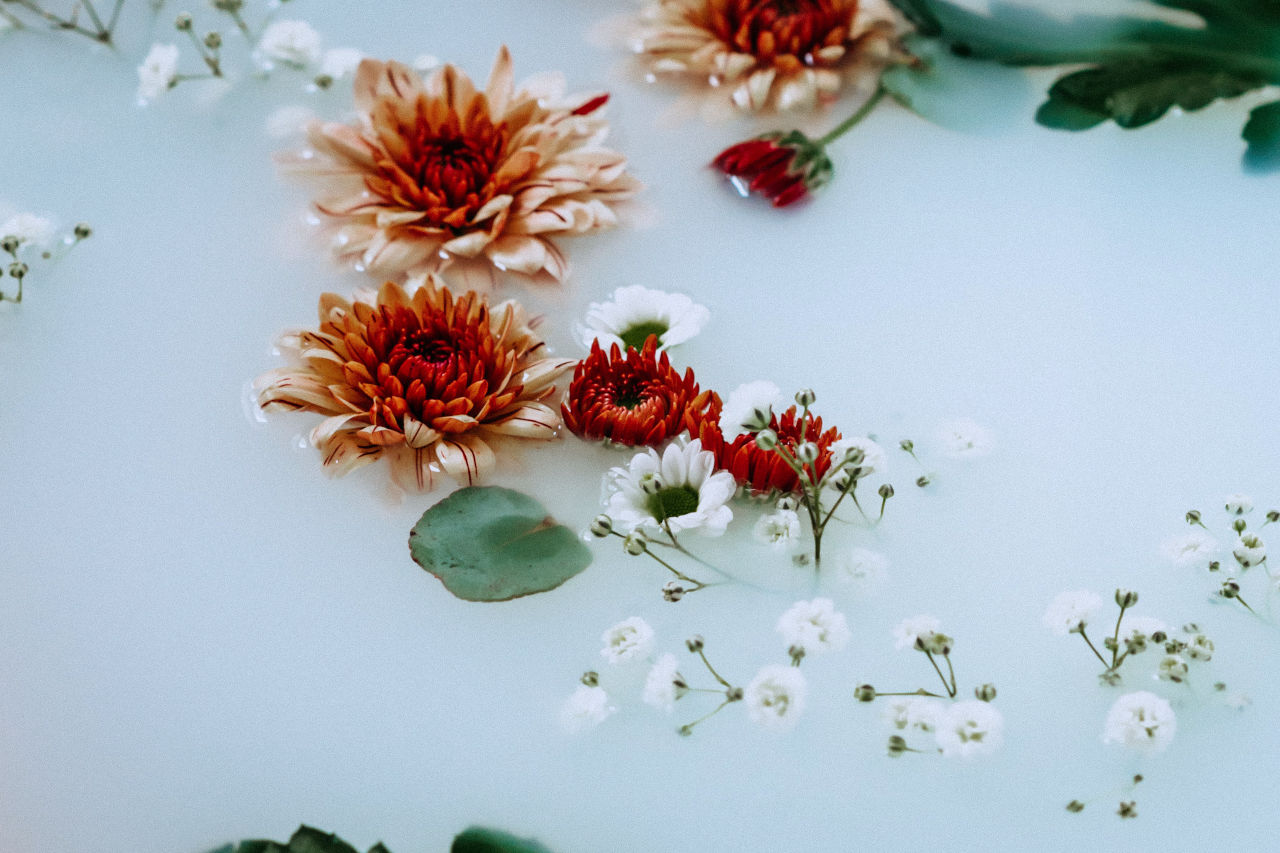
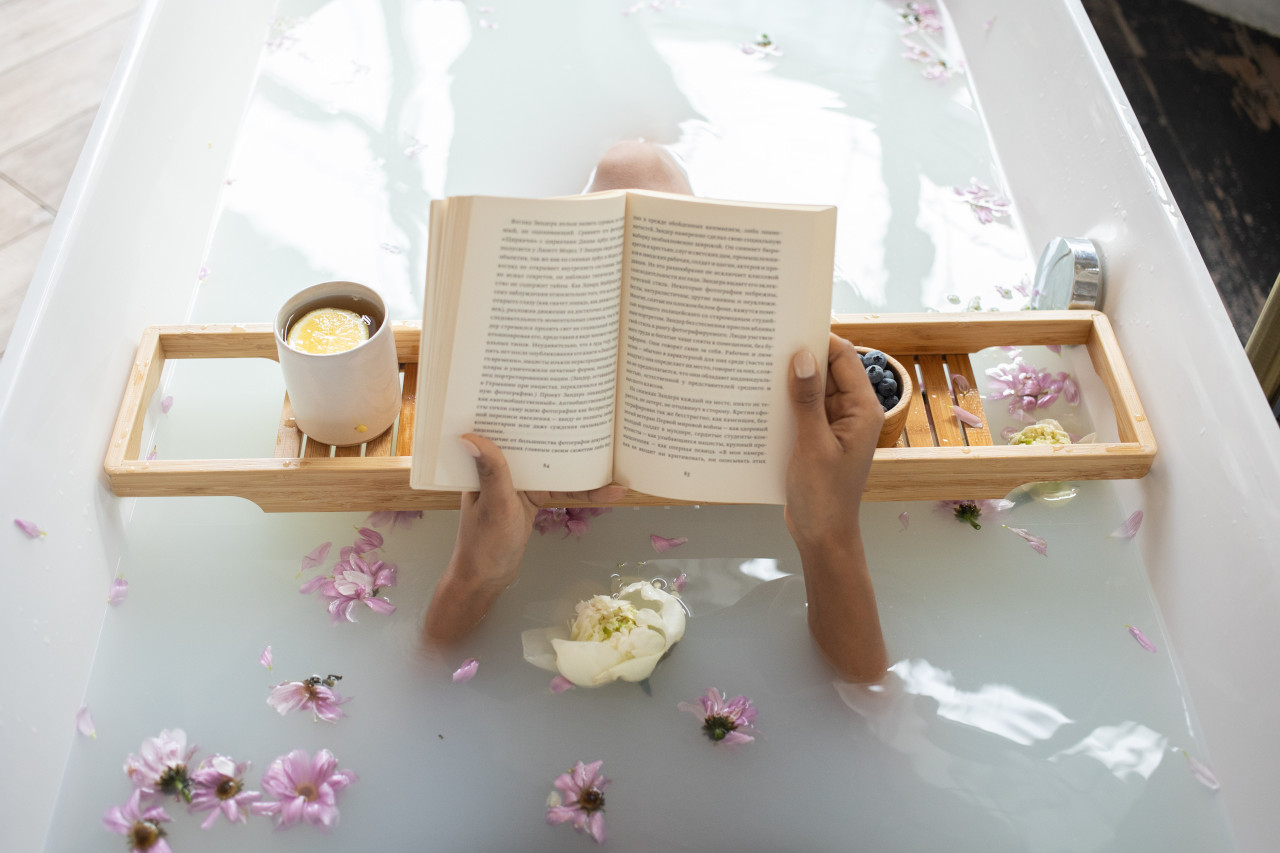
Next, decorate the milk bath with flowers or even sliced fruit like lemon. Get rid of the flowers’ stem using scissors and place them gently on the bath you just prepared. If you want to create specific patterns using the flowers and/or the fruit, let your subject in the bath first.
5 Creative Ideas for Milk Bath Photography
1. Create a Frame Around Your Subject

When it comes to composition techniques in photography, creating a frame around your subject is one of the most effective techniques to draw the viewers’ attention towards them. You can use the same idea in milk bath photography as well.
Carefully place the flowers or fruit slices around the region of the subject where you want to emphasize and shoot vertically downwards to create a framing effect. You can even use a step-ladder to be able to compose your shot better.
2. Maintain Color Harmony
When deciding on the flowers, the dress, makeup, and any props that you’d want to use during the shoot, be sure to seriously consider the colors of every individual element.
Having colors that complement each other will make the image very soothing to look at. On the other hand, if the colors compete with each other for attention, that’ll surely make the image unflattering.
In fact, you can even try changing the color of the milk bath using food dye. If your subject is not comfortable working that way, you can easily change the color of the bath later with Colorcinch.
Step 1: Upload the image to Colorcinch.

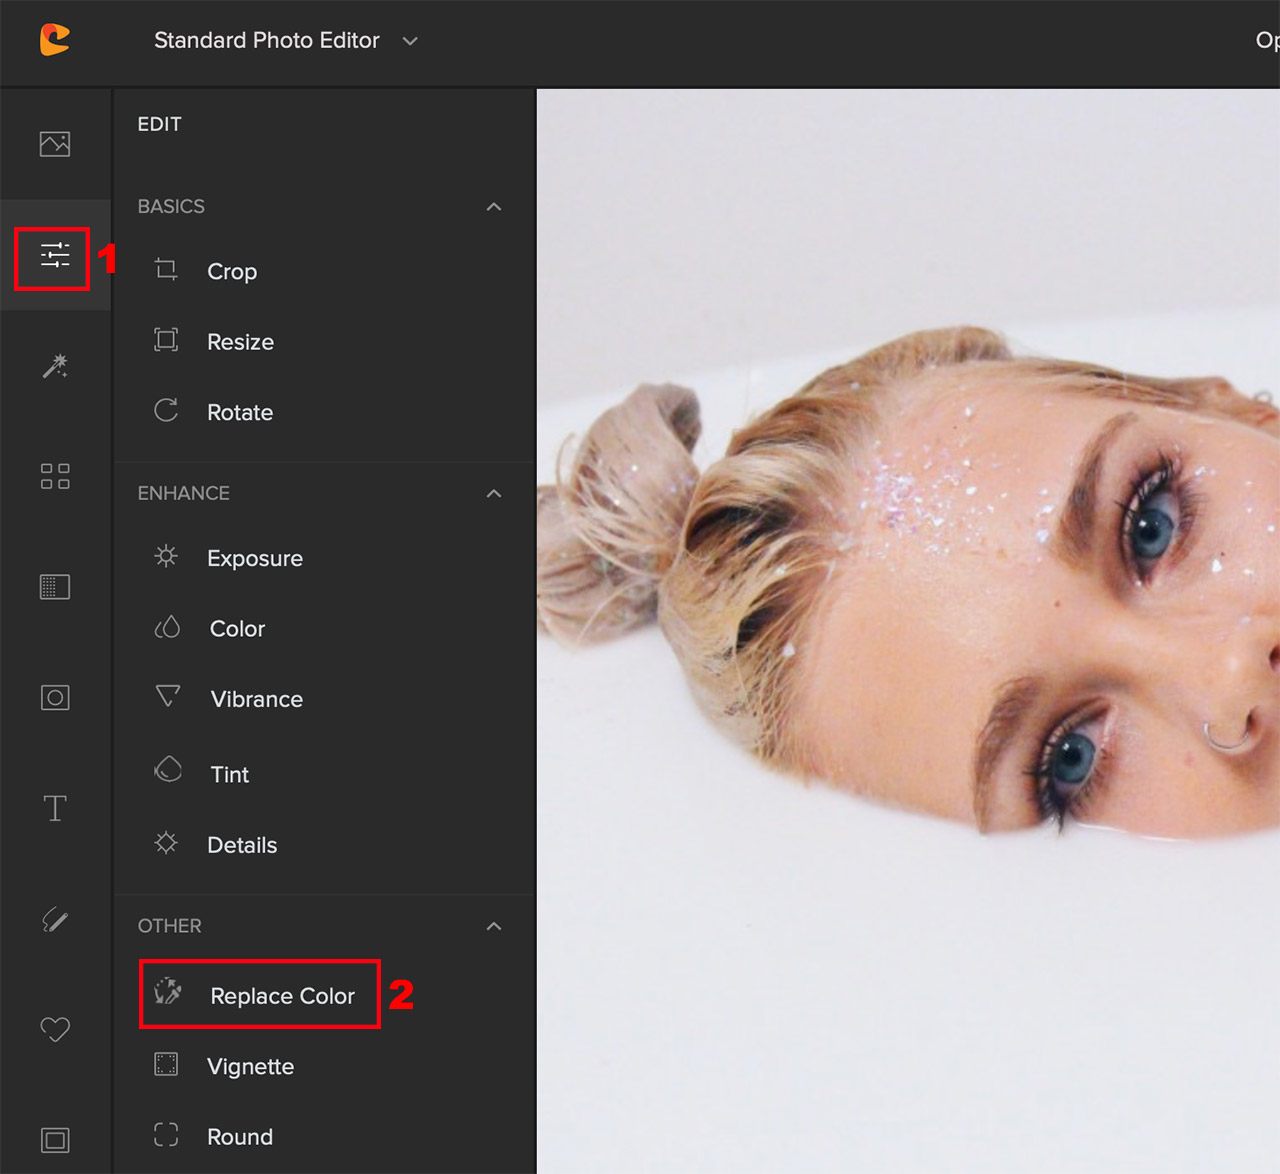
Step 2: Navigate to Edit – Replace Color. You can then choose your target and destination colors.
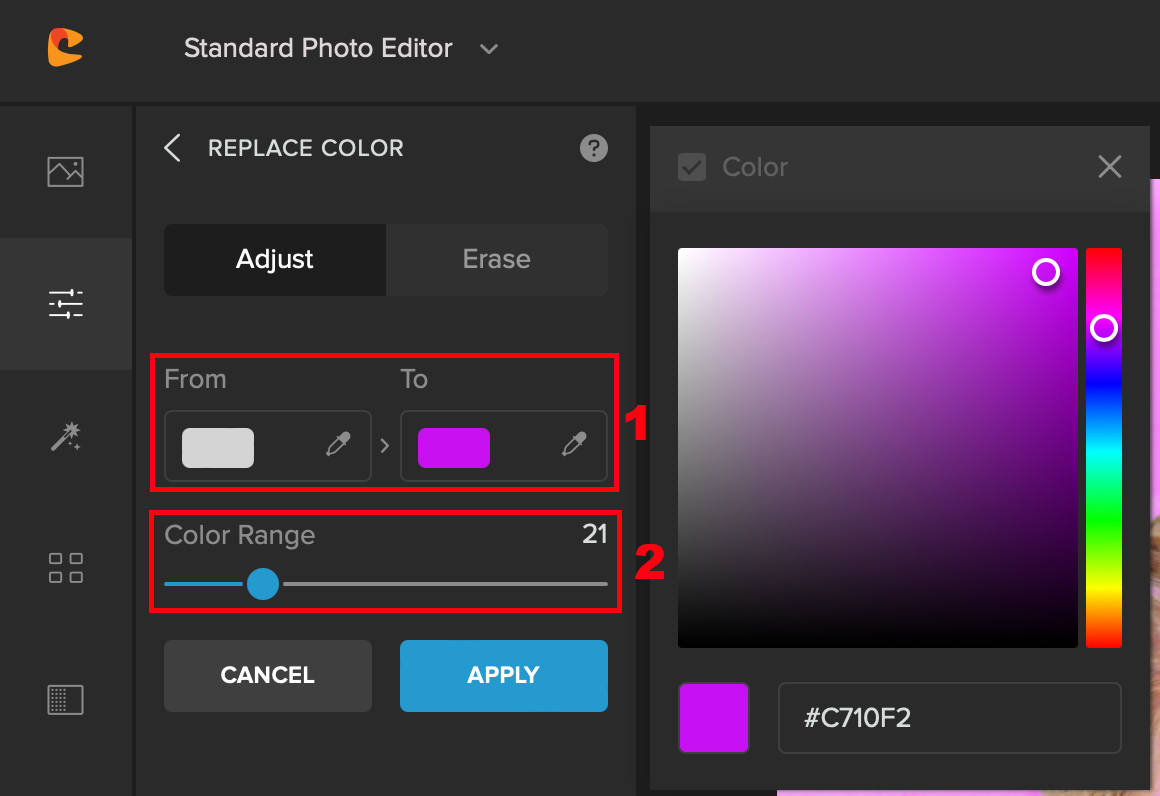
Step 3: Using the Color Picker in the From option, click on the milk bath to grab its color. Then, using the Color Picker in the To option, choose your preferred color. This will instantly apply your preferred color to the milk bath.
You can use the Slider to adjust the Color Range and exclude unnecessary regions using the Erase option.
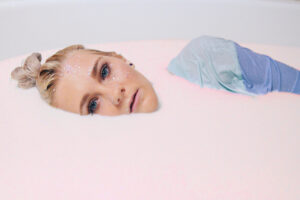
Here’s a before/after comparison of the changes that we made to the milk bath color.
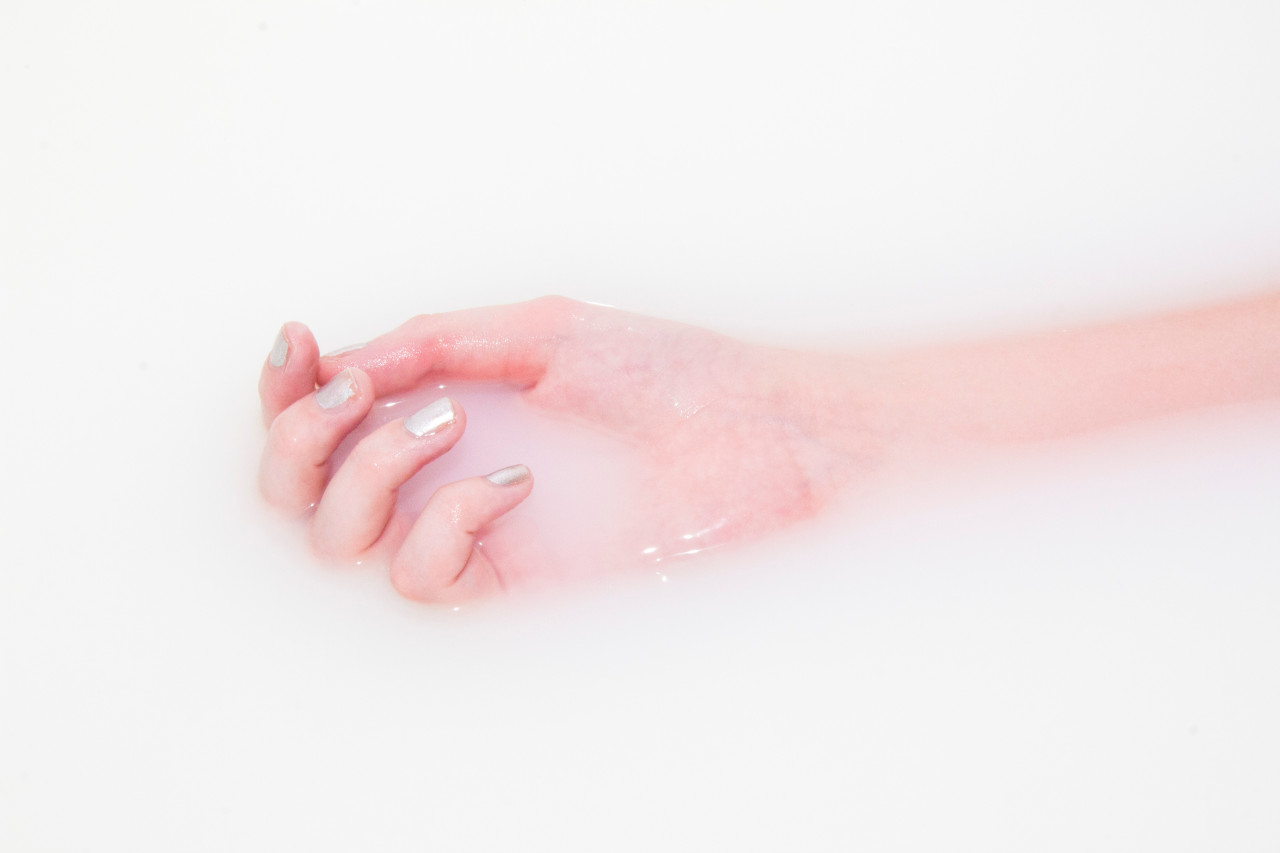
3. Photograph Certain Body Parts in Isolation
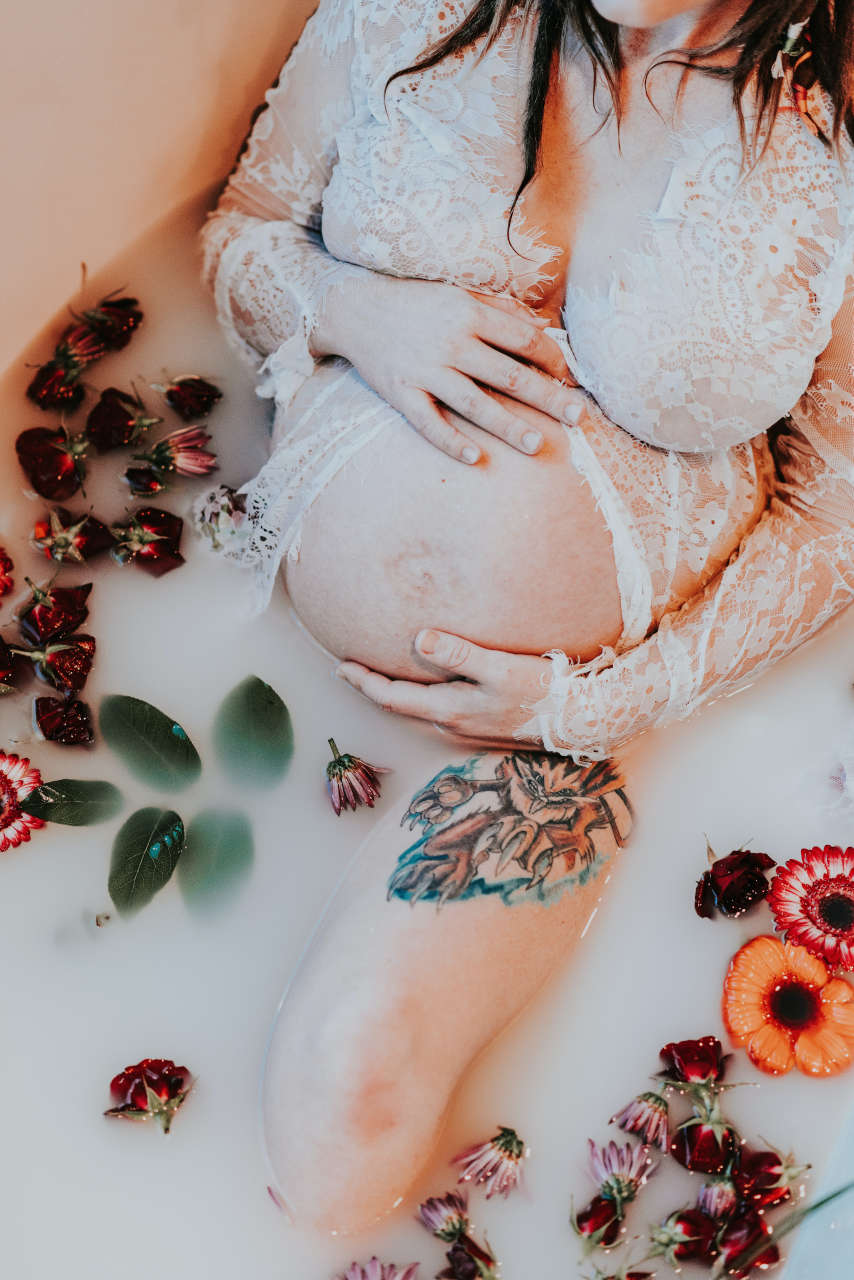
While it is common to emphasize the subject’s face in milk bath photography, you provide an intimate look to your photos by photographing certain body parts of the subject in isolation.
For instance, if you’re doing baby milk bath photography, photograph just their cute little feet. Similarly, for maternity milk bath photography, you can emphasize the belly. You get the idea!
4. Use Leaves or Branches Instead of Flowers
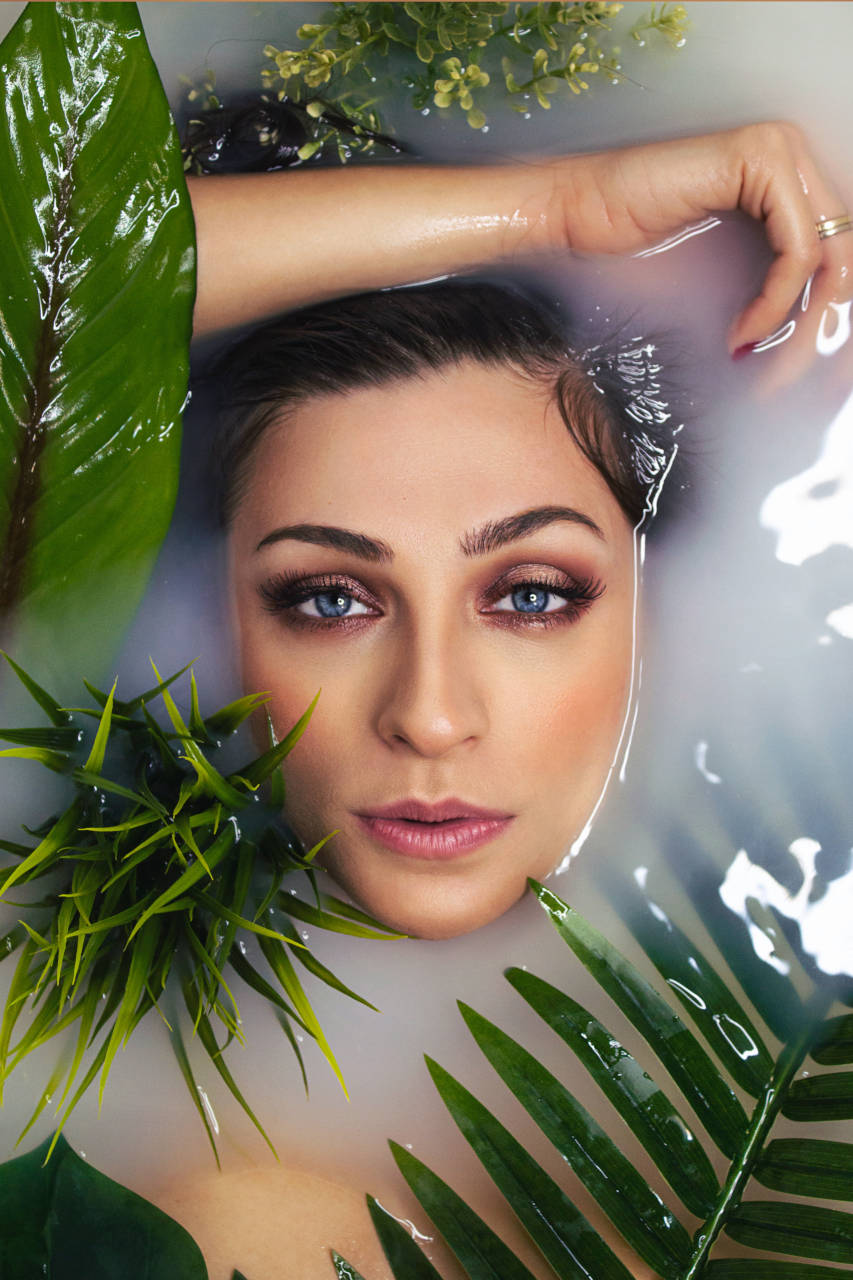
A great way to give a unified and natural look to your milk bath images is to make use of green leaves or tree branches instead of flowers and fruit slices. This idea also works great for nature-inspired fashion and portrait shoots.
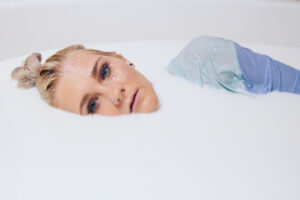
5. Try Different Perspectives
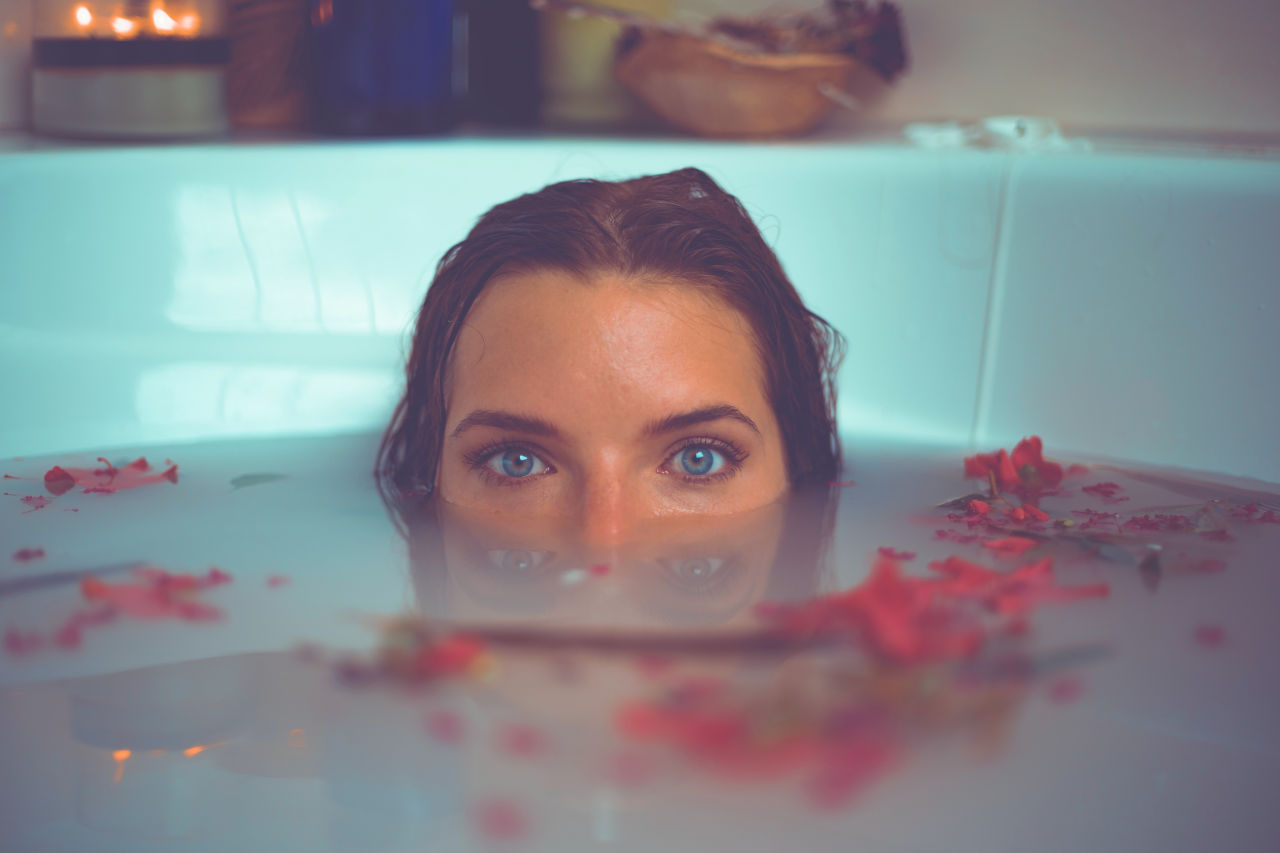
When shooting milk bath images, it is common to shoot from a higher perspective. But this can quickly appear boring and redundant. So, be sure to change your perspective to add excitement to your photos.
For instance, you can shoot from close to the water level for a feeling of greater intimacy. Or, if the space and shooting environment allows, get the entire bathtub in the frame for a classy shot. You can even shoot from the subject’s point of view for an interesting look.
To Sum It Up
Milk bath photography has a very versatile scope because of which it is popular amongst various types of photographers. Whether you shoot maternity portraits, fashion portraits, babies, or even editorial portraits, you can do it all on a milk bath.
The processes involved in shooting milk bath photos can get intimate. Hence, it requires that the photographer and the subject are on the same page during the shoot. So, be prepared to set clear-cut goals and have proper communication with the subject.
And if you’re just getting started with milk bath photography, remember that this does not have to get too expensive. You can even experiment with products using a bowl, or work with babies in an inflatable pool. Have fun!