
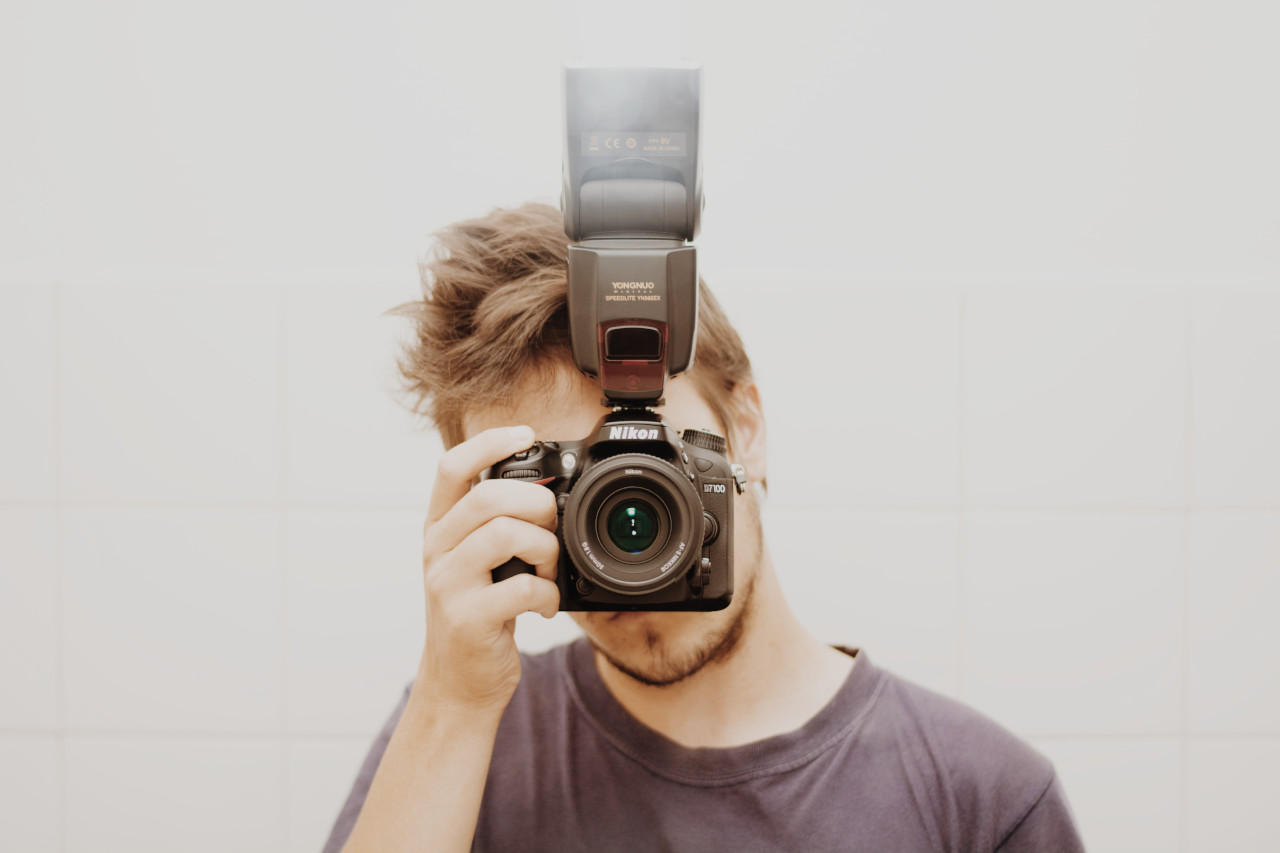
Flash photography is something that a lot of beginner photographers refrain from. There’s this misconception that flash photography is hard and is only meant for professionals.
However, the reality is very different from this notion. While you need to put in a slightly greater effort in the early days of working with flash, everything will come naturally to you eventually.
And the best part is that once you’re in that comfort zone, you’ll soon realize how you can have greater control over light. Also, you don’t have to worry about the weather anymore. That’s indeed the best part about flash photography for sure.
As you’ll improve your flash photography skills, you’ll eventually be able to replicate any sort of natural or creative lighting scenarios with your flash setup. Needless to say, that’ll definitely take some time and loads of practice though.
Benefits of Flash Photography
Many photographers swear that natural light photography is the best way to photograph while others argue that flash is king. However, we’ve got to admit that there’s no right or wrong way of taking photographs.
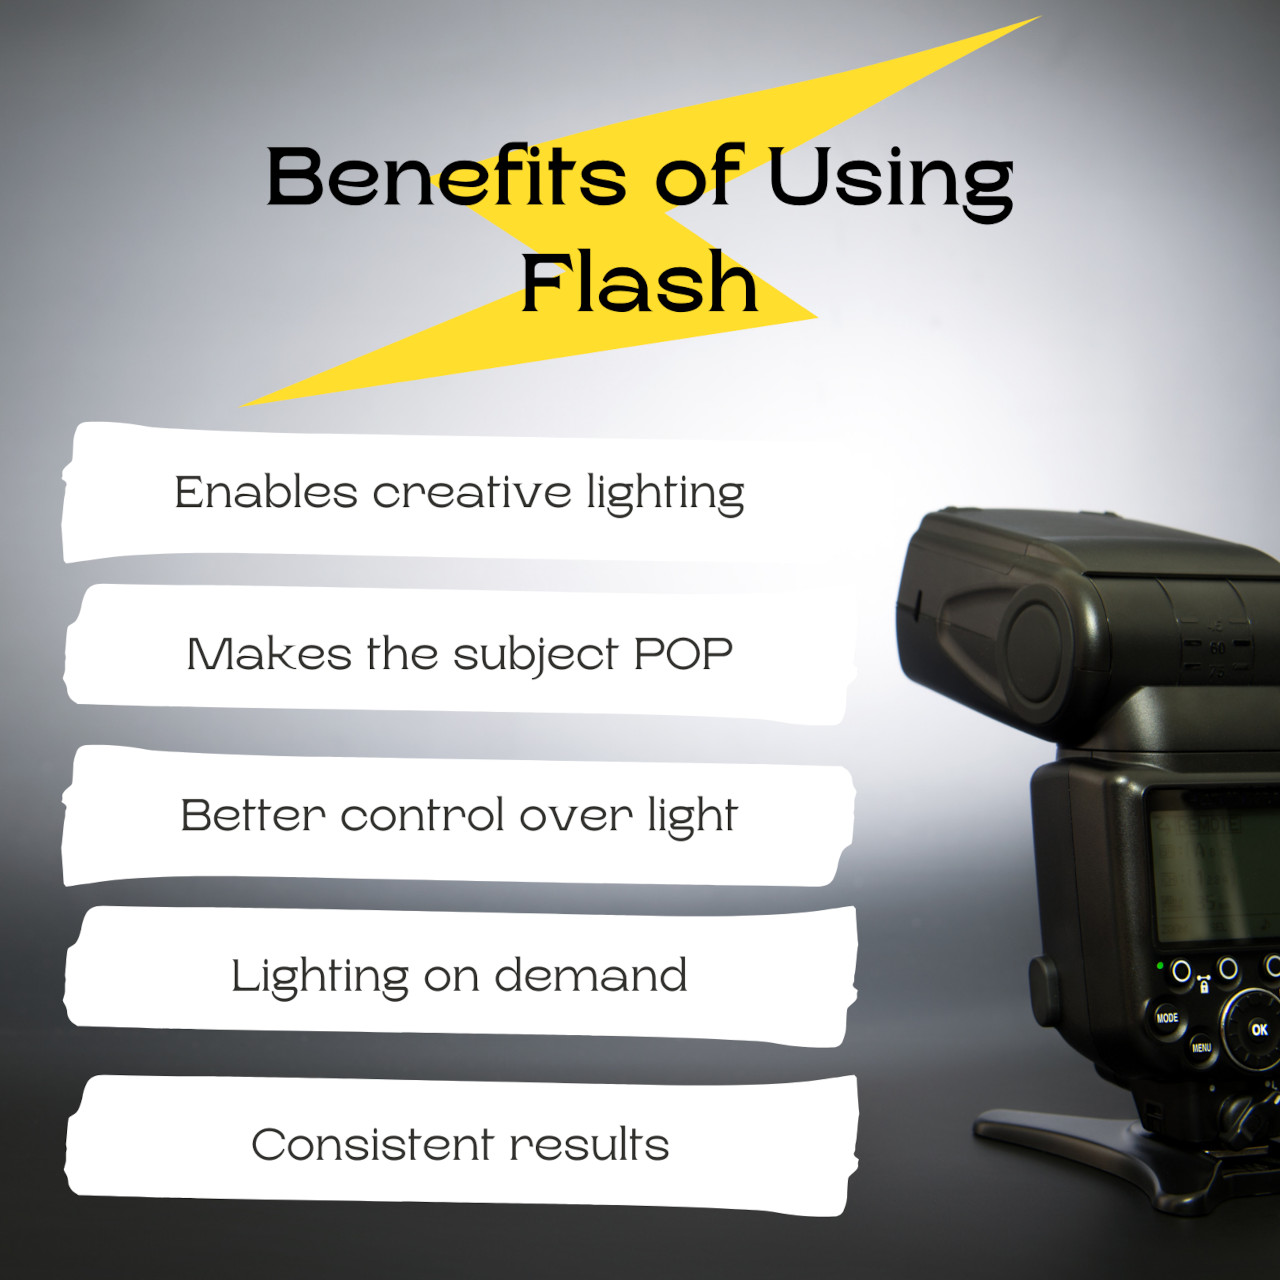
Everything boils down to the type of look you’re aiming for, and the working situation. However, we’ve got to admit that flash photography does have certain benefits. Let’s have a look at a few of them:
- Flash photography opens up a window of opportunities for various creative work
- Using flash in your photos can make the subject pop and stand out better
- With flash photography, you’re the master of the light – move the light as you want
- Carrying a flash around is like having your own light source with you, so you don’t have to worry about a shortage of light
- Whether it be the intensity, temperature, direction, or quality of light, you’ll always get consistent results
A Quick Headsup
Certain locations like museums, theatres, and churches amongst many others prohibit visitors from using flash. We highly recommend that you keep an eye out for any such prohibitory notices to avoid getting into trouble.
If lighting is poor in those places, you can do one of the following:
- Use a wider aperture
- Set a slower shutter speed
- Correct the image in post
Colorcinch has a really easy way to brighten up dark photos. You can simply follow these steps:
Step 1: Upload the image to Colorcinch.
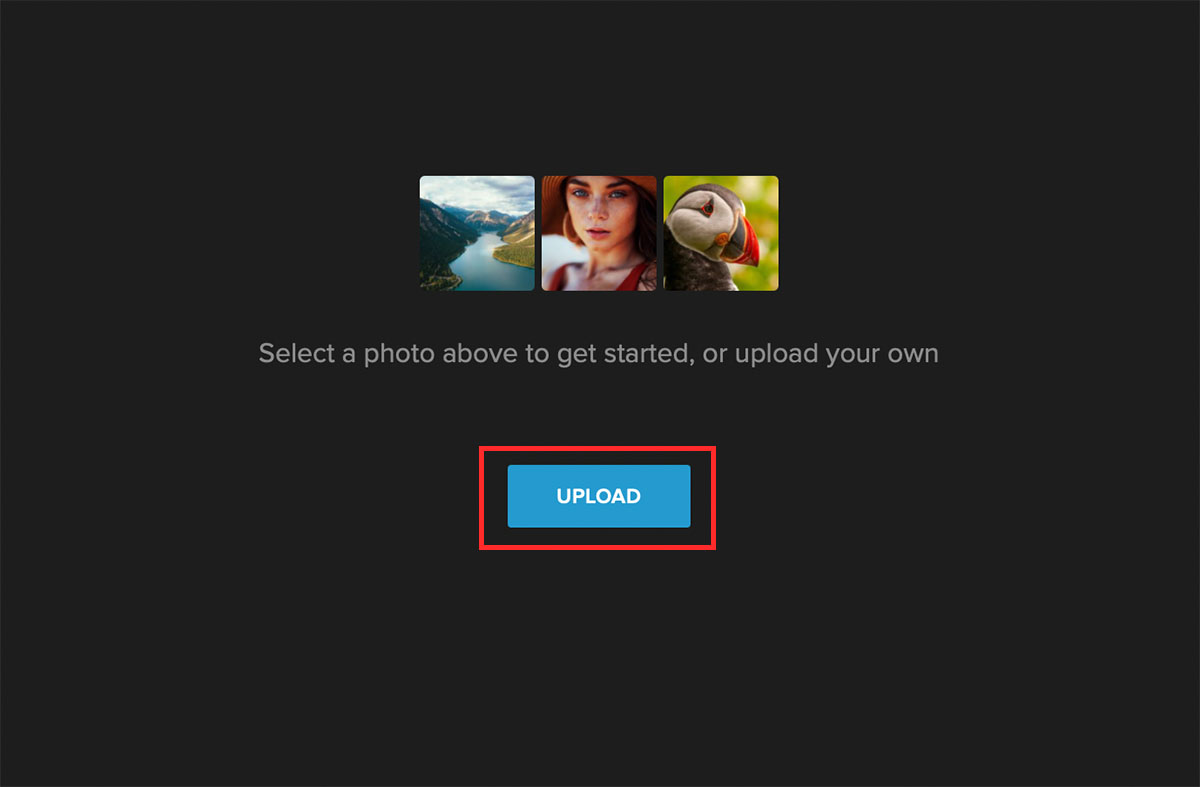
Step 2: Navigate to Edit – Exposure.
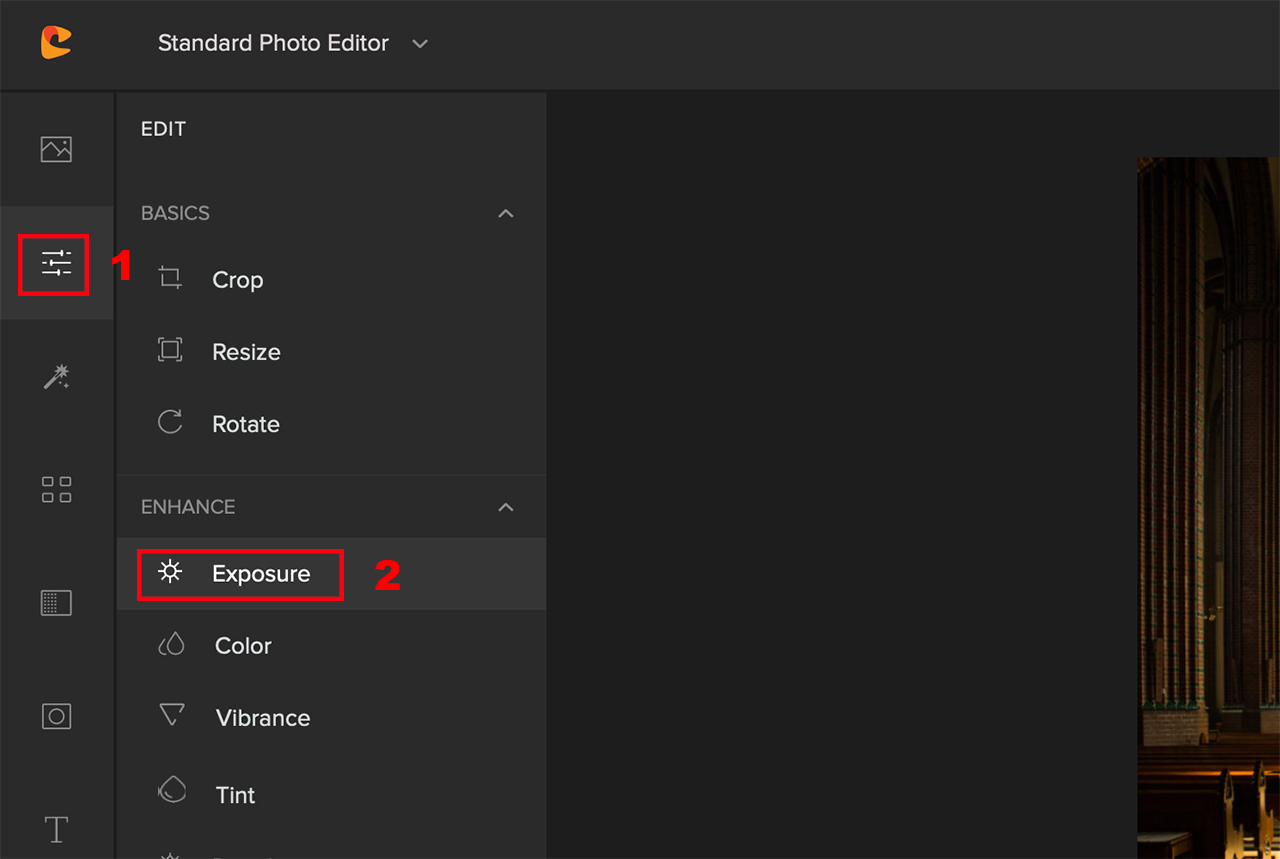
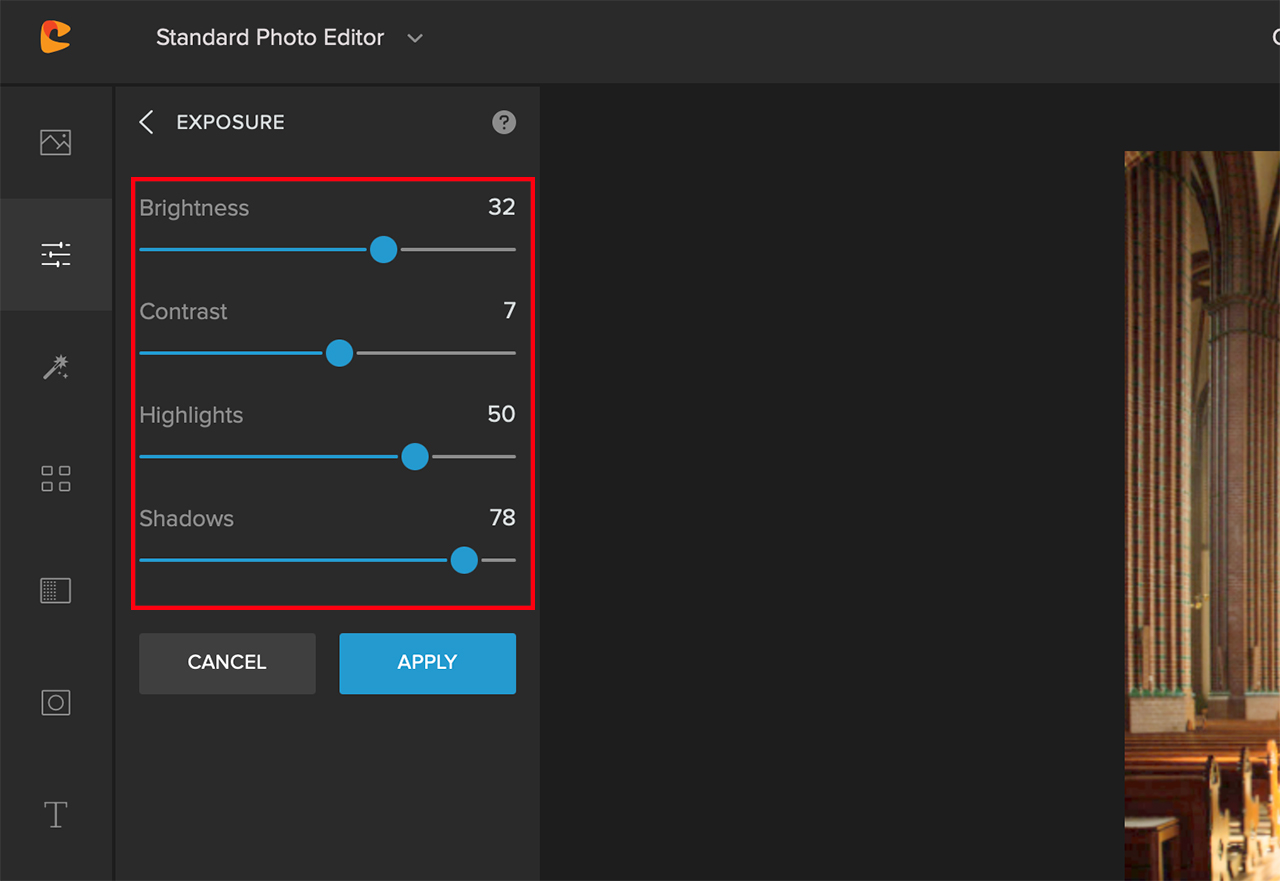
Step 3: Tweak the Brightness slider to brighten the overall photo. Alternatively, you can also increase the Highlights slider to affect just the bright portions of the image and increase the Shadows slider to affect the dark portions. Increasing the Contrast sliders adds a bit of a punch to the image.
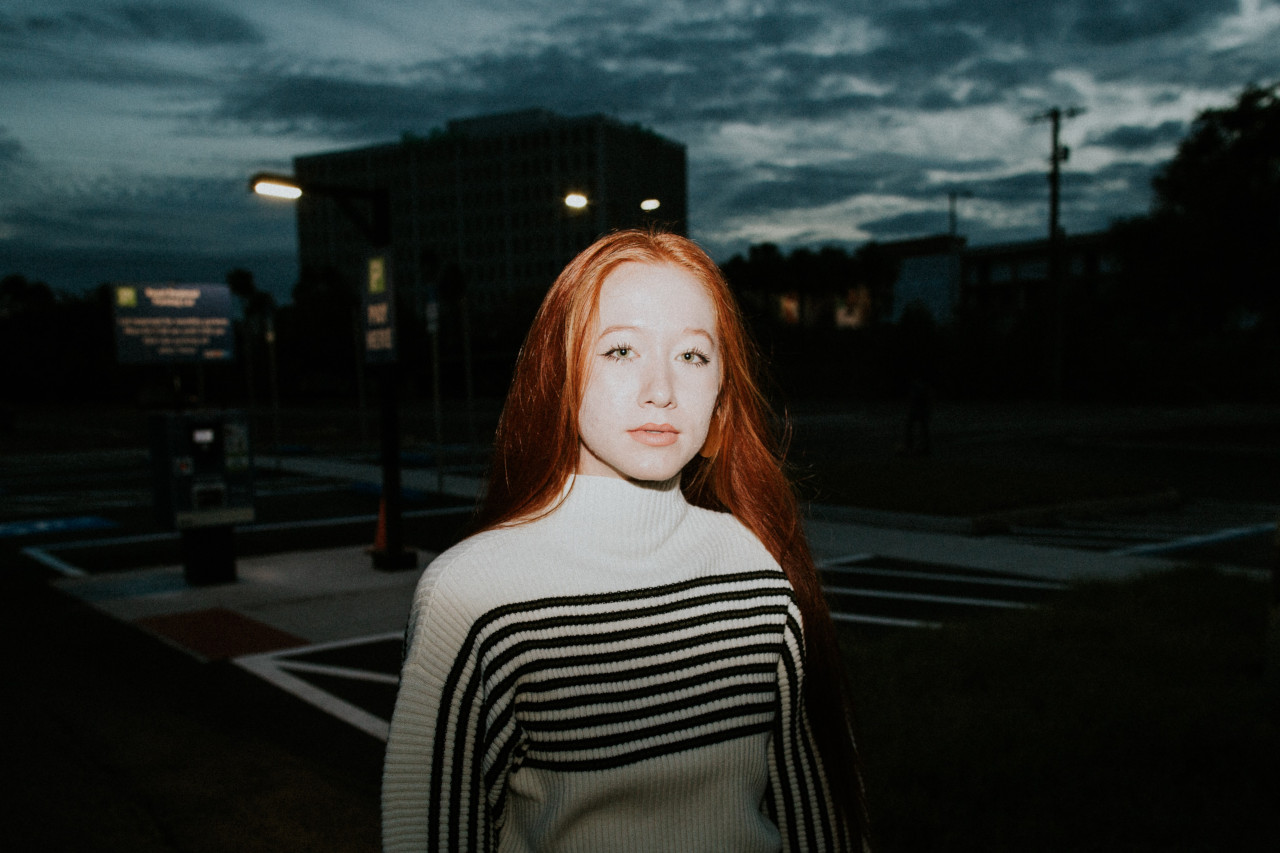
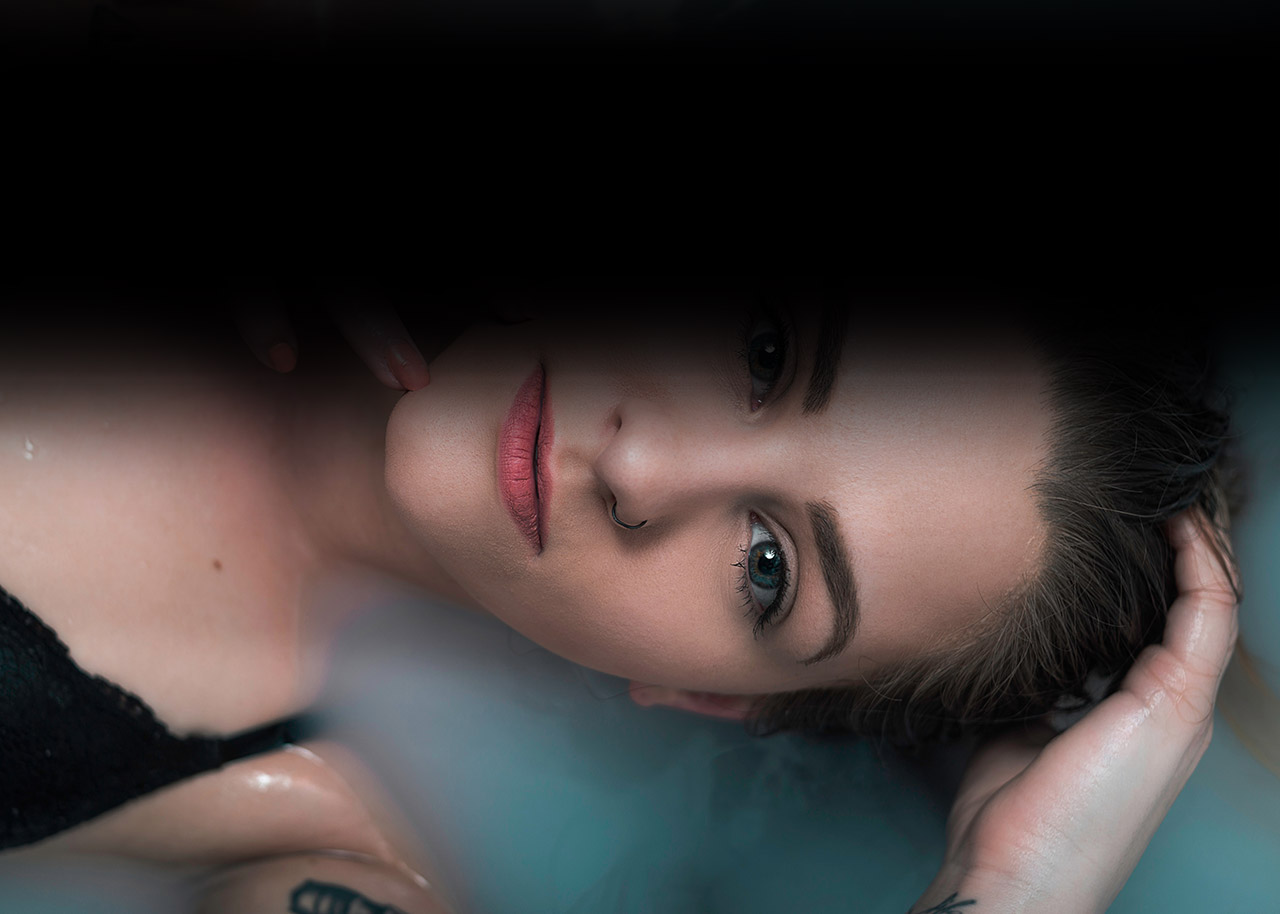
Here’s a before and after of an image we brightened using Colorcinch:


7 Flash Photography Guides to Get You Started
Flash photography can be intimidating for sure. But it doesn’t have to be that way. Once you get acquainted with some of the basic stuff, using flash can be fun and the results will definitely be top-notch.
To help you get started with flash photography, we’ve put together this list of 7 important points that you should pay attention to. Let’s get started.
1. On-camera Flash is Bad
When we say flash photography, we’re definitely not referring to the built-in flash that your camera is equipped with. If it was possible, we’d probably recommend that you remove it from the camera.
 As we cannot adjust the position of the built-in flash, it’ll always face the subject straight-on. With the flash pointed straight to the subject, the final image will appear flat and lifeless. There’s also a high chance that it will create hot spots and unwanted specular highlights.
A much better alternative is to get yourself an external flash, also commonly referred to as speedlight. They have a head that you can tilt and rotate which makes them highly flexible. Furthermore, you can also use them wirelessly which makes them perfect for creative lighting.
2. TTL vs Manual Flash
TTL stands for “Through The Lens”. A TTL flash can get the meter reading of the scene right when you press the shutter button, and determine the best flash power automatically. It’s best when the lighting is changing constantly and you don’t get time to fiddle with the settings.
Manual flash is like using your camera in manual mode. They don’t communicate with the camera and have no idea about how they’re affecting the exposure. In a manual flash, you need to set the flash power manually until the exposure is correct.
If you’re just getting started with flash photography, it’s highly recommended that you get a TTL flash. After all, you can use a TTL flash in manual mode as well.
However, if you’re planning to use flash in a controlled environment where the lighting won’t change, a manual flash will do just fine.
3. Bounce the Flash
When you have your flash on your camera, having the flash head turned directly towards the subject is a big NO. The images will appear no different than when using the camera’s built-in flash.
When shooting indoors, turn the flash head towards the ceiling or the nearest wall. This technique is called “bouncing the flash”.
When you bounce the flash, the ceiling or the wall will act as a much bigger light source. The light will thus be significantly softer. This means no harsh shadows and specular highlights.
If you need to use flash outdoors, point the flash head upwards, and pull the small strip of bounce card on the flash head outwards. The white surface of the bounce card will reflect the flash towards the subject to illuminate them.
4. Flash Photography Is Better With a Diffuser
A flash is still is a small light source that produces hard light which results in harsh shadows and unflattering images. Use it incorrectly and the lighting on the subject will appear unnatural and out of place.
A simple way to make it feel as if the flash is a bigger light source is by using a diffuser with the flash. A diffuser, in this case, is something that’s translucent and goes over the flash head.
There are different types of flash diffusers that you can find in the market. We have listed some of them below:
- A snap-on dome box
- Bounce diffuser
- Light sphere
Once you use a light diffuser on your flash, the light source is greatly amplified and it produces a softer light with more natural-looking results.

For more information on different flash diffusers, you can watch the following video:
5. Know Your Camera’s Flash Sync Speed
One very important matter that you should keep in mind is that you won’t be able to use your camera at any shutter speed when using flash.
You’ll be limited by what’s called a camera’s flash sync speed. Refer to your camera’s manual to understand what’s your camera’s flash sync speed is.
For instance, many modern cameras have their fash sync speed at 1/250s. If you try and go faster than 1/250s while using flash, you’ll see a black band in your images. That’s the camera’s shutter blocking the light.
So, always set your shutter speed to lower than or equal to your camera’s flash sync speed during flash photography.
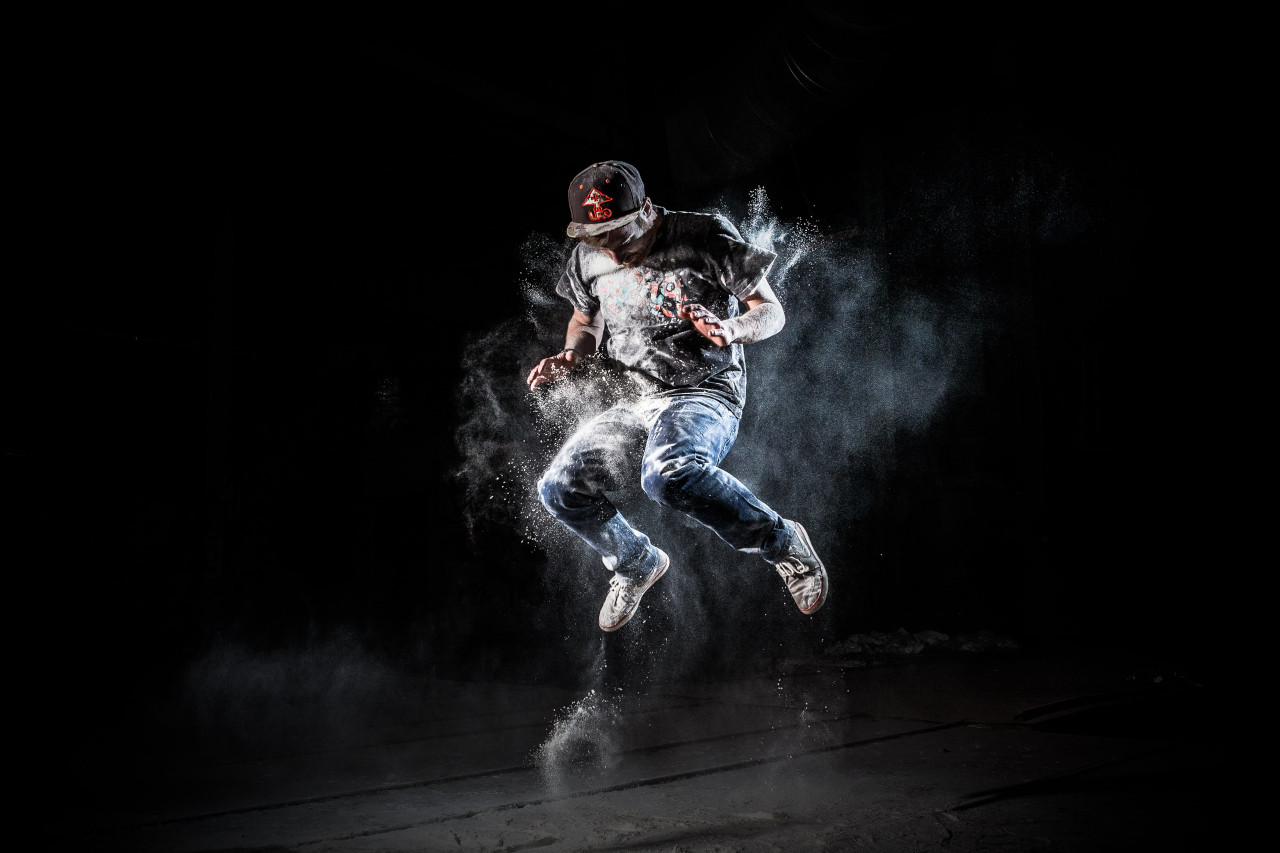
6. Freeze Motion With Flash Photography
Many consider flash to be just a solution for the shortage of light. They’re not aware that you can actually use flash to freeze subjects in motion as well.
With flash photography, freezing objects is as easy as it gets. And the best part is that you don’t even need to use a very fast shutter speed for the purpose.
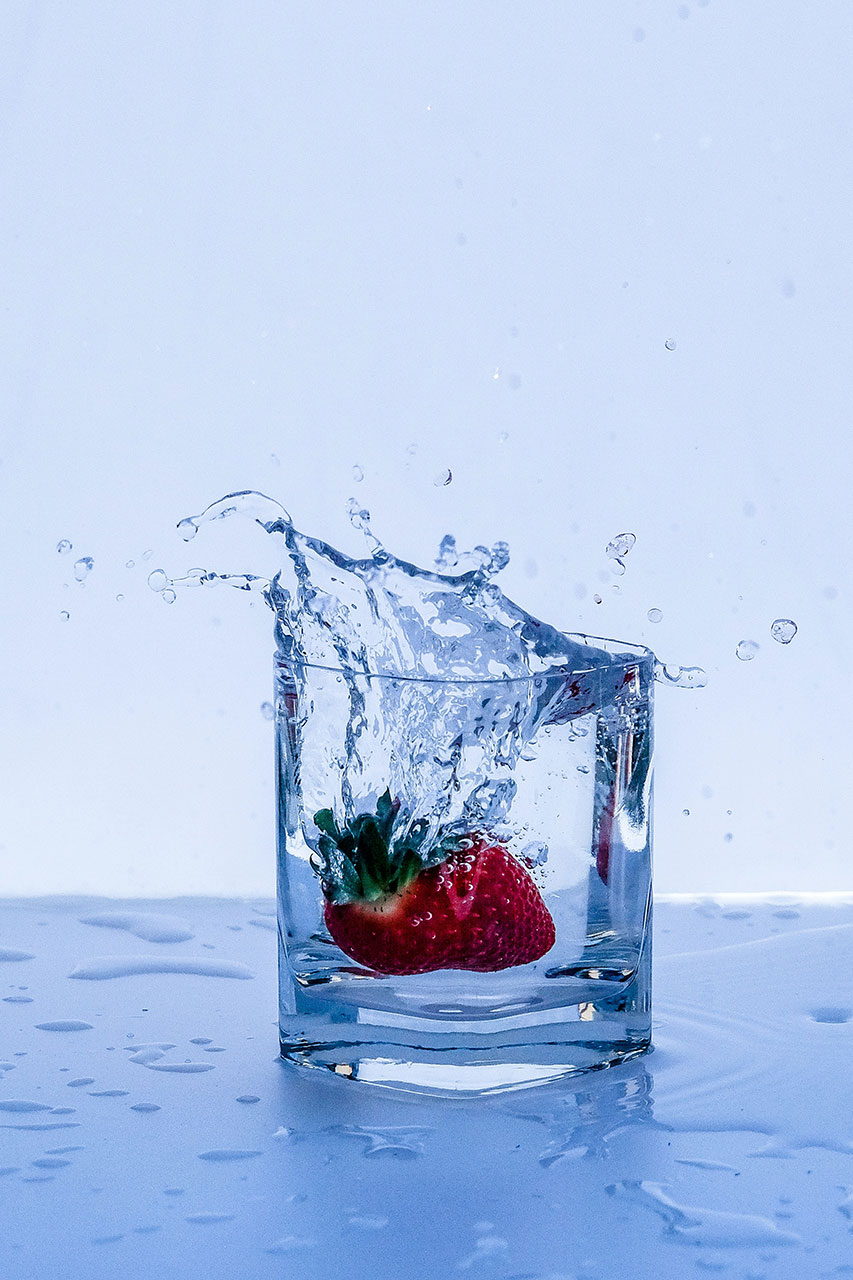
If you want to take photos of subjects in mid-air, liquid splashes, or objects colliding, simply use your flash to illuminate the subject. But, make sure that you use a lower power setting for crisp images. Using the flash at a higher power setting will reveal some motion blur.
Also, for better results, make sure that there’s no ambient light affecting the scene. For this, you can set the shutter speed close to the flash sync speed, pull down the curtains, and even turn off the lights if deemed necessary.
7. Balance Flash With Ambient Light
You can proudly say that you’re good at flash photography once you’re able to strike that perfect balance between flash and ambient light. For this, you need to know how to control the ambient exposure and the exposure on the subject independently.
You can do so by following these simple steps:
- Meter your camera for the ambient light by excluding the subject
- Switch the flash to manual mode and adjust its power to illuminate the subject properly
- Review the image and feel free to play around with the flash power output to change the lighting on the subject
You can refer to the following video for a better understanding of the concept.
To Sum It Up
Learning to use flash properly can greatly enhance the look and feel of your photos. And contrary to the popular belief, flash photography isn’t so difficult at all.
As we discussed in this article, flash photography isn’t just about adding light. It also enables us to push and explore our creativity too.
If you’ve been feeling doubtful about whether or not to go for flash photography, we really hope that this post inspires you to take the leap.