
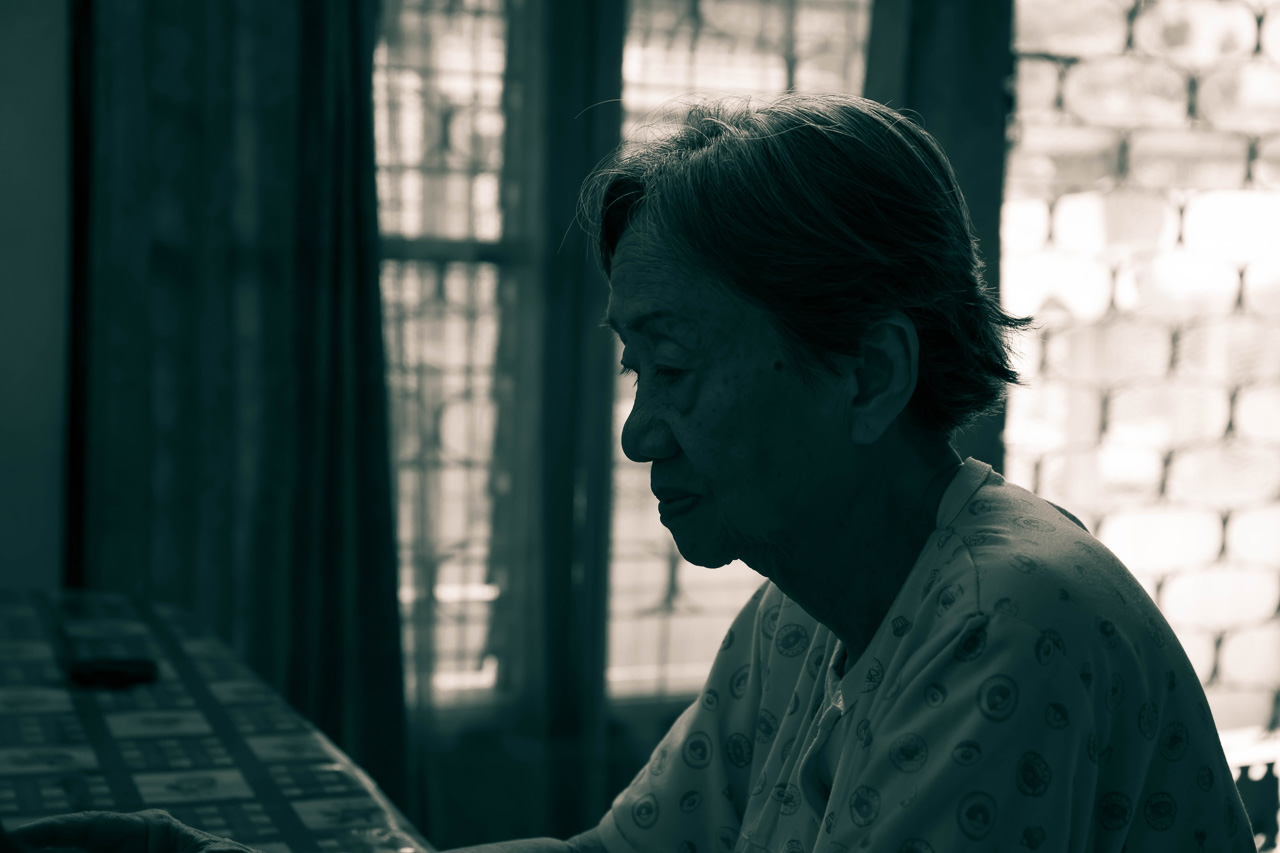
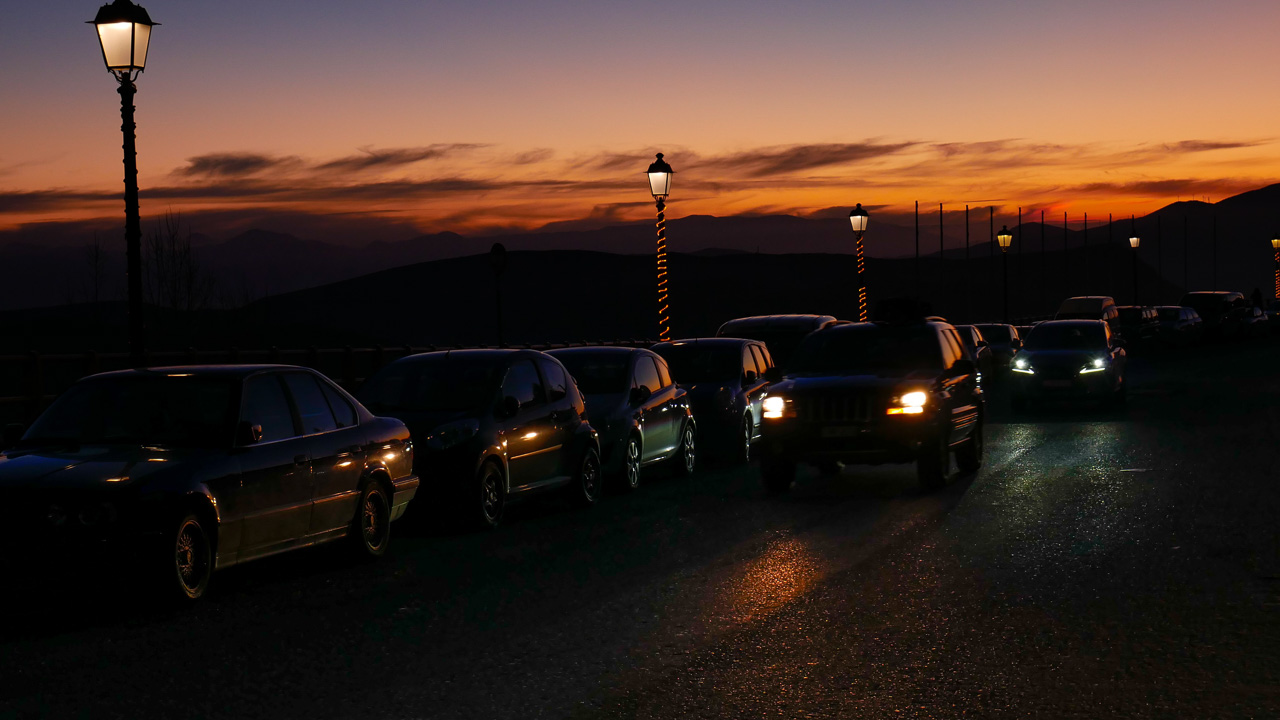
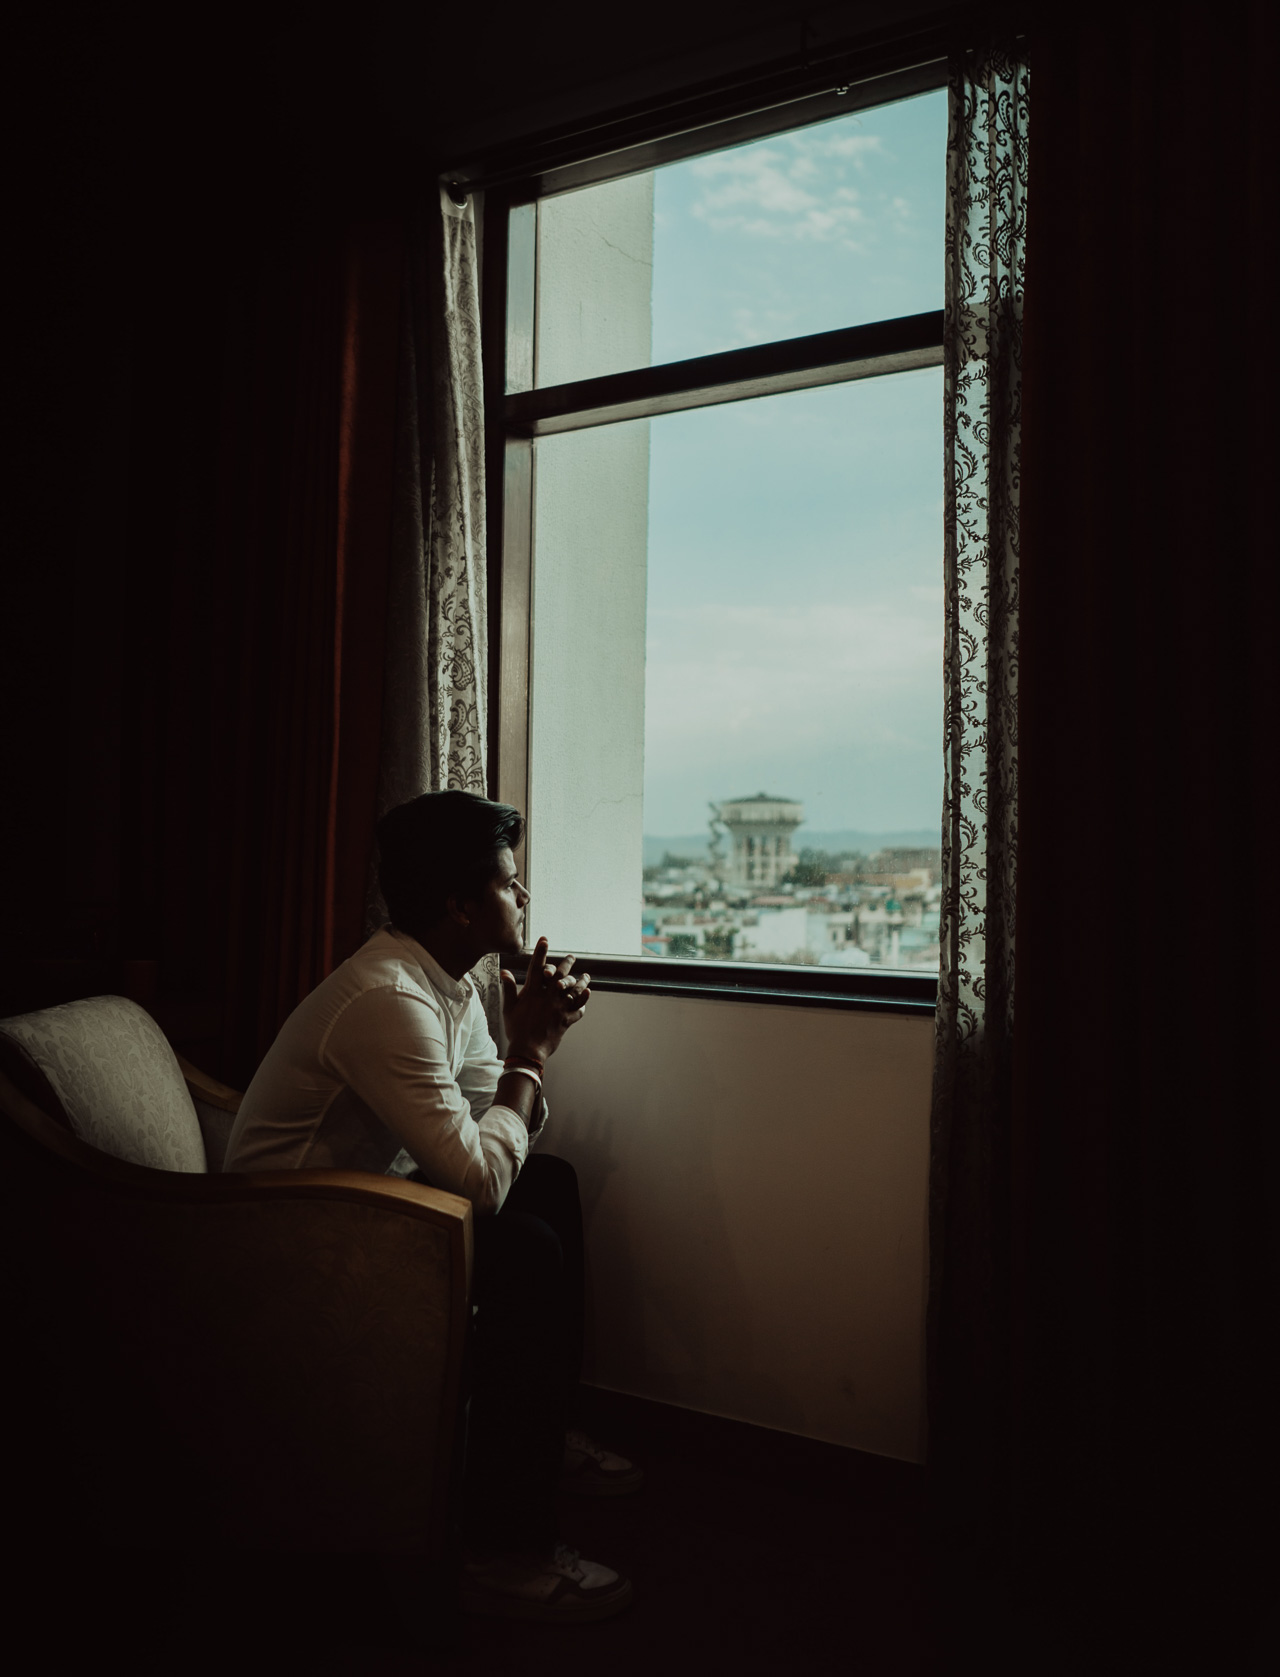
If you have dabbled with a camera long enough, you must have seen underexposed photos. These are the ones that appear dark and with very little detail in them. We generally associate the word ‘wasted’ with such exposures. This guide will discuss what leads to such underexposed photos and how to recover (at least some) them in post-processing.
Let’s dive right in!
What Causes an Underexposed Image?
Underexposed photos result from not enough light reaching the sensor or the film at the back of the camera. This results in an exposure that’s dark and often devoid of any detail in them. It can be caused by incorrect exposure settings dialed into the camera. It can also be a genuine lack of light in the scene.
Some of you may argue – what appears as an underexposed image to one photographer may not be so to another. And you would be right to assume that because –
“There is no such thing as a perfect exposure.”
Exposure is a subjective thing and whether or not a photograph is underexposed depends on how a photographer perceives it. As perception changes from photographer to photographer, so does the assumption of whether a picture is underexposed (or not).
The Exposure Triangle
To get a technical understanding of how an image can become underexposed, and before we get to the A-B-C’s of how to fix underexposed photos, we have to first understand what controls exposure in the first place. Exposure is controlled by three settings – Aperture of the lens, the Shutter Speed of the camera, and the ISO number dialed in at the time of the exposure.
Together, these three parameters are known as the Exposure Triangle.
1. Aperture
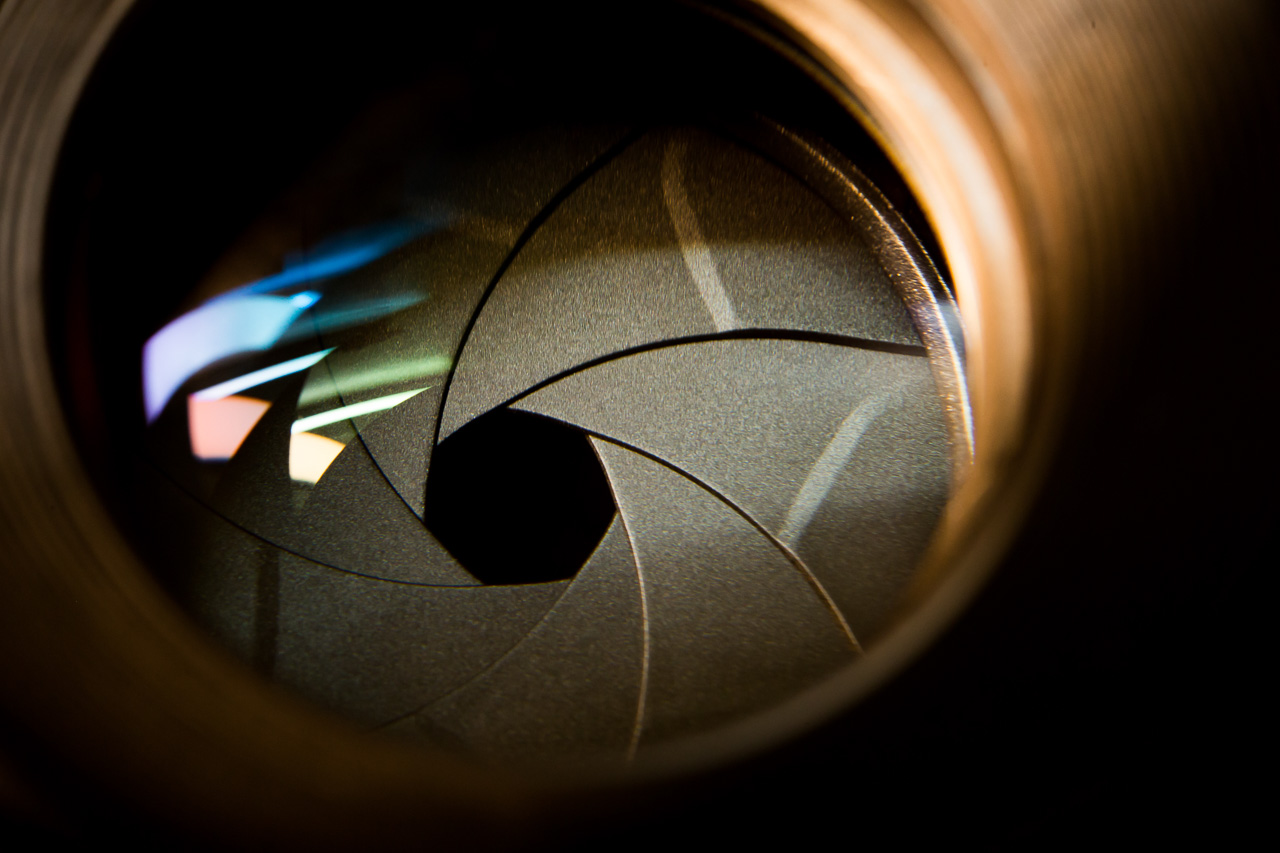
Aperture is the size of the opening of the lens. This opening allows light to travel through the barrel of the lens and hit the sensor at the back of the camera. It’s expressed as a ratio between the diameter of the opening of the lens and its focal length.
In other words, Aperture is not an absolute number. It’s expressed in f-stops or f-number such as – f/4, f/5.6, and f/8.
If there is a lot of light to go around, you need a small aperture and vice versa.
2. Shutter Speed
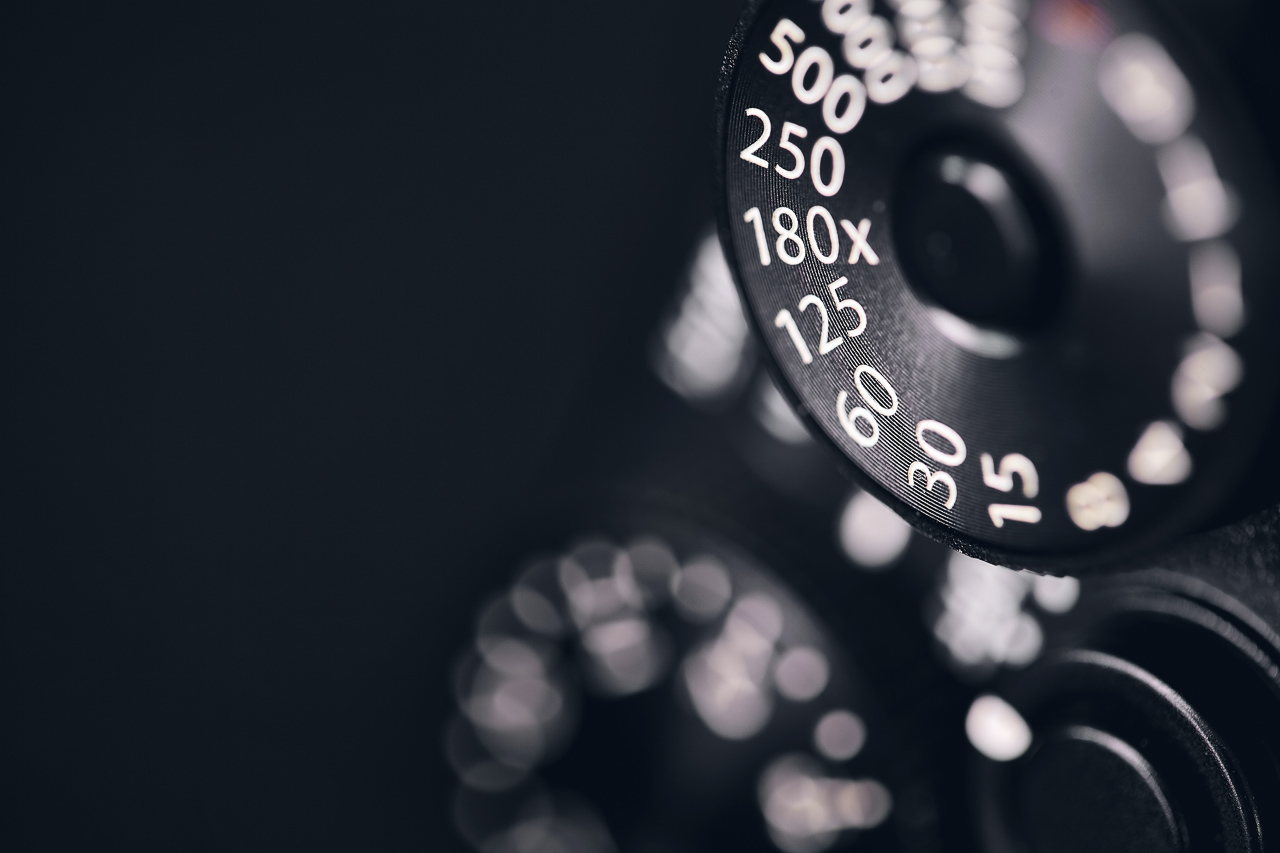
Shutter speed denotes the duration for which the Aperture remains open to allow light to get into the camera. If there is a lot of light to go around, you need a fast shutter speed and vice versa.
3. ISO
Finally, ISO refers to the sensitivity of the camera to light. Lower the sensitivity, longer the shutter speed required for proper exposure, or bigger the Aperture.
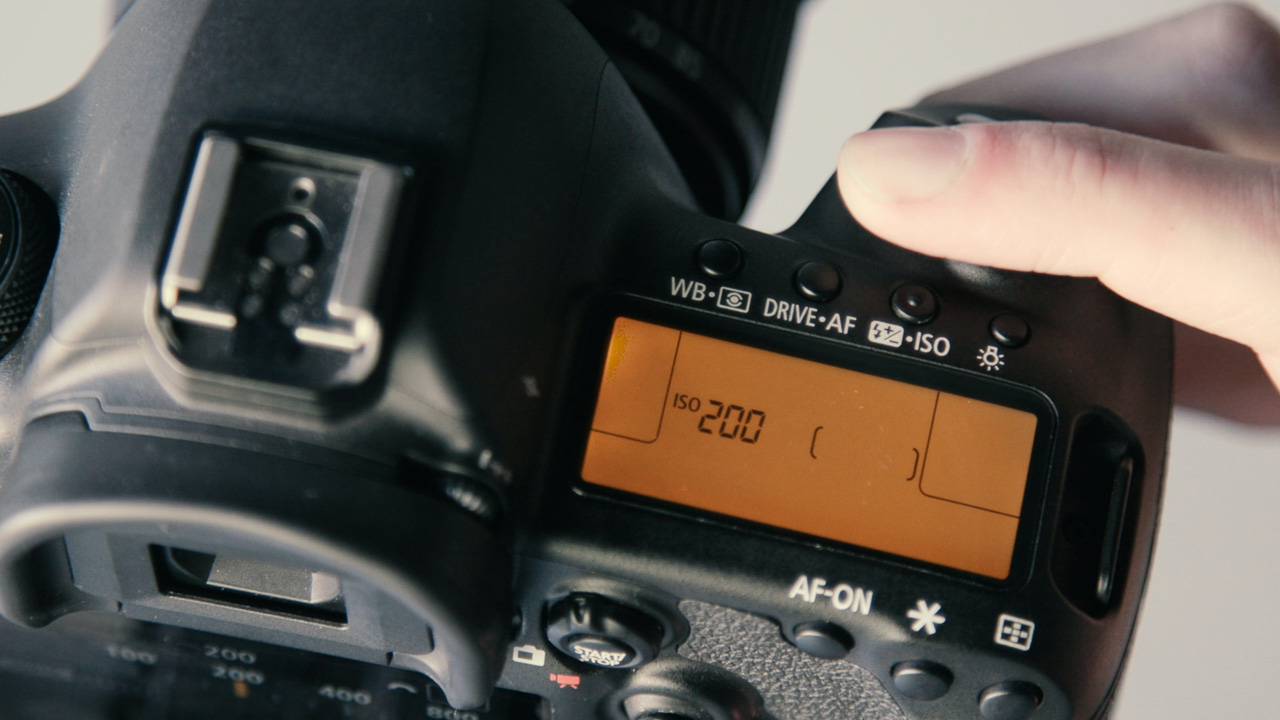
If there is a lot of light, you need to dial in a small ISO number like 100. You have to dial in a big ISO number like 1600 or higher in the reverse situation.
These three parameters have an inverse relationship between them. When one of these three parameters is dialed incorrectly, you can end up with an image that’s underexposed. Or an overexposed image.
Steps to Fix Underexposed Photo
Here are the steps to fix an underexposed image.
In-camera
The steps to fix an underexposed image begin in-camera. Let’s say you’re out shooting and realize that the light is insufficient and you’re worried that the camera is probably underexposing. It’s always a good idea to quickly check the histogram.
If most of the bars of your histogram are stacked to the left, it means the image is dark. If any of these bars are touching the extreme left side, that means you’re clipping your shadows.
Just like in clipping highlights, clipping shadows is a bad thing. There is a point beyond which details cannot be recovered from shadow areas, even from images produced by ISO-invariant cameras.
Even with images produced by an ISO-invariant camera, noise invariably sets in if you push the exposure too much.
So, the easiest solution is to take another exposure after adjusting the exposure settings. In most cases, if left to Auto mode, your camera will do a fine job of automatically dialing in the correct exposure settings.
If, however, you’re shooting in manual mode, you have to dial in the exposure settings yourself. Your built-in light-meter is an excellent guide to getting decent exposure.
That said, the built-in light meter will not be helpful when you’re shooting creative photos like long exposures, etc. You have to calculate the exposure settings on the fly in such a situation.
During Post-processing
What if you have already left the place and are back in your home/studio, and then you realize that your images are underexposed? There is no way to go back and redo the shots.
Post-processing them is the only way to recover your images in such a situation.
Let’s take this as a sample image for the next step.
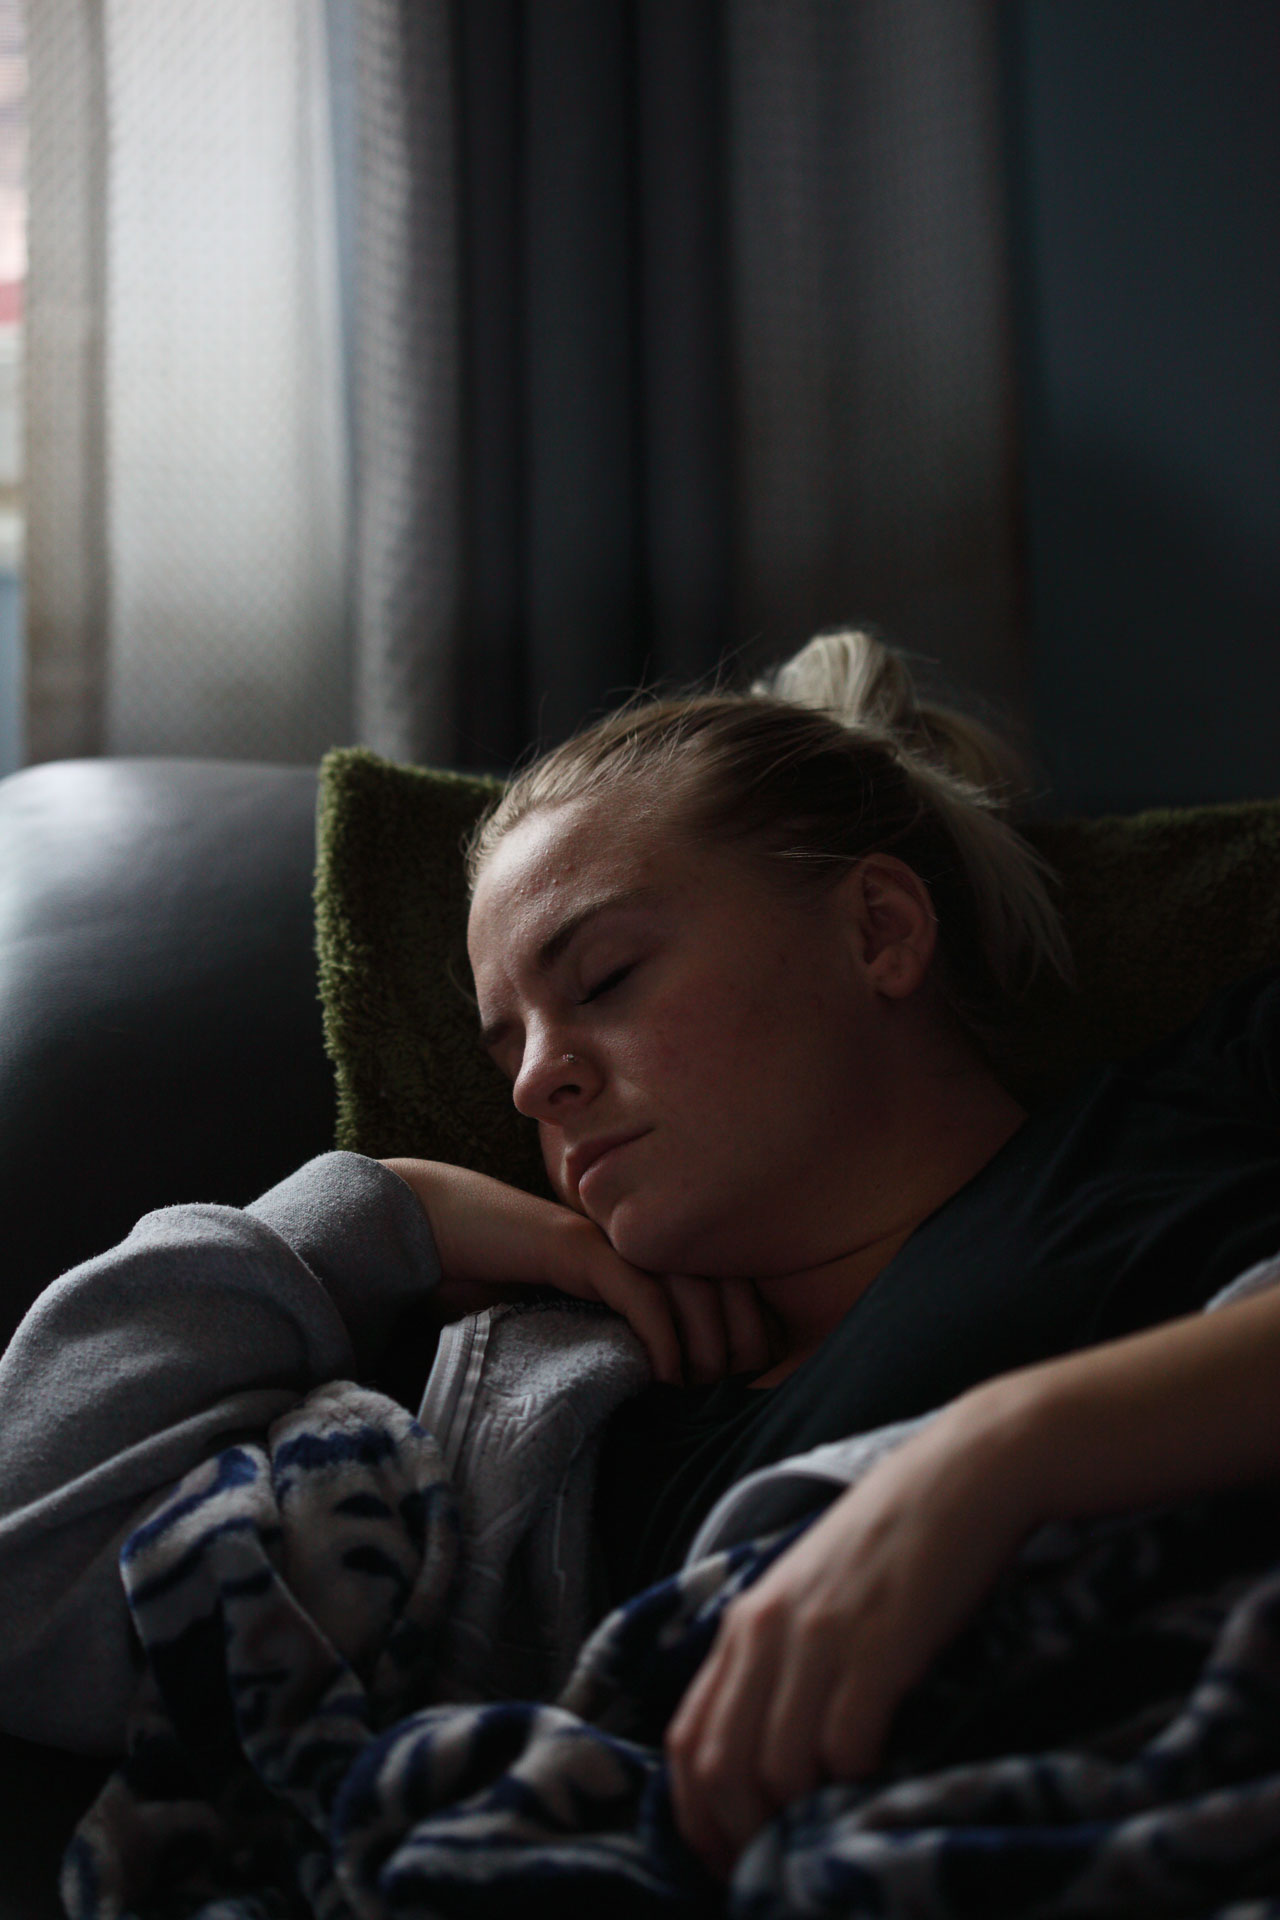
As you can see, the image feels underexposed. Let’s try and push the exposure to make it adequately exposed.
Step # 1: First navigate to Colorcinch and use the Upload button to upload this image.

Step # 2: The sliders that need tweaking are under the Exposure tab.
Here are the changes that were made to the image.
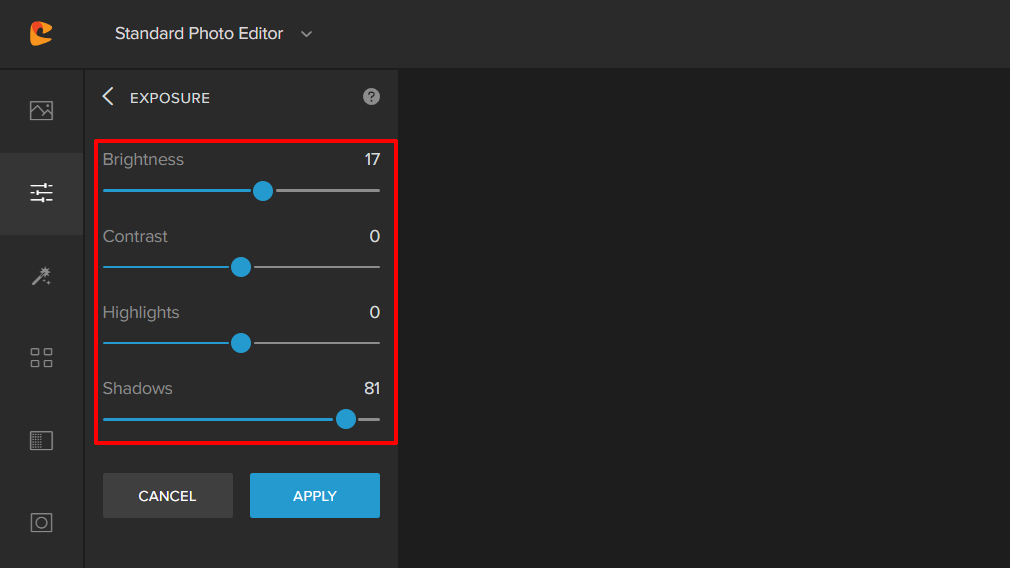
Step # 3: Don’t forget to click Apply when you’re done.
And finally, here is a quick before and after to check:


Isn’t it simple?
Benefits of Underexposing an Image
This may sound counterintuitive, but underexposed photos have a few benefits. And this benefit comes from the ability of modern camera systems to produce images even in incredibly low light situations.
Many modern cameras have sensors that are ISO invariant. That means you can shoot at an incredibly low ISO and then push the exposure during post-processing without inducing any additional noise than it would have had you used the right (higher) ISO number in the first place.
So, you can shoot at ISO 100 and push it to ISO 400 in post without inducing additional noise.
The benefit is that in a scene with wide fluctuations in brightness (bright highlights and deep shadows), you can deliberately underexpose the photo to retain details in the highlights.
It’s a known fact that highlights are impossible to recover once they’re blown. You cannot retrieve any detail from such clipped highlights.
The same goes for shadows. But in the case of shadows, there is a bit more tolerance.
You can easily underexpose by two, three, or more stops and then recover those details in the shadows at the time of post-processing the image.
Concluding Thoughts
Underexposed photos can happen because of several reasons. Sometimes, even the camera can get it wrong. Such as when the scene is very bright (snowy mountainscape) and the camera decides to stop down the exposure.
It can also happen intentionally, as we have seen in this discussion. But mostly, underexposure happens because of the photographer’s error of judgment. Whatever be the reason for them, now you know how to fix underexposed photos. Happy clicking!