
Today, I’ll discuss a few macro photography tips. But before that, I will define what macro photography is. I’ll also discuss the main tools that you need to shoot macro photos.
Many users struggle to edit their macro photos tastefully. I’ll discuss a tip using the Colorcinch photo editor to improve your macro photos. Oh, and I will also discuss a few compositional tips.
So, there’s a lot to learn! Let’s get started.
What Is Macro Photography?
Macro photography involves photographing small items and creepy crawlies and other things of everyday use that are very small and capturing an image that’s at least life-size.
Tools You Need to Shoot and Process Macro Photos
Contrary to what you hear, macro photography is a gear-heavy genre. It is dependent on specialized tools. At the bare minimum, you need one – and that’s a macro lens.
1. Macro Lens
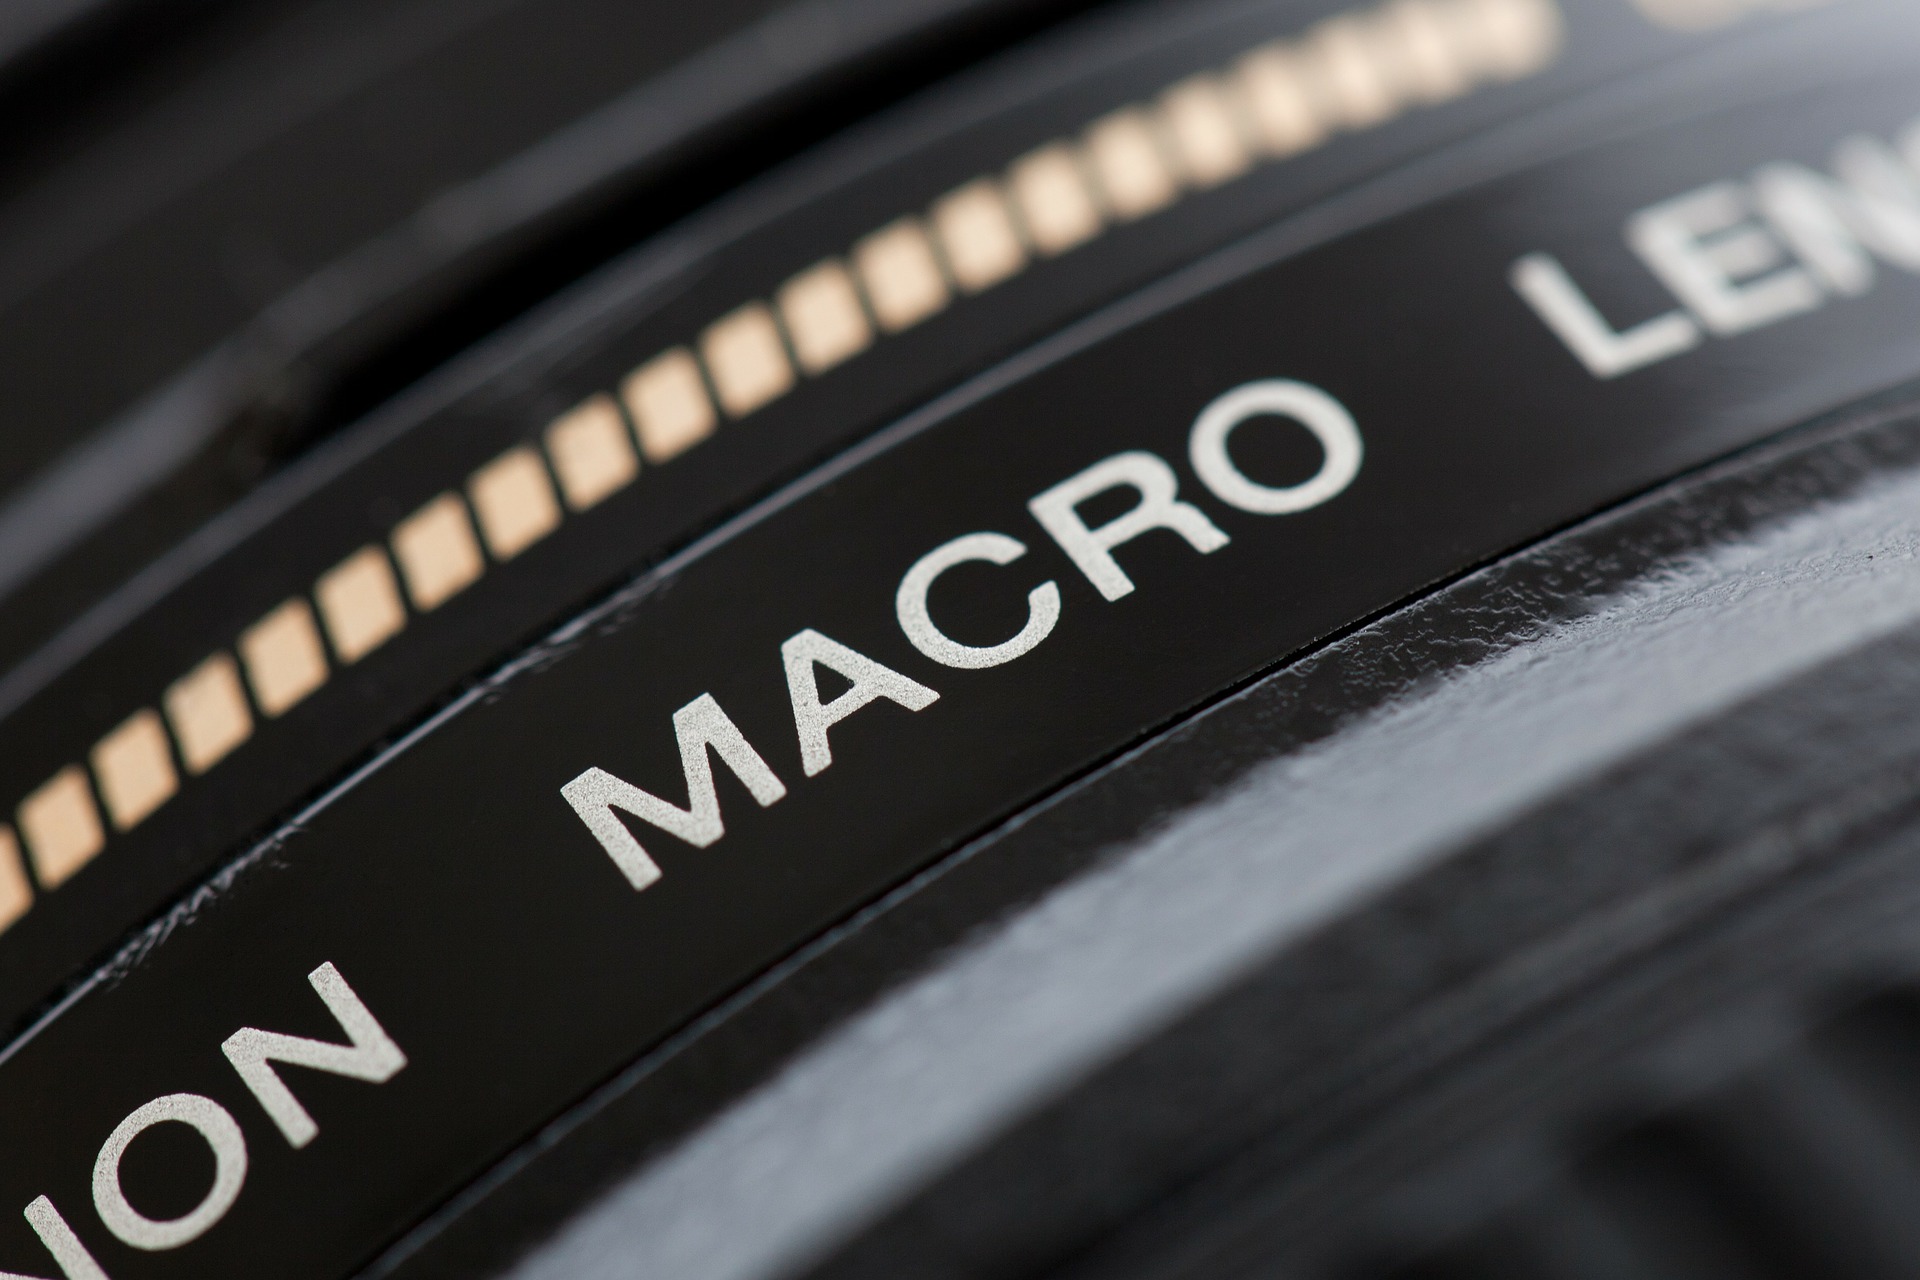
Dedicated macro lenses are the best for shooting macro photos. There are fewer hassles when using a proper macro lens, and the results are incredible.
Choice of Lenses
Macro lenses belong to three different segments:
- Short focal length (35mm to 85mm).
- Medium telephoto lenses (90mm to 105mm).
- Telephoto lenses (150mm and onwards).
I recommend choosing a lens that gives you breathing space and offers 1:1 magnification. I prefer medium telephoto lenses, which provide the right balance between price and image quality. These are a tad cheaper than telephoto lenses, and thus, I recommend them to beginner photographers.
Alternatives to Macro Lenses
Dedicated macro lenses are the best for shooting macro photography. Notwithstanding, you can shoot macro photos without the need for a proper macro lens.
Intrigued?
One popular method involves reversing a lens and mounting it on a camera using a lens reversal adapter. This technique works; however, there are some limitations.
You could also use extension tubes with your normal lens. These are essentially hollow tubes with no optics inside.
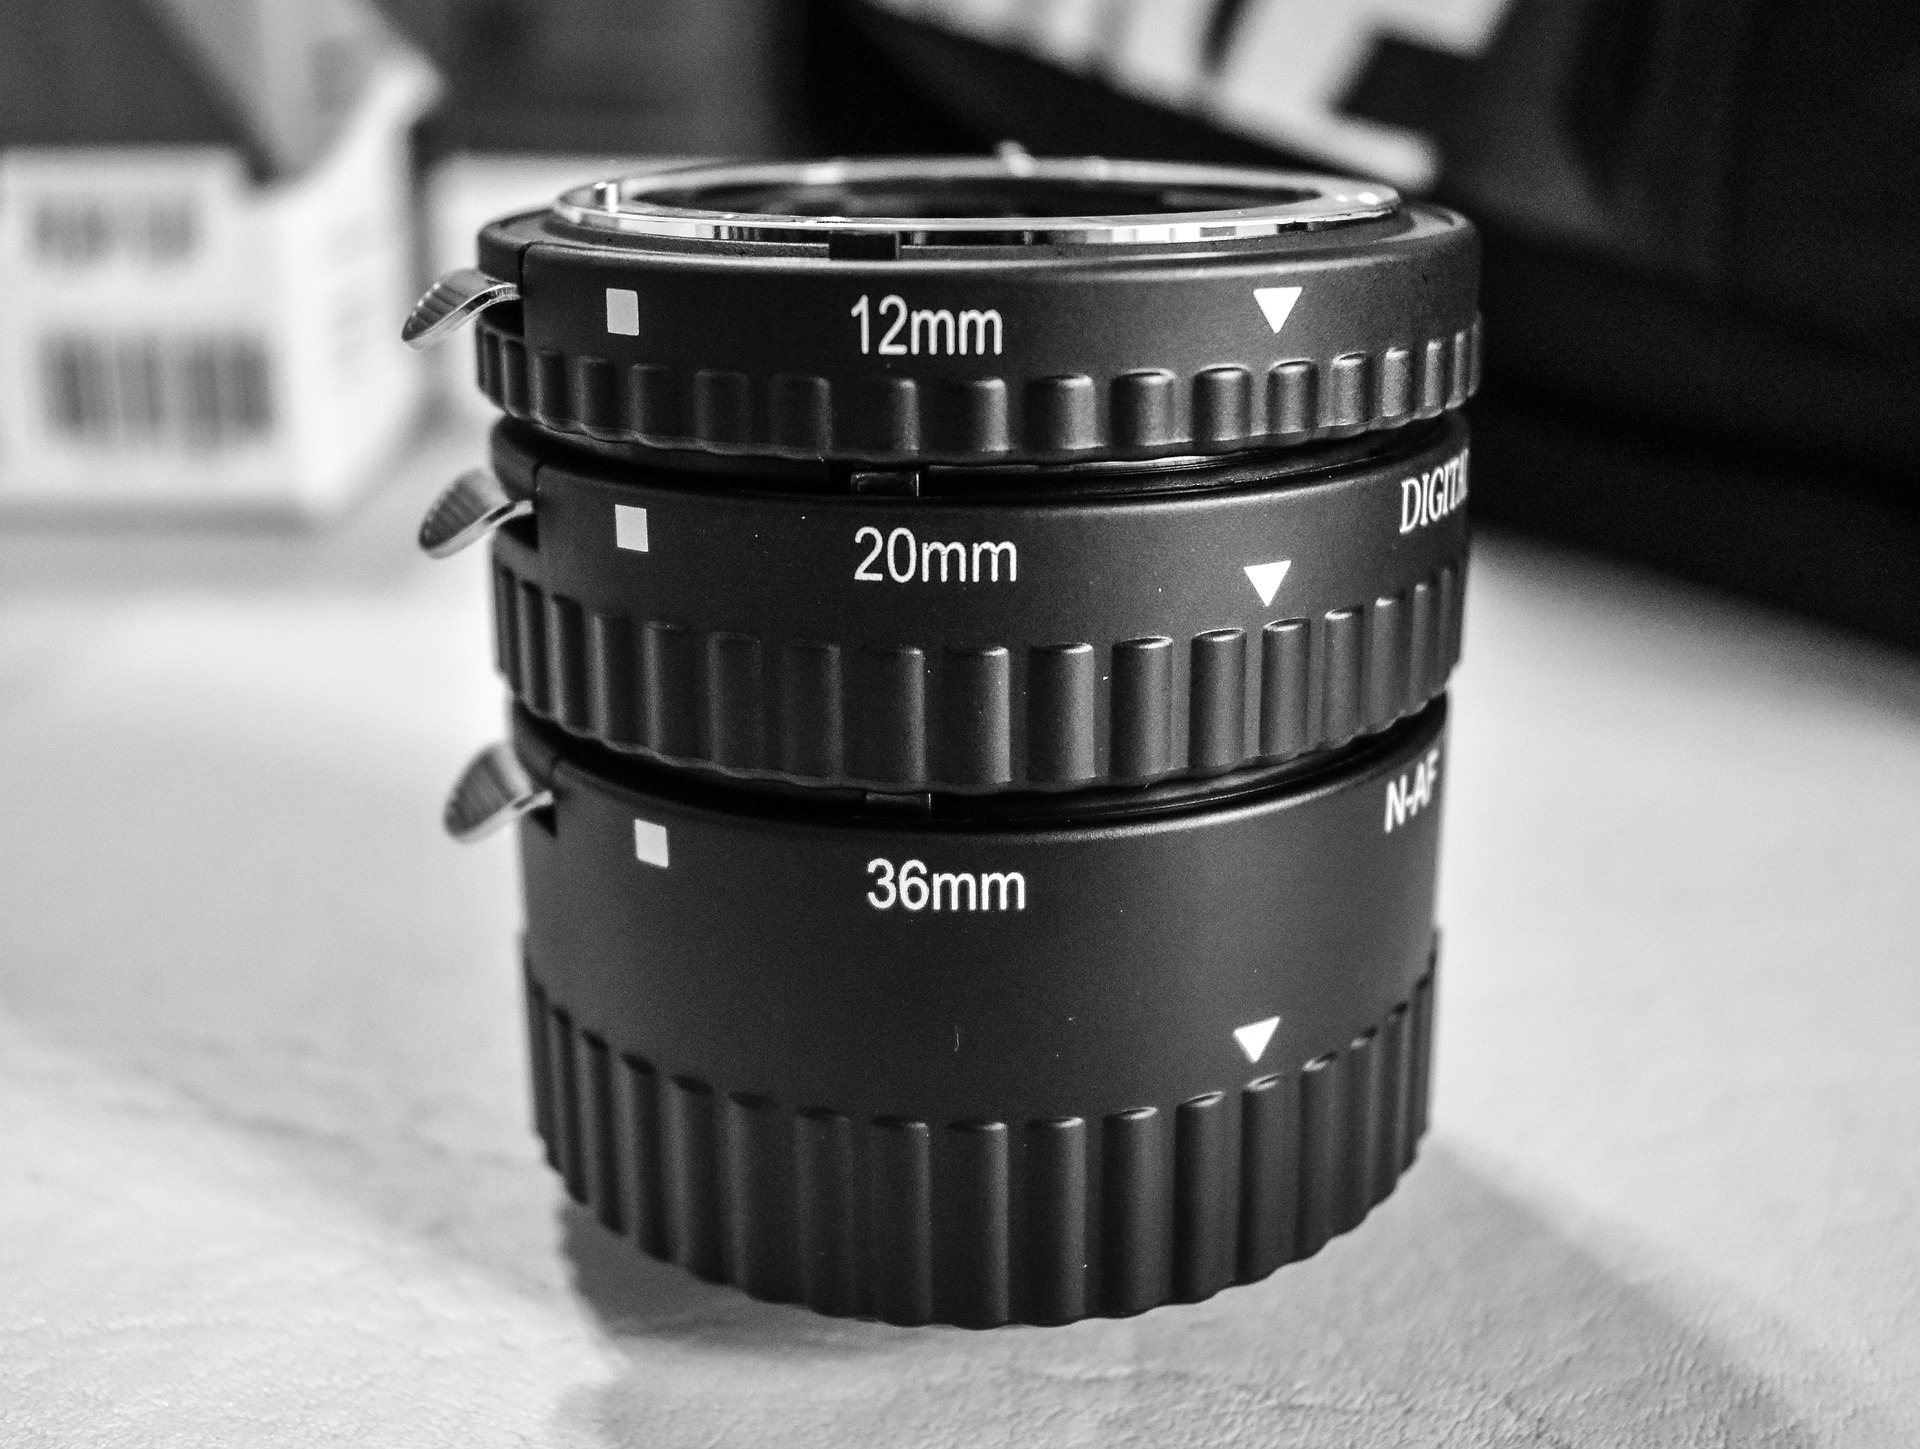
The job of these tubes is to increase the distance between the camera and the subject. That will improve the closest focusing distance of your regular lens, allowing you to focus from a close distance and fill the frame.
These techniques are tried and tested with a few limitations, and they work. A lot of beginner macro photographers start that way.
2. Camera
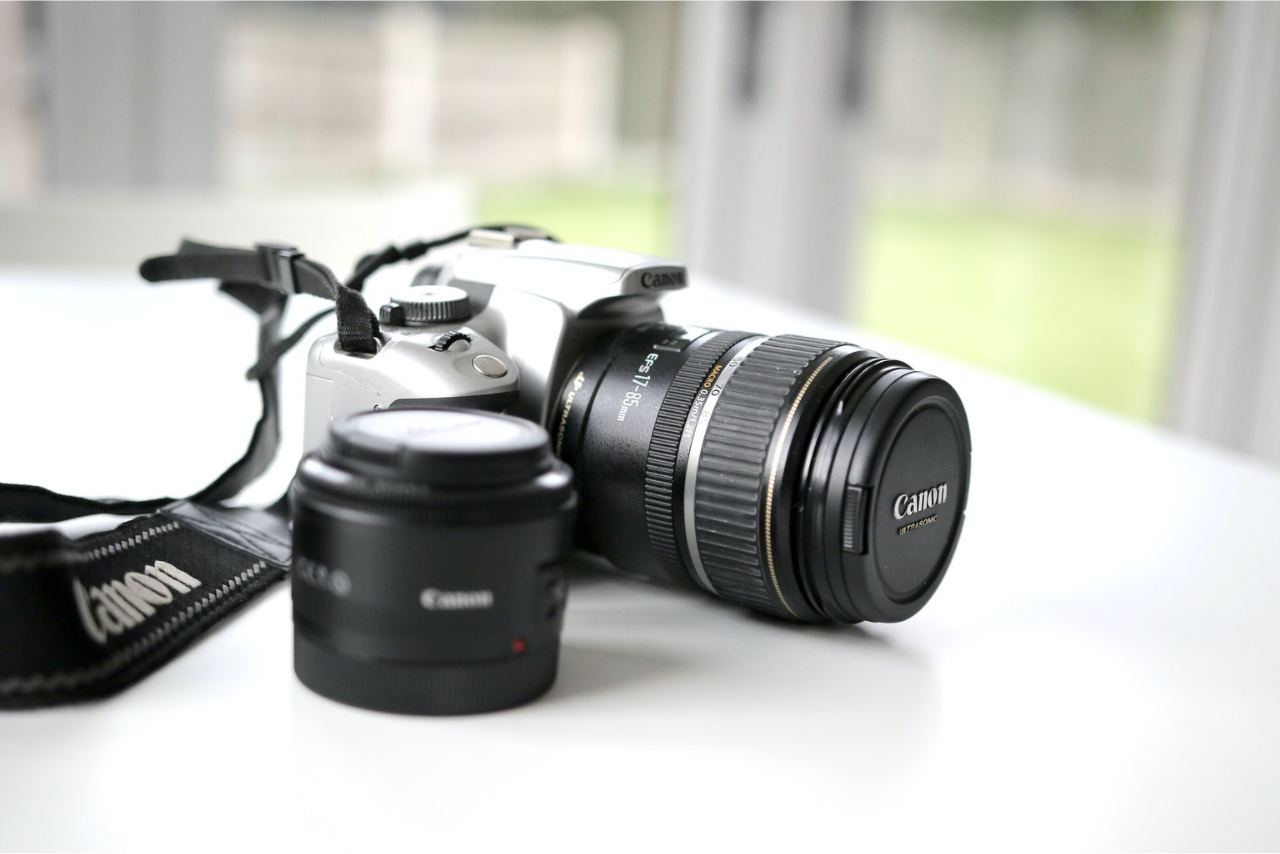
Macro photography isn’t dependent on the kind of camera that you wield. However, a dedicated macro lens is a big plus. And the fact that only interchangeable lens cameras can mount a dedicated macro lens, you have to consider buying one if you are serious about this genre.
Some close focusing lenses are available for smartphone cameras, and many point & shoot cameras have a built-in macro mode. But I’ll leave that discussion for some other time.
3. Tripod
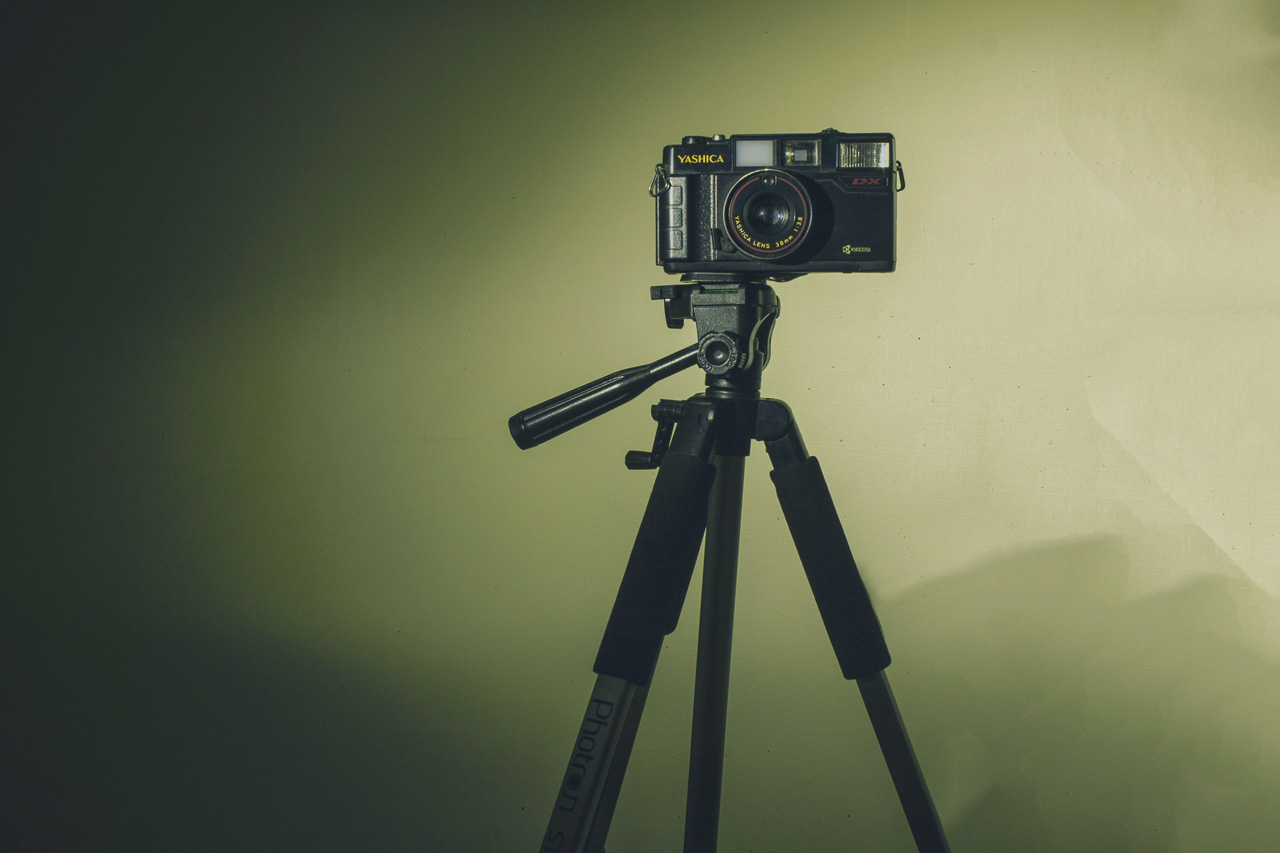
I highly recommend investing in a tripod. It will be your best investment in a photography accessory after your camera and lens.
4. Editing Software
Photo editing software is a vital cog in the wheel of your macro photography setup. It lets you fine-tune the results. Get photo editing software to enhance your photos using simple adjustments to exposure and contrast.
How to Shoot Macro Photography?
There is no single way to shoot macro photos. Photographers love experimenting with this genre (much like any other genre) and try to introduce their perspective to the genre.
There are, however, some traditional tried and tested methods that most photographers use.
1. Get At Least 1:1 Magnification
True macro photography is when you can capture a 1:1 Magnification of a subject onto an image sensor.
What is 1:1 Magnification?
Magnification suggests how big or small the subject’s image appears on the image sensor. If it appears as large as it actually is in real life, you have achieved 1:1 magnification (or life-sized reproduction).
The way to get a large magnification is to use a proper macro lens from a close working distance. A lens such as the Canon EF 100mm f/2.8L Macro IS USM is a good example. Such a lens will allow you to capture 1:1 magnification from a working distance of less than one foot.
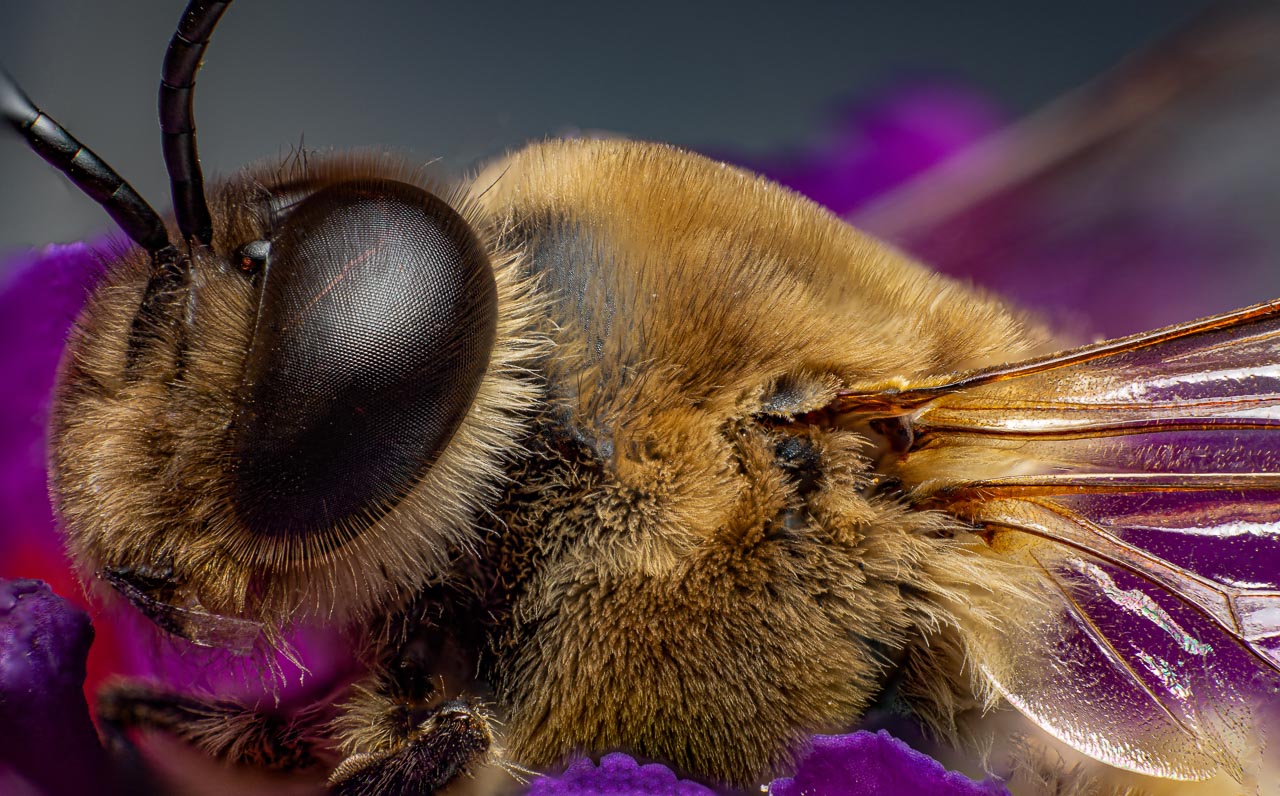
Some lenses, such as the Venus Optics Laowa 25mm f/2.8 2.5-5X Ultra macro lens, can achieve even higher magnification. This lens’s phenomenal 2.5x to 5x magnification allows you to capture stunning close-up shots of bugs and creepy crawlies with larger-than-life magnification.
2. Switch to Manual Focusing
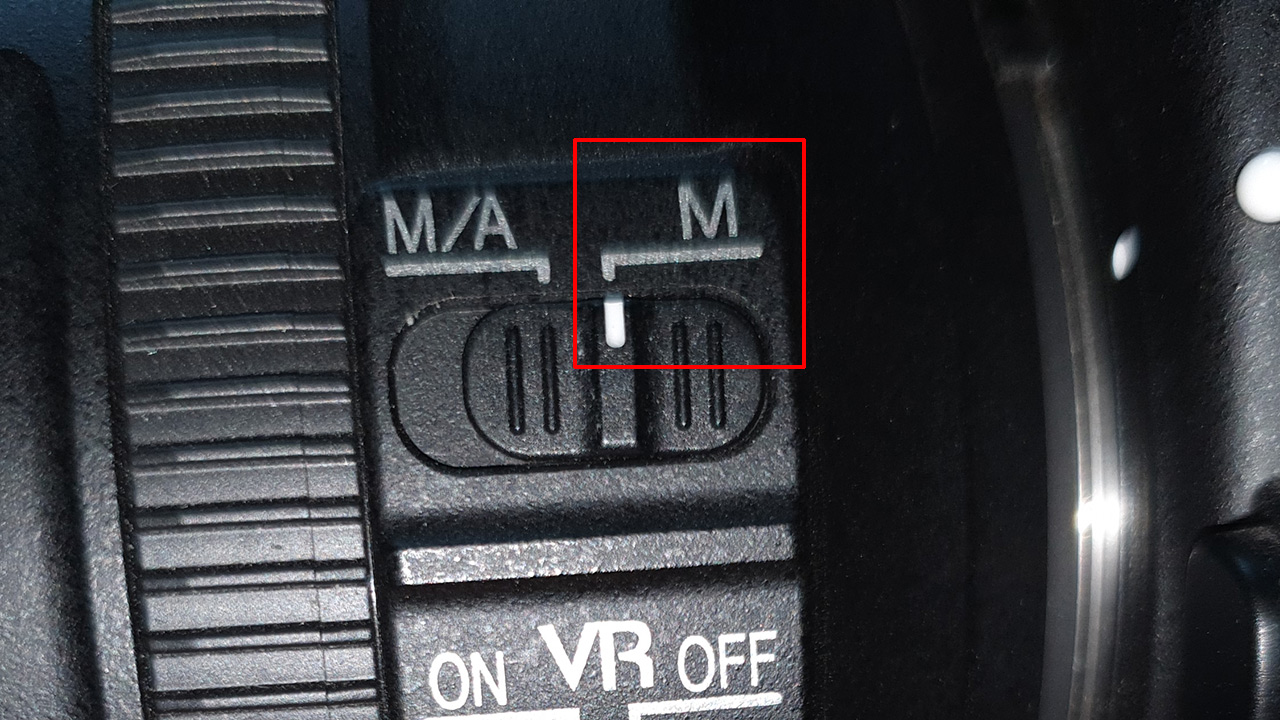
Manual focusing gives you a greater degree of control over focusing. Autofocusing tends to find things a tad difficult at times. This is true when shooting something with less contrast or when shooting in low light.
Cameras with manual focus peaking functionality are the best for using this technique.
Focus peaking will mark the areas currently in focus by highlighting them in a color of your choice.
If your camera does not have a manual focus peaking option use the magnification option (press the + and the – buttons at the back of the camera) to magnify the live-view image at the back of the LCD screen. Then lock focus using the manual focusing ring before zooming out.
3. Use the Technique of Focus Stacking
By default, macro photography lenses offer a very shallow depth of field (DoF). This is because of the small working distance between the camera and the subject and the wide aperture.
While the shallow DoF is excellent for bokeh, it’s not always great for focusing. The thinner the depth of field lower is the margin of error between getting a properly exposed photo and getting something blurry.
We recommend using a tripod and the use of the focus stacking technique.
The focus stacking technique involves using multiple images of the same composition. However, each image is focused at different points (therefore different distances) in the image.
They are then combined together (stacked) using photo editing software like Colorcinch to produce a single image with a large DoF.
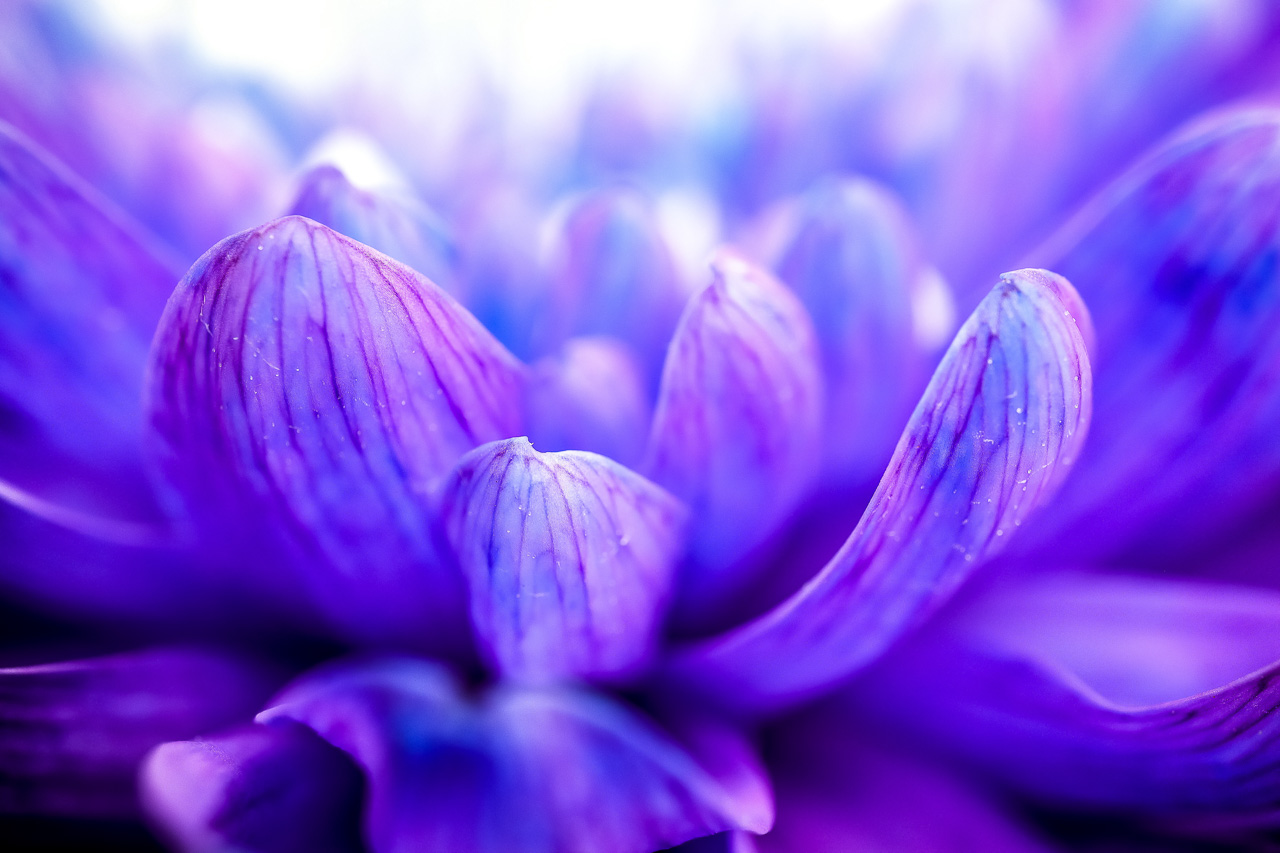
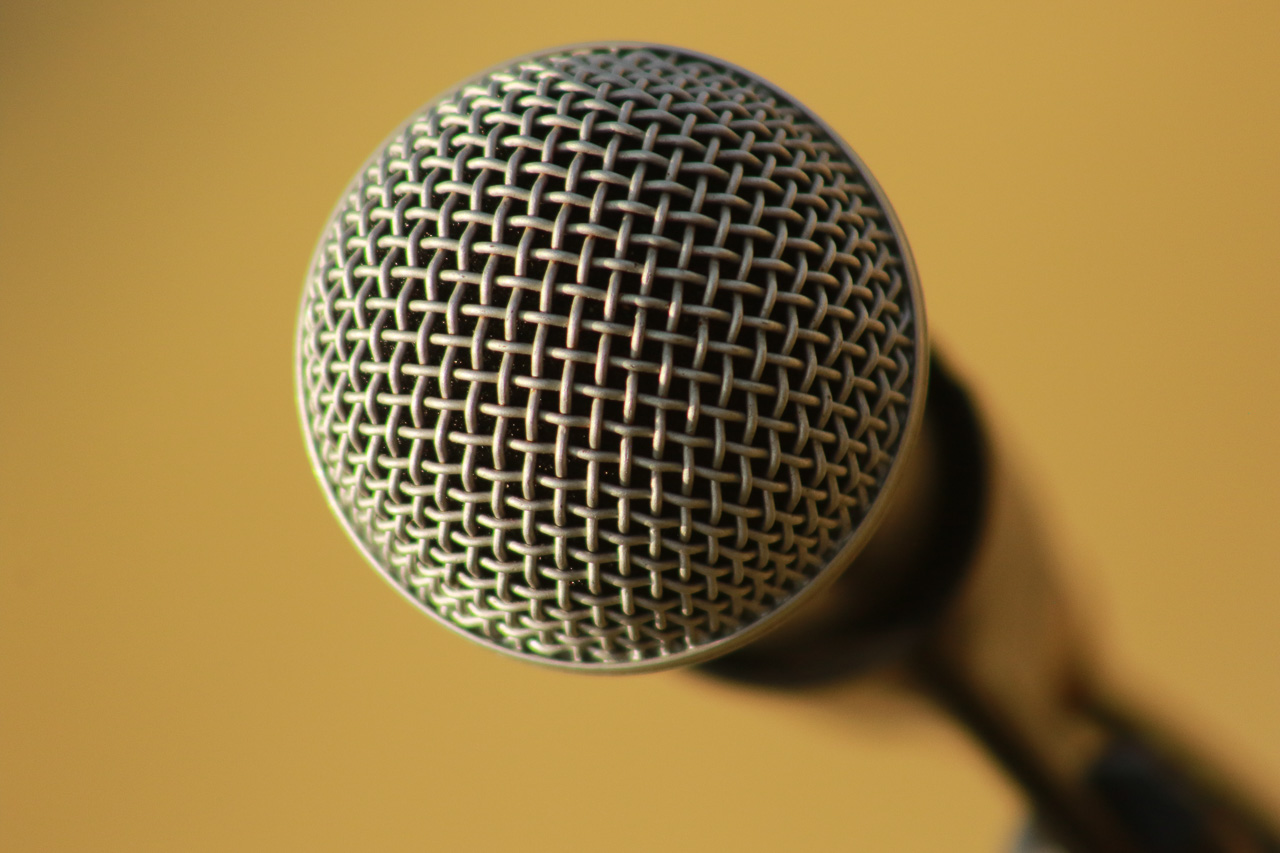
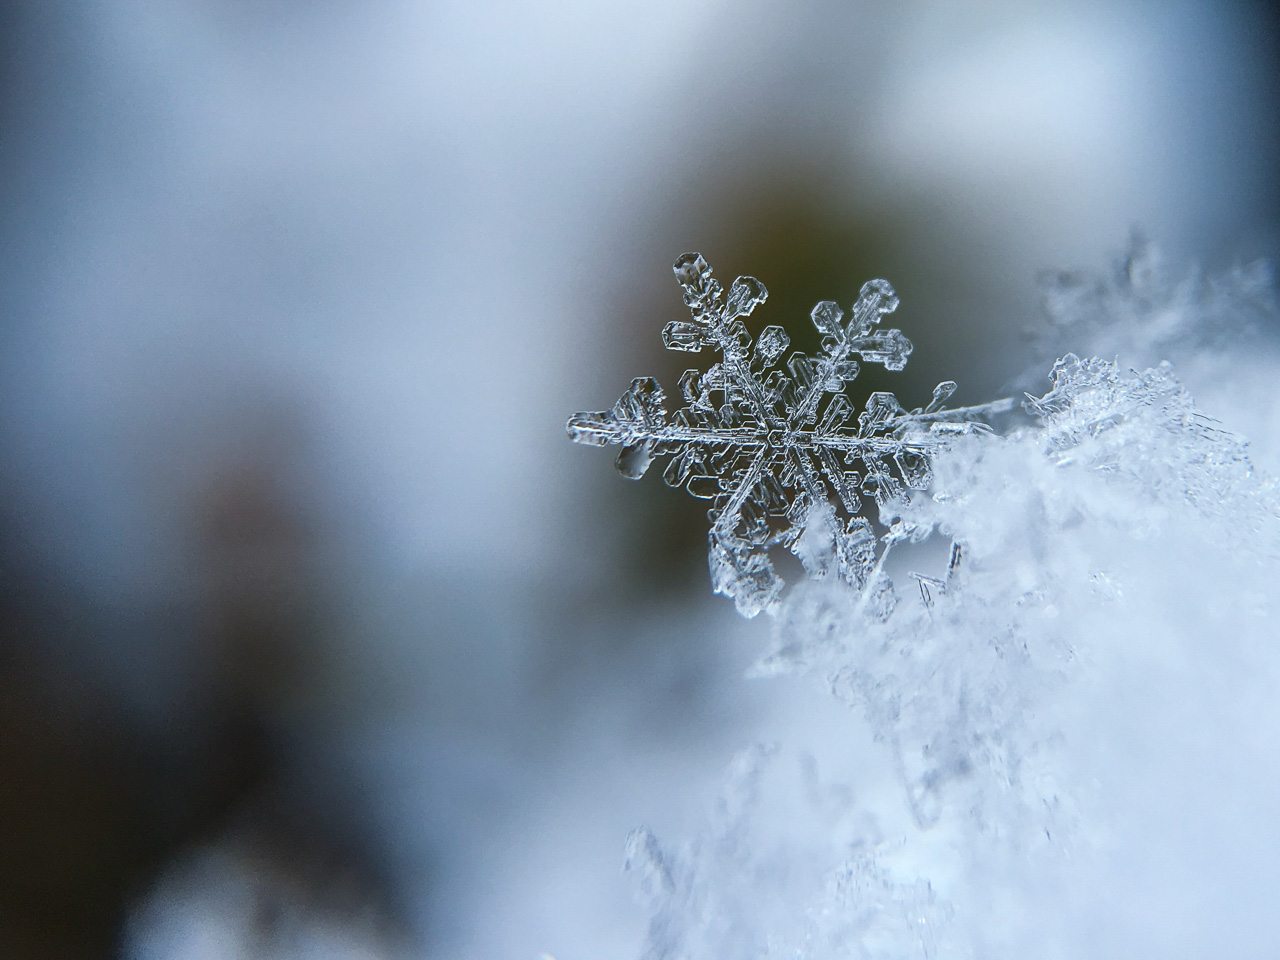
4. Macro Photography Subjects
Macro photography is one of those genres with practically an unlimited choice of subjects to shoot. There is a whole world of items of everyday use and a vast organic living world. No one bothers about it. But they offer fantastic opportunities to experiment with and hone your macro photography skills.
Macro photography is also one of those rare photography genres that you can shoot practically anywhere. Macro photography can be shot in the wild. You can practice this genre even if you’re stuck at home in a lengthy lockdown.
Post-processing Tips
I recommended using photo editing software in the list of tools to have. A photo editing tool gives you the freedom to further tweak your photos. If for nothing else, you can use it to adjust exposure and do other basic editing stuff.
With a photo editing software like Colorcinch, you can do a lot more, like replace boring background color.
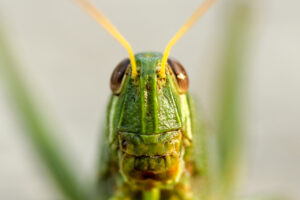
This is the image I picked for my experiment:
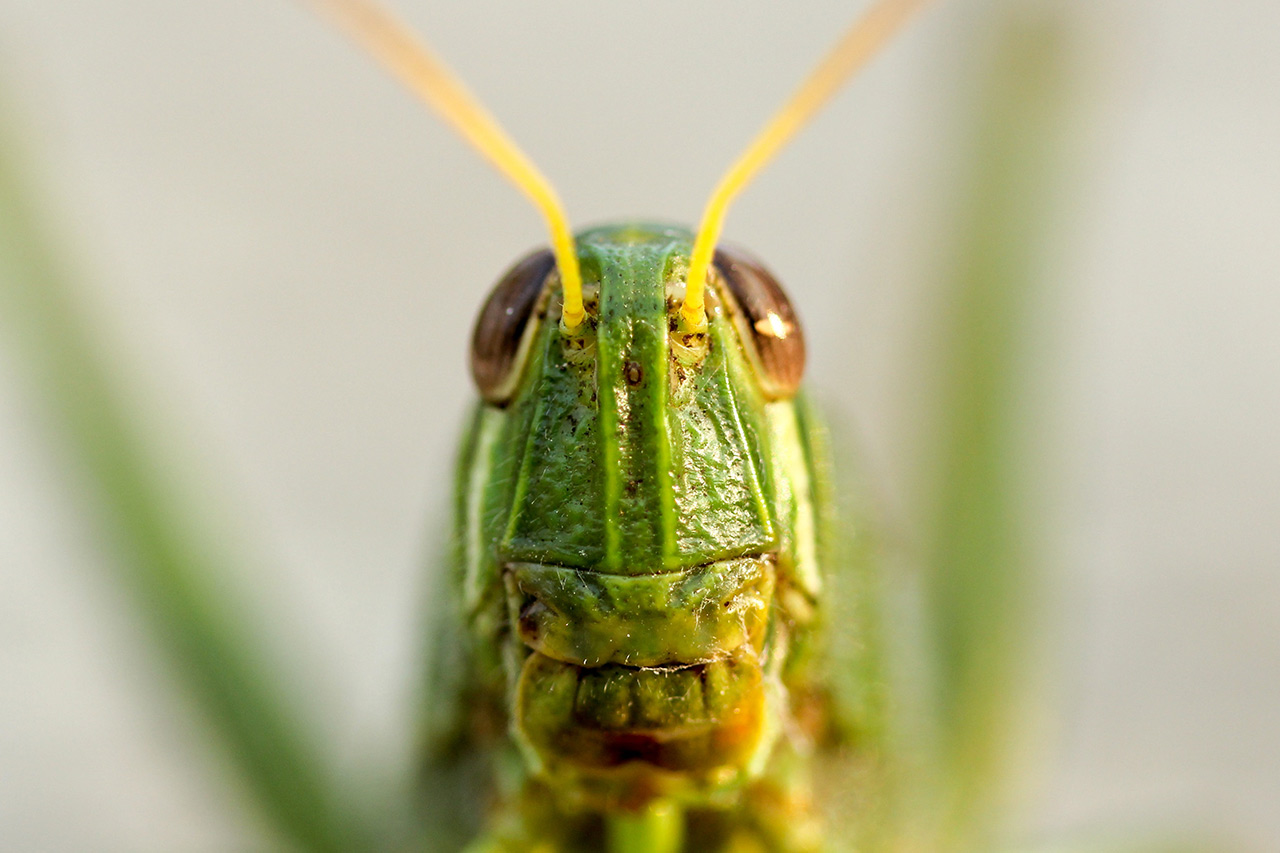
I love the image except for the boring brown-gray background. I wanted to give it a twist, and these are the steps that I took:
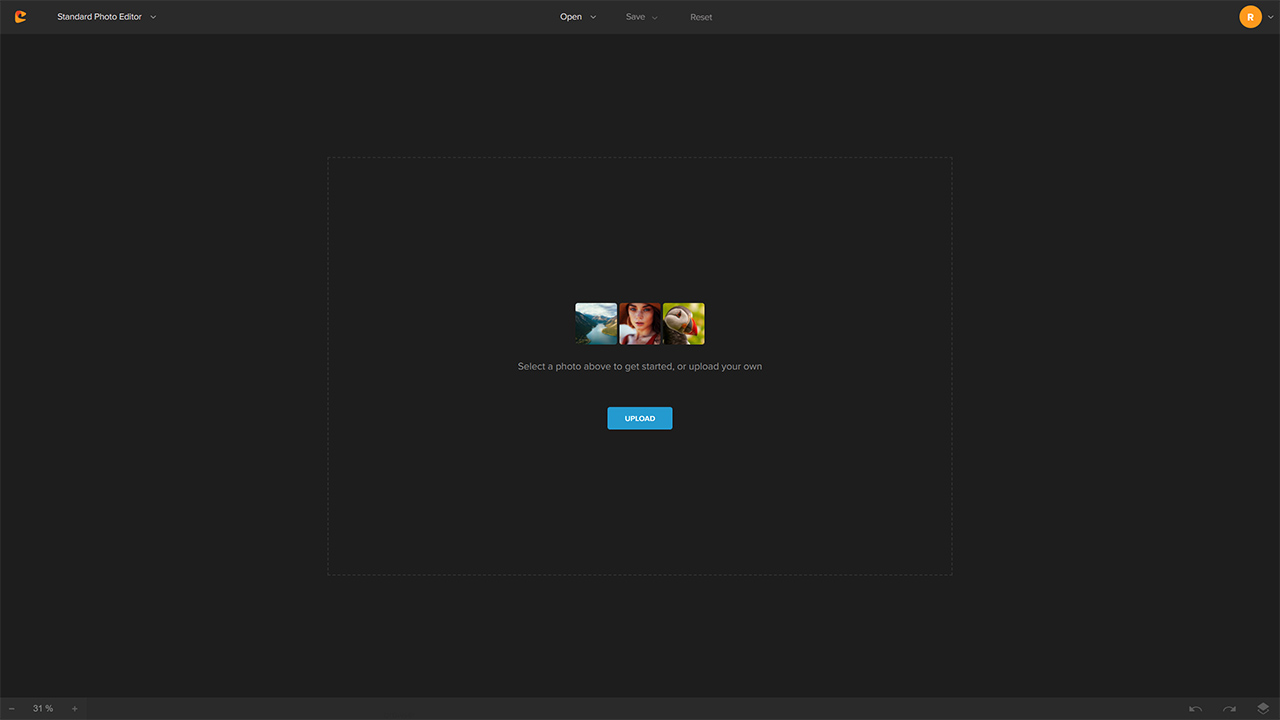
1: Navigated to Colorcinch
2: Uploaded the original image using the Upload button.
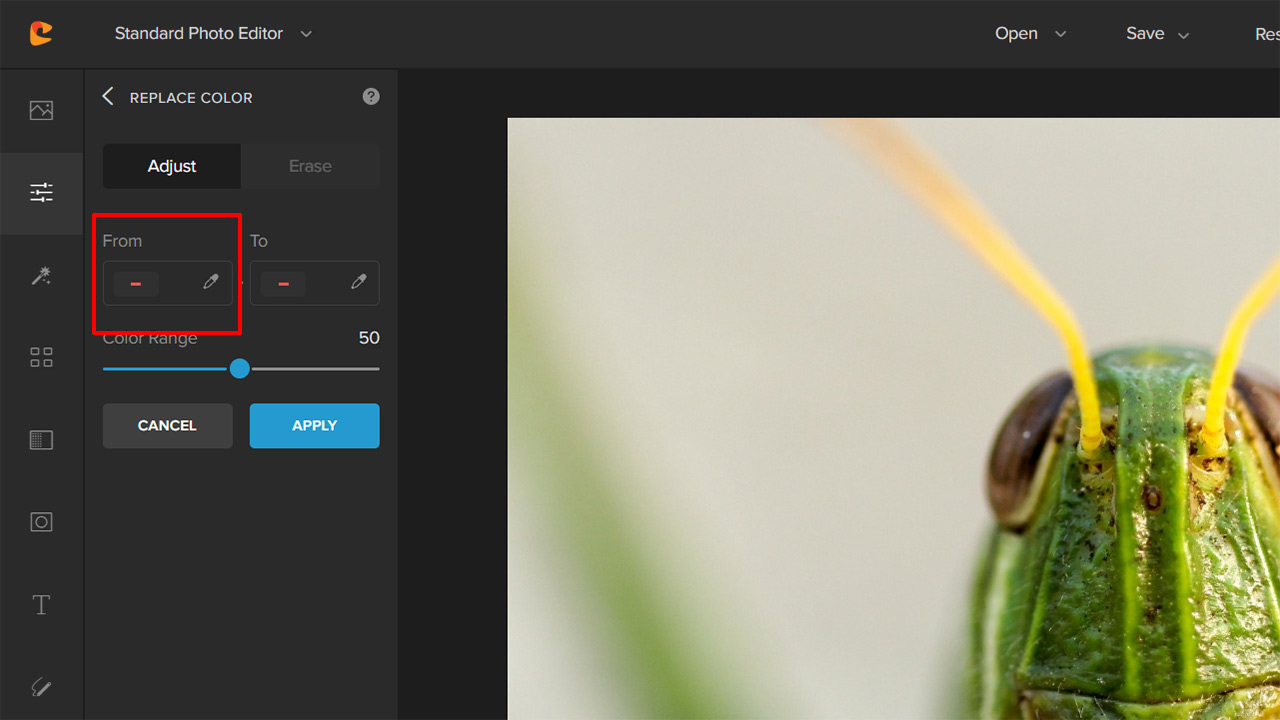
3: Once the image has been uploaded, I selected the Replace Color tool at the bottom left of the screen.
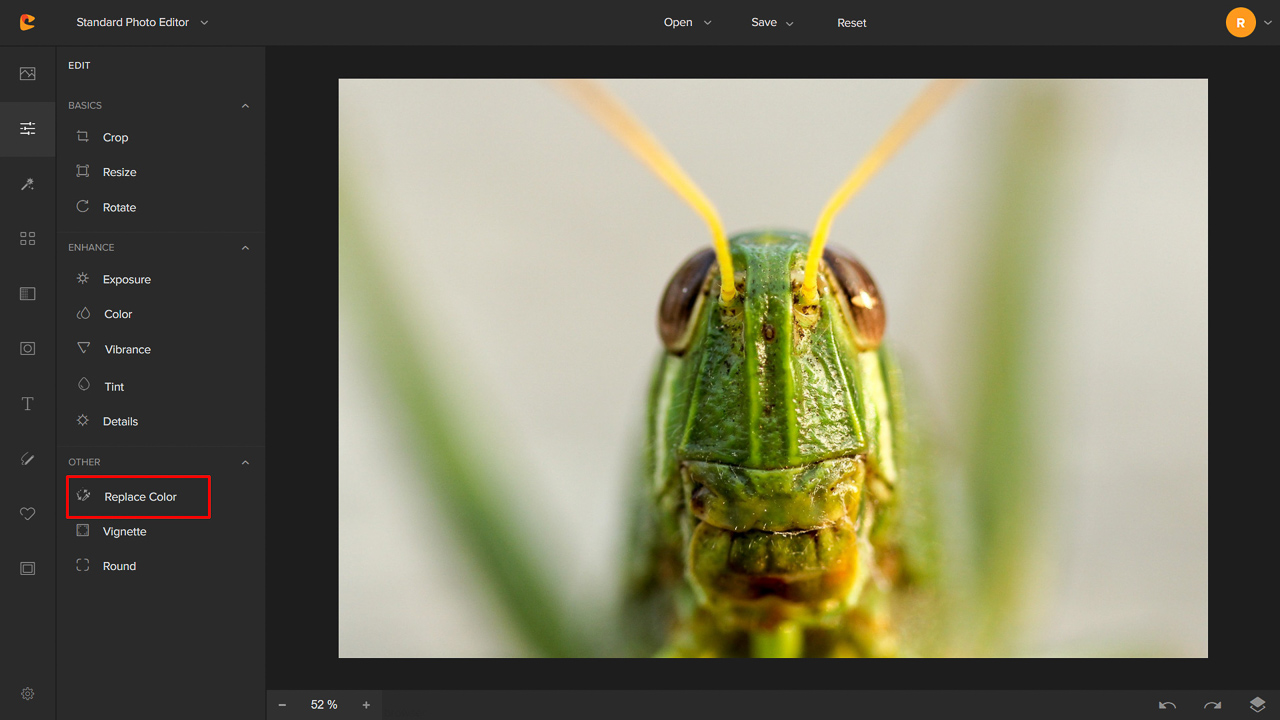
It opened this interface where it asked me to choose the color that I wanted to replace.
Step 4: I clicked on the Color Picker, which allowed me to click on the background and choose it as the color to replace (the From color).
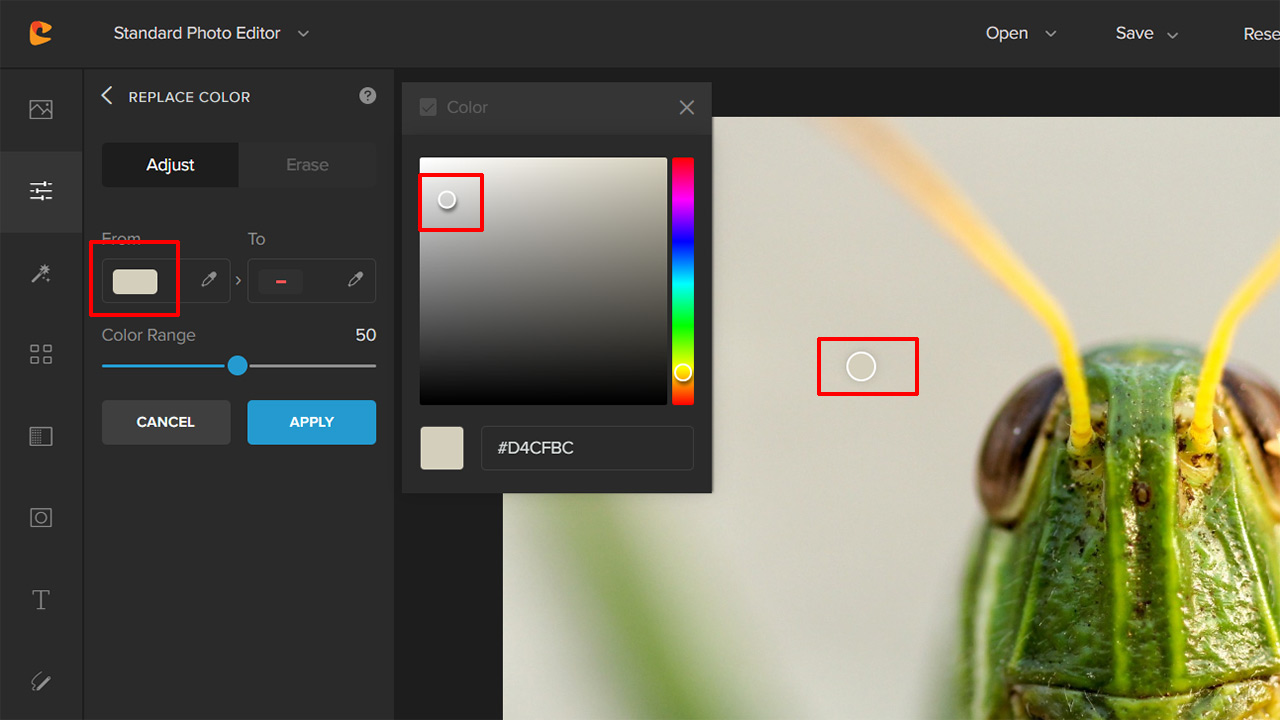
Step 5: Next, I chose the ‘To‘ color. This is the color that will replace the boring gray-brown one.

Step 6: Finally, I clicked Apply.
Here’s a quick before and after look.
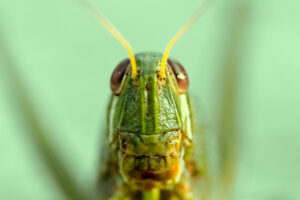
Pretty impressive!
Concluding Thoughts
Macro photography is a very gratifying pursuit. There are plenty of opportunities to practice this genre no matter where you are. This means you can find a subject as soon as you are ready to shoot. You can practice it in your backyard, in the kitchen, in your living room, and in your study. There are infinite possibilities, with the real limitation being your imagination.