
The need to shoot HDR photography comes from our inability to capture a large dynamic range in a single exposure. There is a considerable amount of difference between what our naked eyes see in a scene compared to what our cameras can capture.
This difference is due to our eyes constantly adjusting to the different brightness levels in a scene, giving us a greater dynamic range than our cameras can capture in a single frame.
It can often be a very frustrating experience, especially for landscape photographers who have to depend on the camera’s built-in light meter to create a reasonably good exposure. As it turns out, in most cases, the images are nowhere near what we expect.
This is one of the prime reasons we spend a considerable amount of time retouching our photos, adjusting exposures, and making corrections, after we are back from a shoot.
What is HDR in Photography?
HDR stands for high dynamic range. The term dynamic range refers to tones between an image’s brightest and the darkest tones—the greater the number of those tones, the higher is the dynamic range.
High dynamic range refers to an image with an exceptionally high range of tones between the brightest and the darkest tones.
HDR is achieved in photography by capturing a series of frames of the same scene but adjusting the exposure slightly between each frame to ensure that at least one frame captures details in the highlights and one captures details in the shadows along with one that captures the mid tones.
This is done so that when these exposures are combined in a photo editing software, both the highlights and the shadows appear properly exposed, just as the mid-tones.
What Do You Need to Shoot HDR Photos?
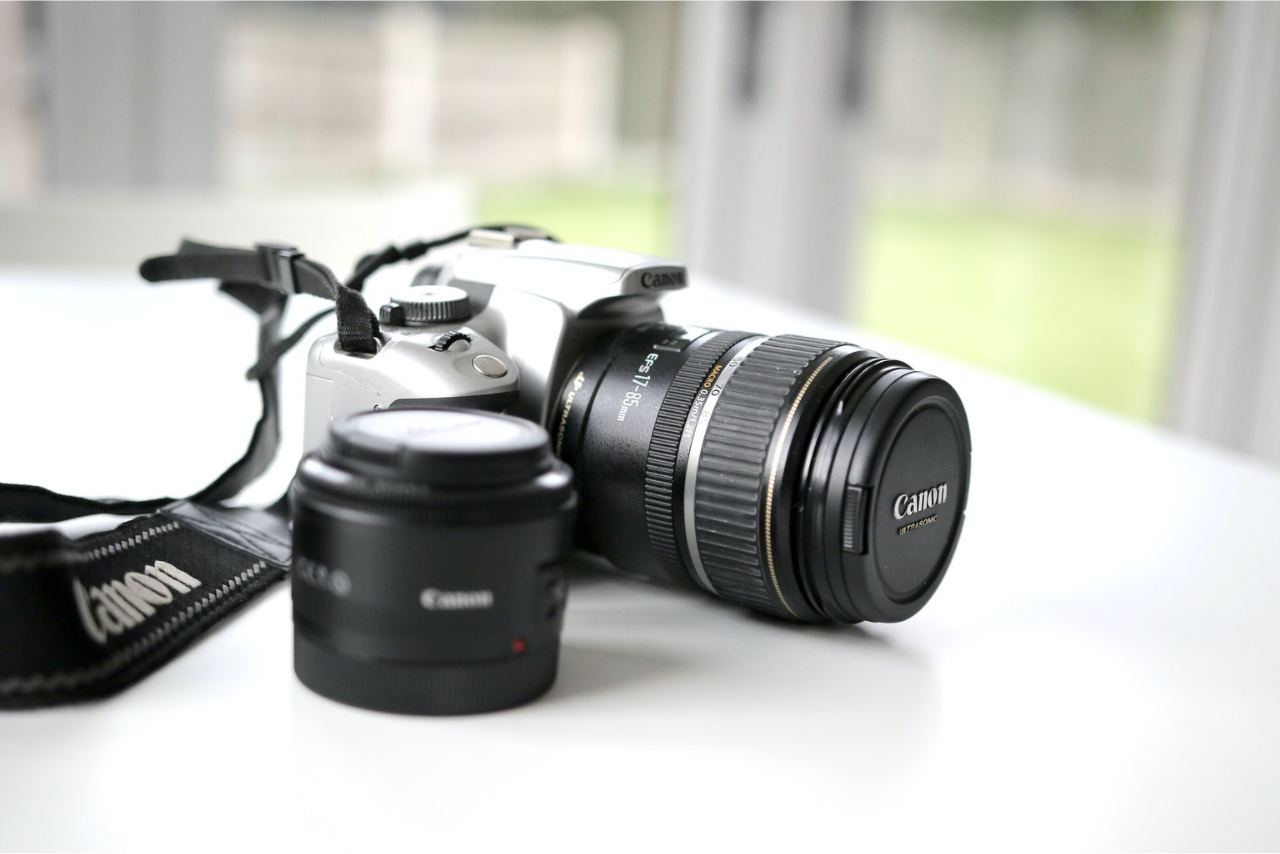
You do not inquire too much-specialized equipment to shoot HDR photos. A camera and a lens are the essential tools that you require. Apart from that, you need a tripod to set up your camera and lens. This will ensure that your camera does not move between the frames and remain perfectly aligned across all the exposures.
The final piece is a remote trigger. A remote trigger allows you to trigger the shutter without touching the camera, which is handy if you do not wish to knock the camera about inadvertently. People with highly steady hands can do without a remote trigger. They will need to know how to set the auto-timer on the camera so that the shutter mechanism fires on its own.
How to Shoot HDR Photography?
First, you need to understand exactly which type of metering mode you should be using when shooting HDR photography. The best metering mechanism is matrix metering. Matrix metering takes into consideration the whole of the scene. This is important because you need the whole scene to be correctly exposed.
In terms of aperture, keep your camera on aperture priority mode and choose the appropriate aperture for your composition. If it is a landscape photo you’re composing, shoot at f/7.1 or f/8, depending on the lens you are using.
Keep an eye on lens diffraction because that will inevitably set in once you stop down your lens to something tiny.
We have discussed many aspects of landscape photography compositions in a previous discussion. You can check out that resource here.
Set the camera’s metering system, pick the point to focus on, and switch your camera to auto bracketing and continuous shooting modes. This will ensure that when you fire the shutter release, the camera will take a series of exposures while spreading them across the exposure gap you have selected.
What Is Bracketing in Photography?
Bracketing denotes shooting the same composition multiple times but changing one or more settings between the shots. In the context of HDR photography, Bracketing will involve changing the exposure value in between each frame.
How to Use Bracketing in HDR Photography?
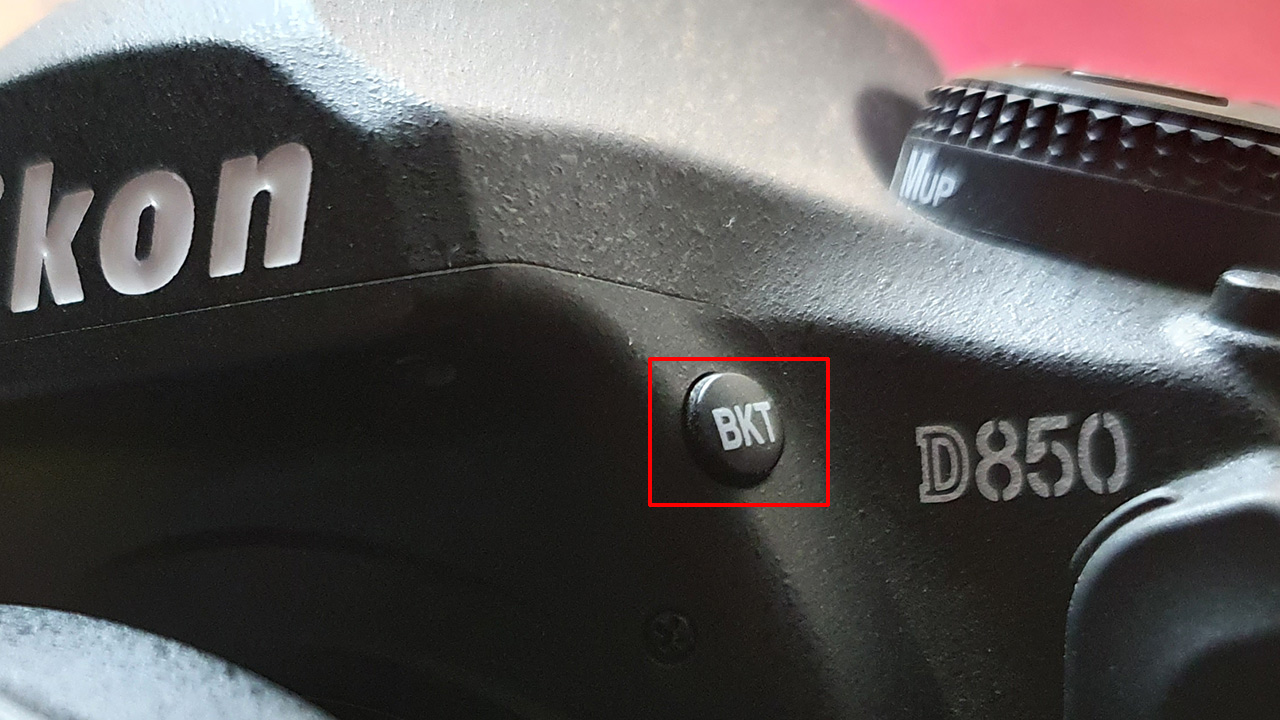
To enable Bracketing on your camera, look for a button that says something like ‘BKT.’ Different brands tend to label it differently. Plus, the positioning of the button varies according to the model. Consult the camera manual if you’re unable to find it.
The exposure gap is the difference in exposure value between each shot. To set the exposure gaps, press and hold the ‘BKT” button and turn either the main command dial or the sub-command dial, depending on the camera make and model, to choose how much gap you need between each shot.
You can choose between 0.3 stops to 2-stops between each exposure.
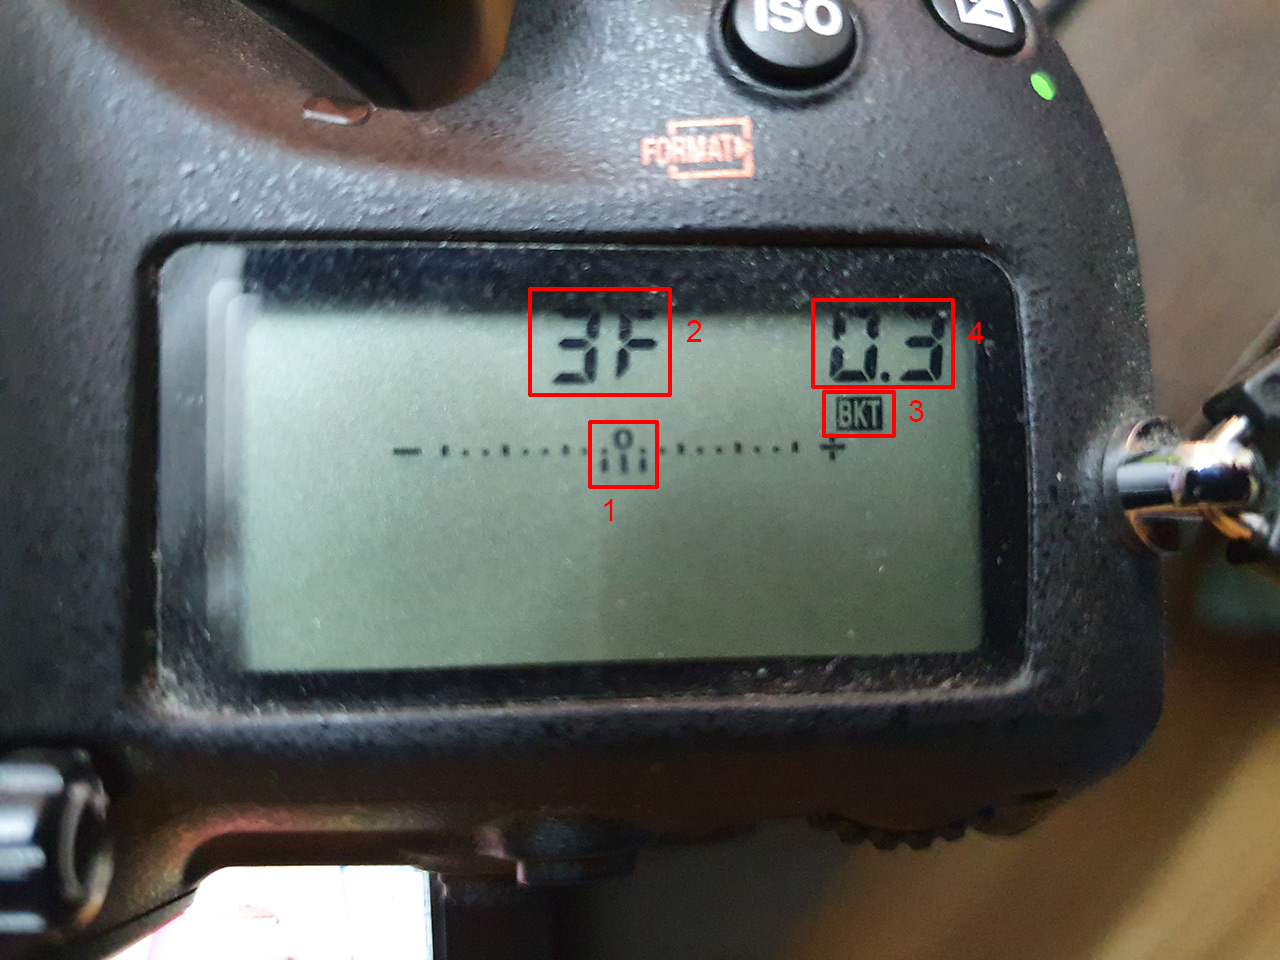
In the above image:
- 1 denotes the number of frames and how they are spread. Here it was set to 3 frames spread as 1 normal exposure, 1 under and 1 over-exposed frame.
- 2 also is a visual confirmation that 3 frames will fire.
- 3 is a sign that Bracketing is engaged.
- 4 is the exposure gapping. Here it suggests that the 3 exposures will have a gap of 0.3-stops.
Alternatives to Bracketing
It’s possible to adjust your exposures in post-processing to give it an HDR look. Technically, this is not the same as the normal HDR process that you’ve learned above. That said, it is a wonderful way to work on your existing images and give them an HDR look.
You can do this using Colorcinch.
Step # 1: Navigate to Colorcinch.
Step # 2: Upload your image using the Upload button.
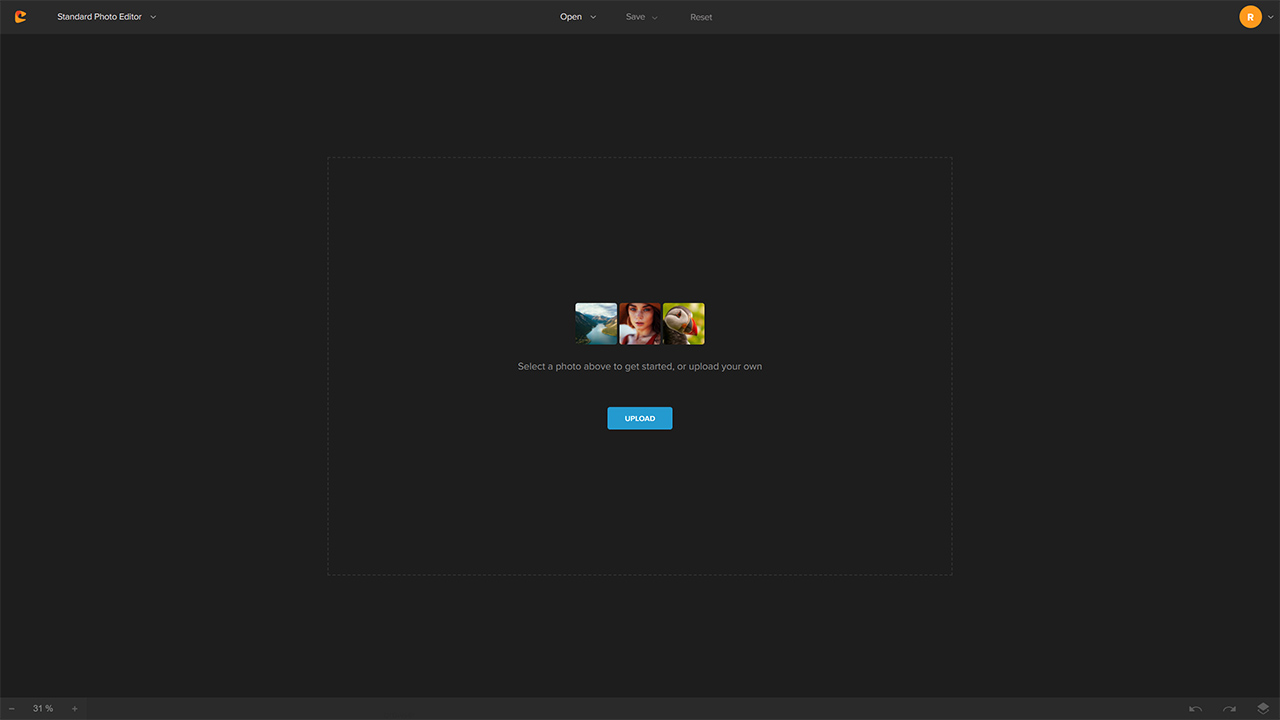
There are a bunch of tools in the main dashboard.
Step # 3: Click on the Filters icon.
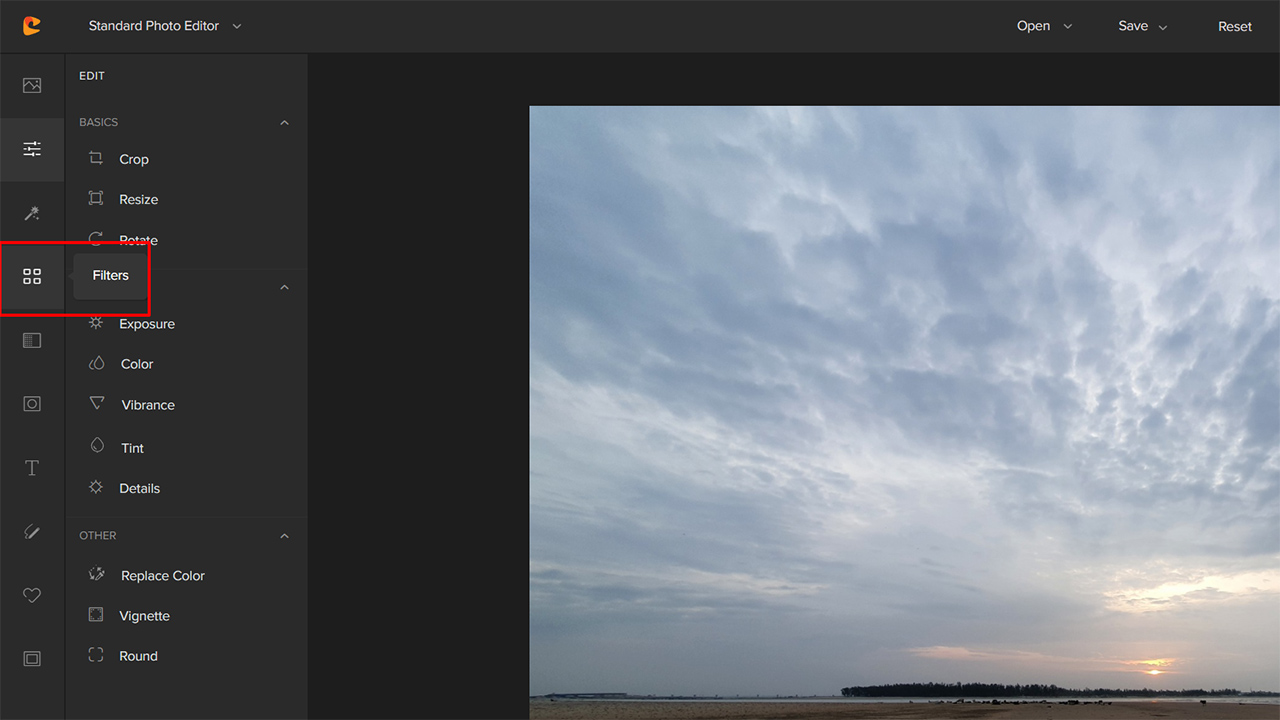
The Filter icon offers a bunch of effects to choose from.
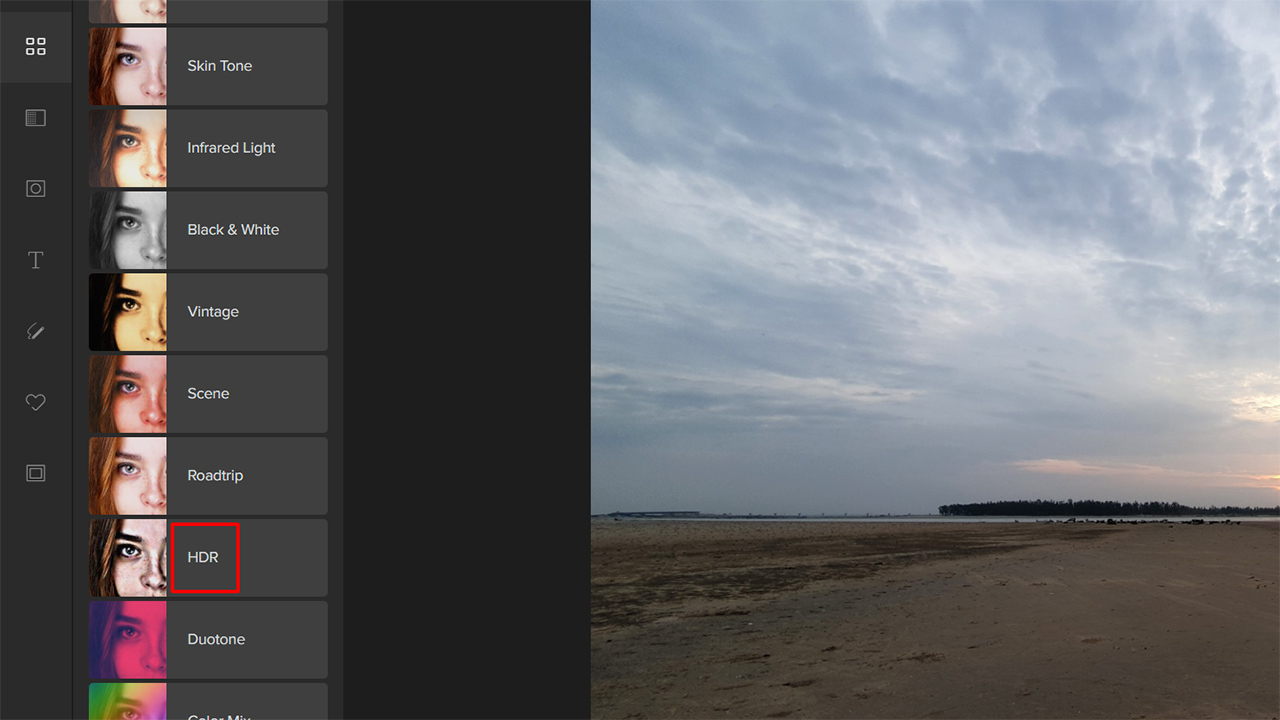
Step # 4: Click on the HDR button.
There are a few HDR effects that you can use.
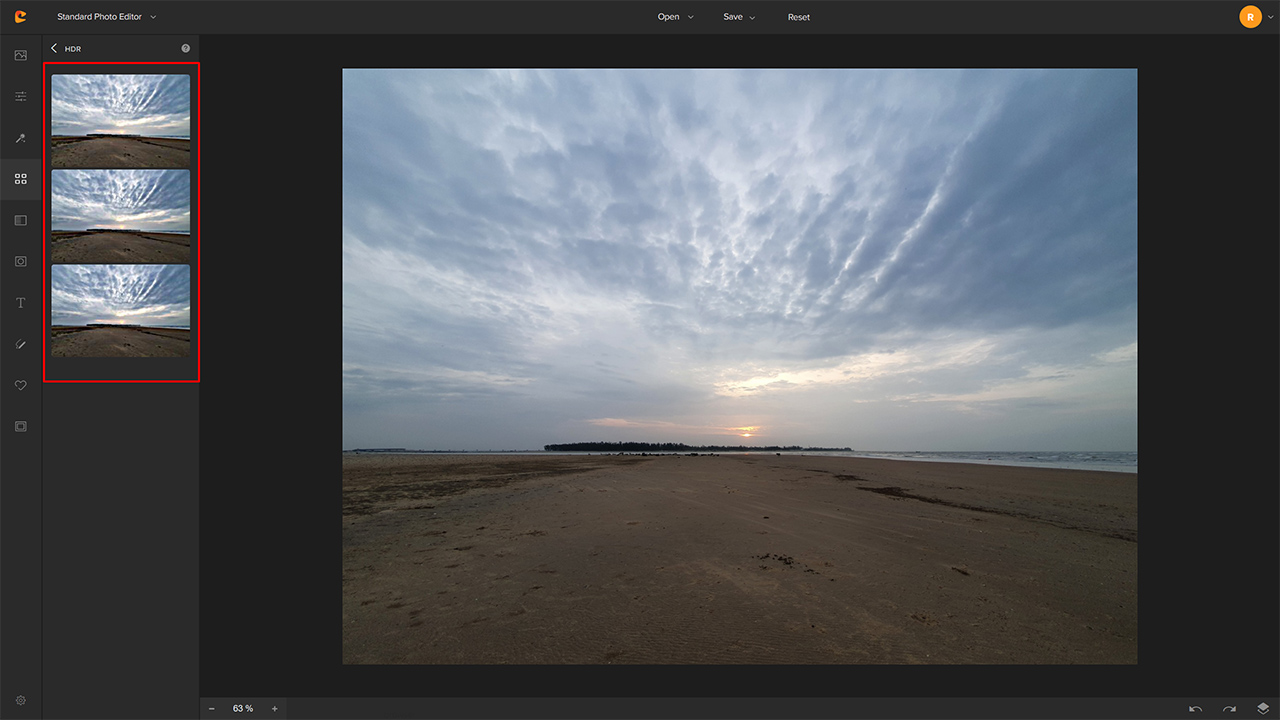
Step # 5: Choose the HDR Option that best fits your image and expectations.
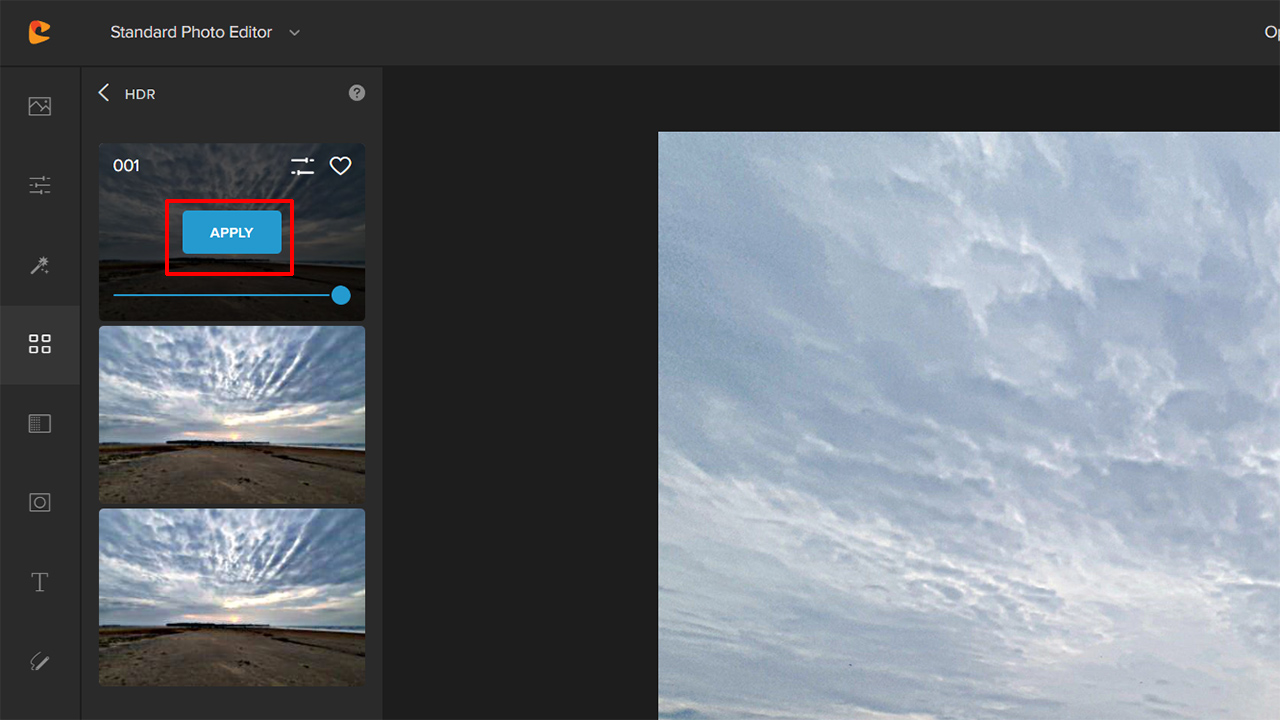
Step # 6: Click on Apply.
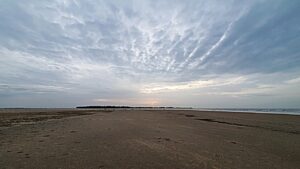
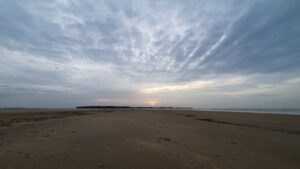
Here’s a quick before and after view:
How to Take HDR Photos on iPhone?
Iphone’s latest models, including the iPhone 13, can shoot in HDR mode automatically when necessary. So, unless you have tinkered with the camera settings, your iPhone will shoot in HDR mode each time it feels that the scene requires it.
The same goes for shooting videos with your iPhone.
Blending Photos in Editing Software
To blend photos and produce a single HDR image, you need specialized software for that purpose. The exact steps will vary from one tool to the other.
Here’s how to merge your photos in some of the most popular photo editing tools:
Merging Photos in Adobe Lightroom 2021:
How to create an HDR photo in Adobe Photoshop:
How to do the same in Affinity Photo:
Concluding Thoughts
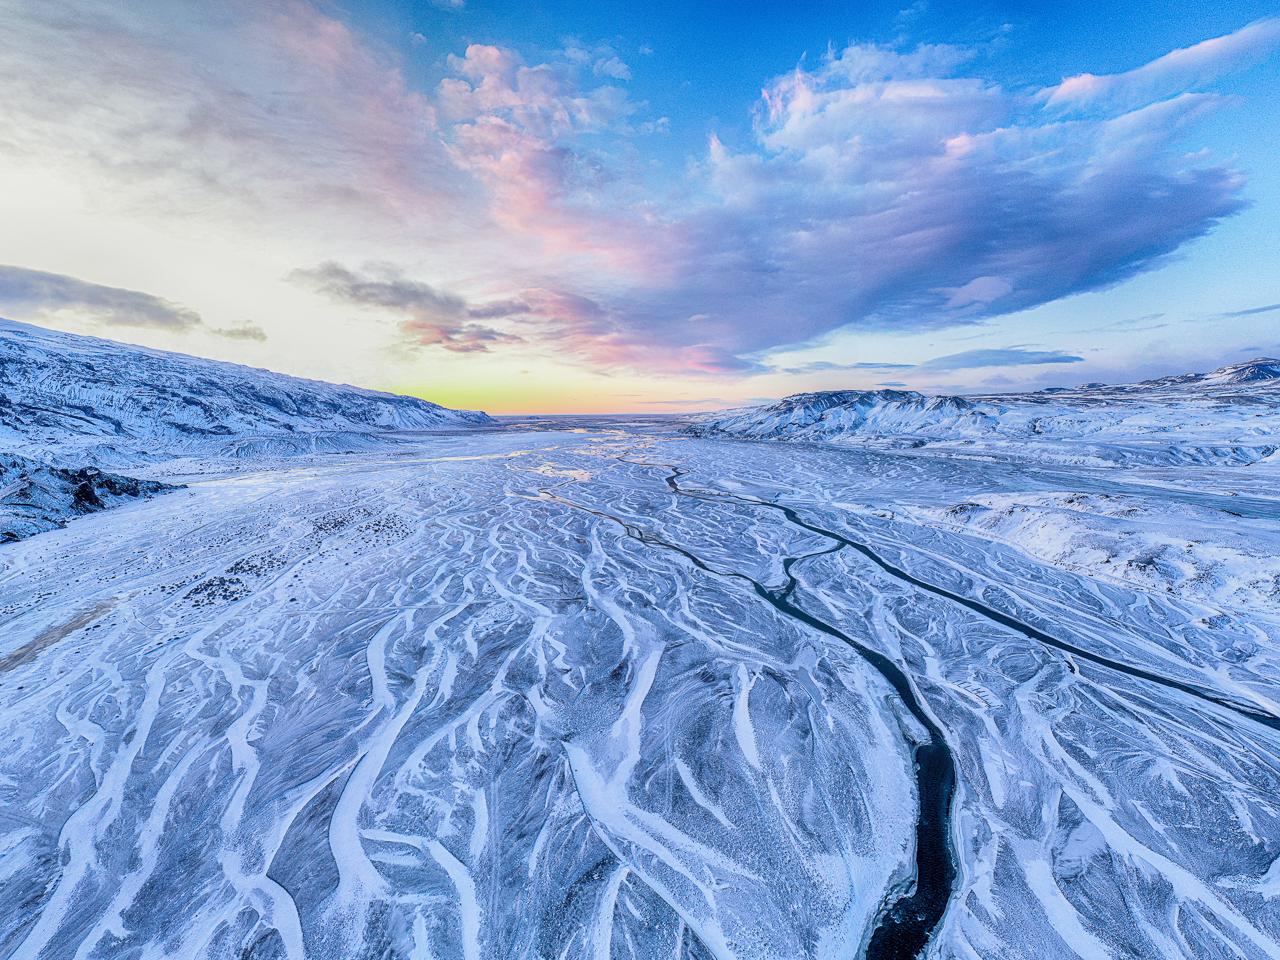
In the last few years, HDR photography has become popular. Thanks to photographers like Trey Ratcliffe and others. It’s a very effective tool to produce images with a large dynamic range. It has its utility in landscapes, urban landscapes, abstract, interior, and real estate photography, among a few other genres.
Hopefully, the above tips will give you enough ideas to start practicing HDR photography on your own.