
When you open your social media, you see photos of your friends that look so good. You checked yours and compared it to theirs, and then you wondered why their photos were more interesting.
There are countless ways to make your photos more interesting. You can add filters, crop and resize them, or even use special effects like those available on Instagram. Adding festive designs like snowfall, lens flare or even transforming your photos into pixel art.
But what if you want something different? How do you take your pictures from ordinary to extraordinary? The answer lies in giving them a little extra color—in fact, it’s easy and fun when you use color overlay!
What Is Color Overlay?
The color overlay is a simple and easy-to-use effect that lets you add color to your photos. It is a great way to brighten up a dull photo or add a vintage effect to your photos.
You can use a color overlay to create a mood or atmosphere, guide the viewer’s eye towards specific parts of the photo, and unify disparate elements in a photo by balancing them out with color.
It’s kind of like Instagram’s lens filters, except that you can use them in any photo-editing program. One of the most popular uses for a color overlay is to achieve a particular look or effect.
But what exactly is an overlay? It’s basically just adding a color layer on top of an image and changing its opacity so that you can make it darker or lighter than the original photo.
Types of Color Overlays
These are the commonly used color overlays.
- Gradient
- Solid Colors
- High-Contrast
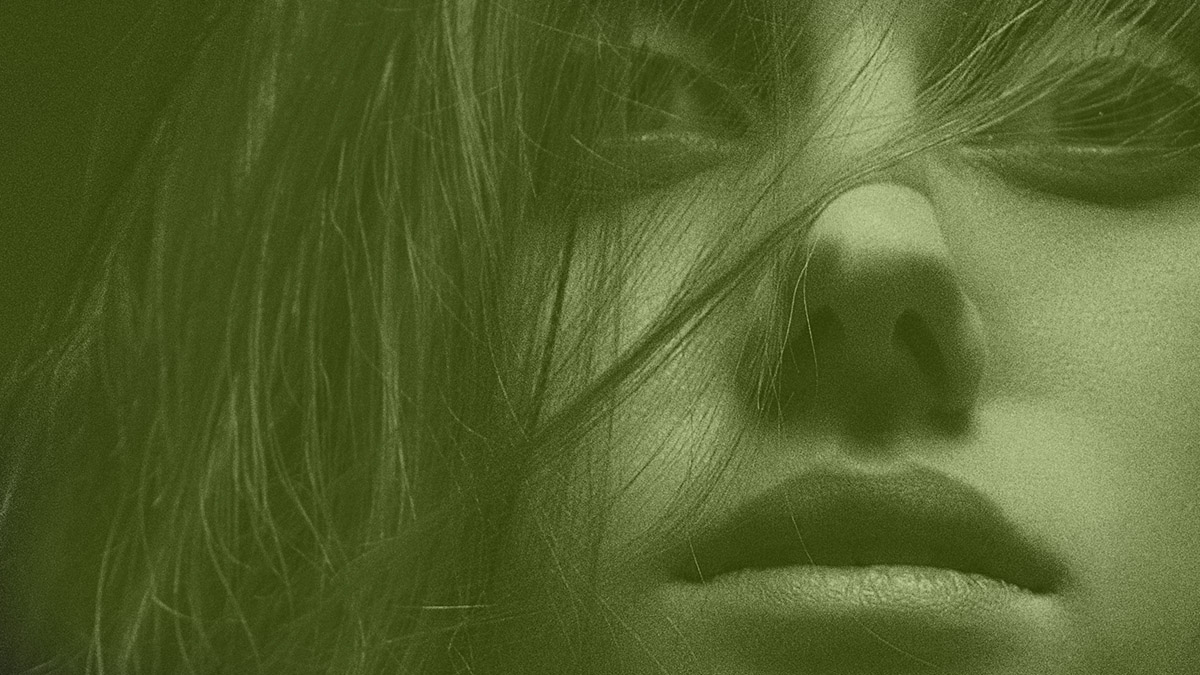
- Sepia
- Noir
There are different kinds of color overlays for you, whether you are a professional designer or a regular person who just wants to add color to their photos.
How to Add Color Overlay Using Colorcinch
One of the best things about adding a color overlay to your photos is that it can be done in just a few simple steps. You don’t need any fancy editing programs like Photoshop. We will be using Colorcinch for this tutorial.
Method 1: Manual Overlay
The first method is to do it manually. Follow the step-by-step guide.
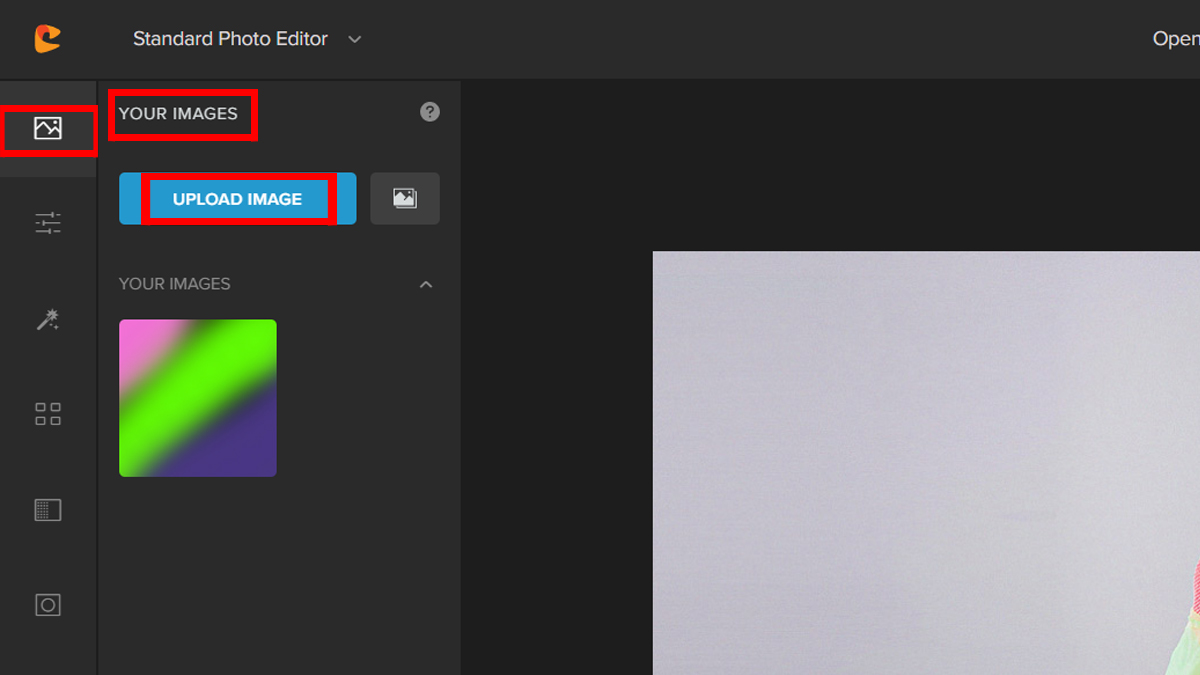
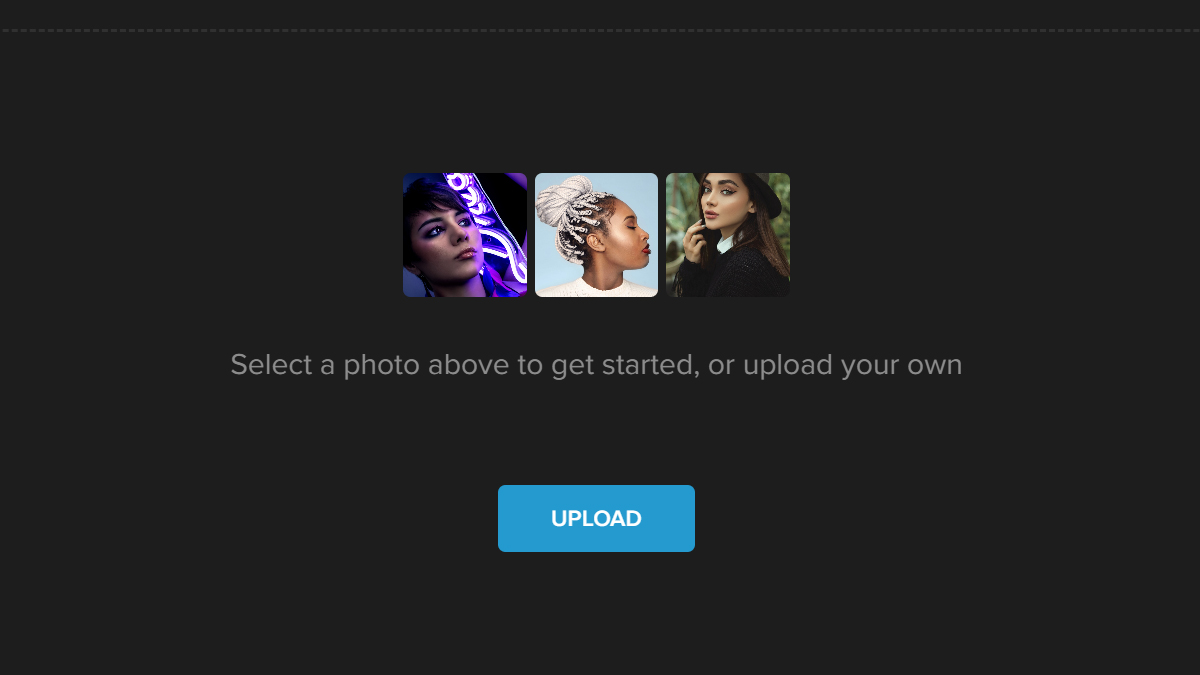
Step 1: Open Colorcinch and Upload your base image.

Step 2: Navigate to Image Manager and click on Upload Image. Choose your overlay image from your computer. Once uploaded, the images will appear in Your Images below the Upload Image.
Step 3: Drag the second image on top of the base image. Adjust the second image to match the base image.
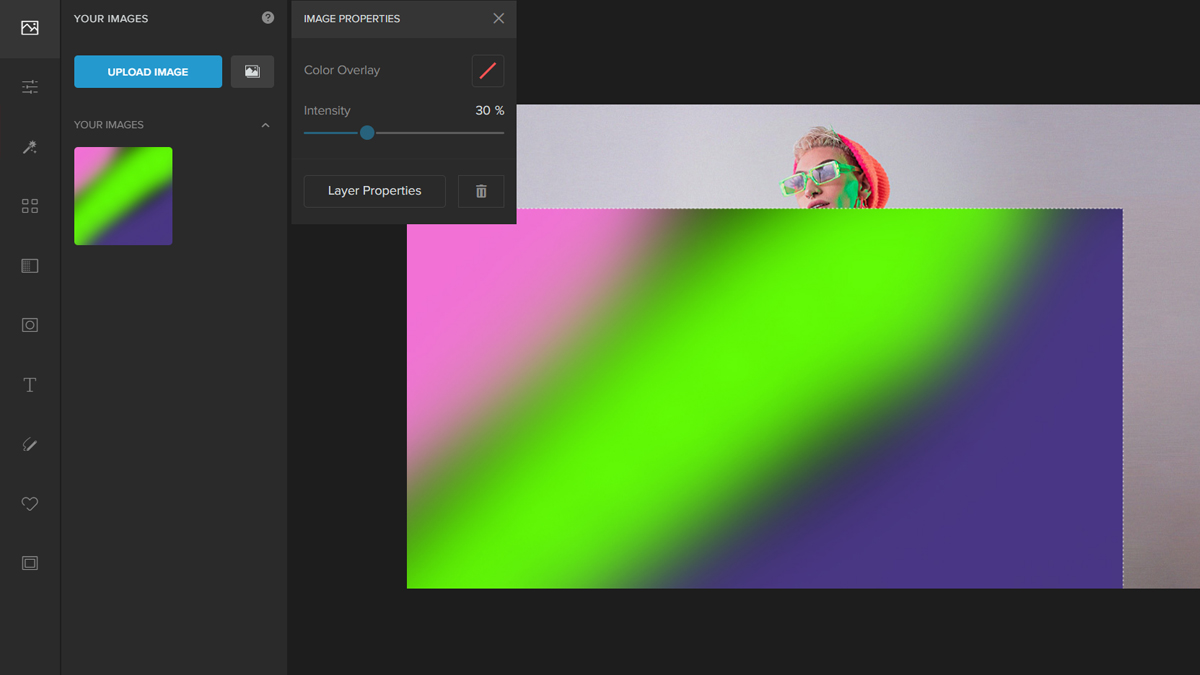
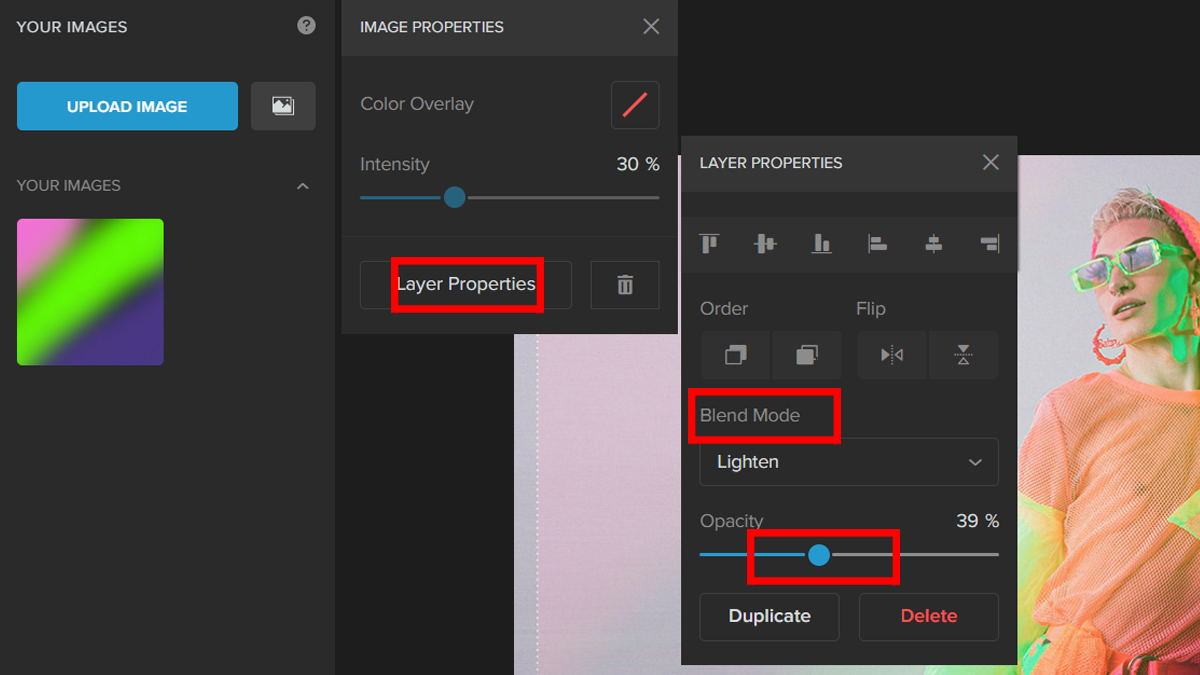
Step 4: Change the Blend Mode by clicking on the Layer Properties button and navigating to the drop-down menu.
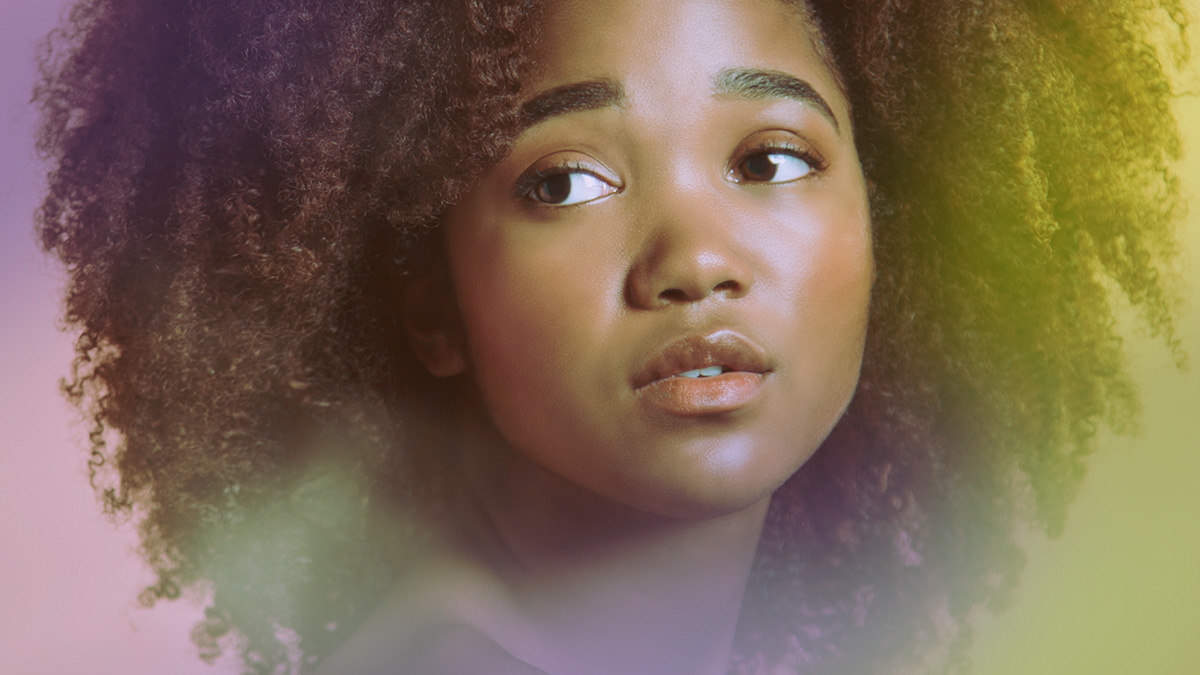
Try the different blend modes until you get your desired output. For this example, I chose Lighten Mode.
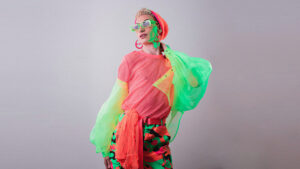
It’s that easy. Let’s take a look at the before and after.

Method 2: Using Filters
Utilizing the pre-built filters that come with Colorcinch is a method that is both time and effort-saving. Allow me to show you how uncomplicated the procedure really is.
Step 1: Like in the previous instruction, open Colorcinch and Upload an image.
Step 2: Click on Filters on the left side of the panel. Then navigate through it and choose Color Mix.
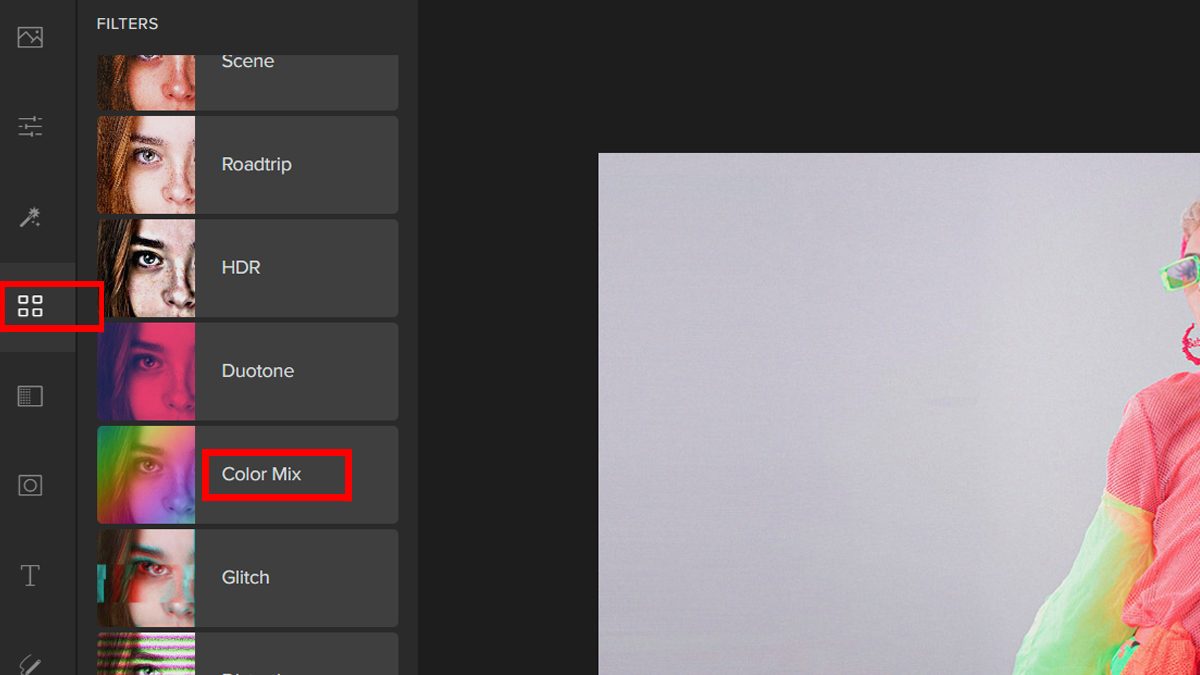
Step 3: Choose a Filter and adjust the slider to change the Opacity.
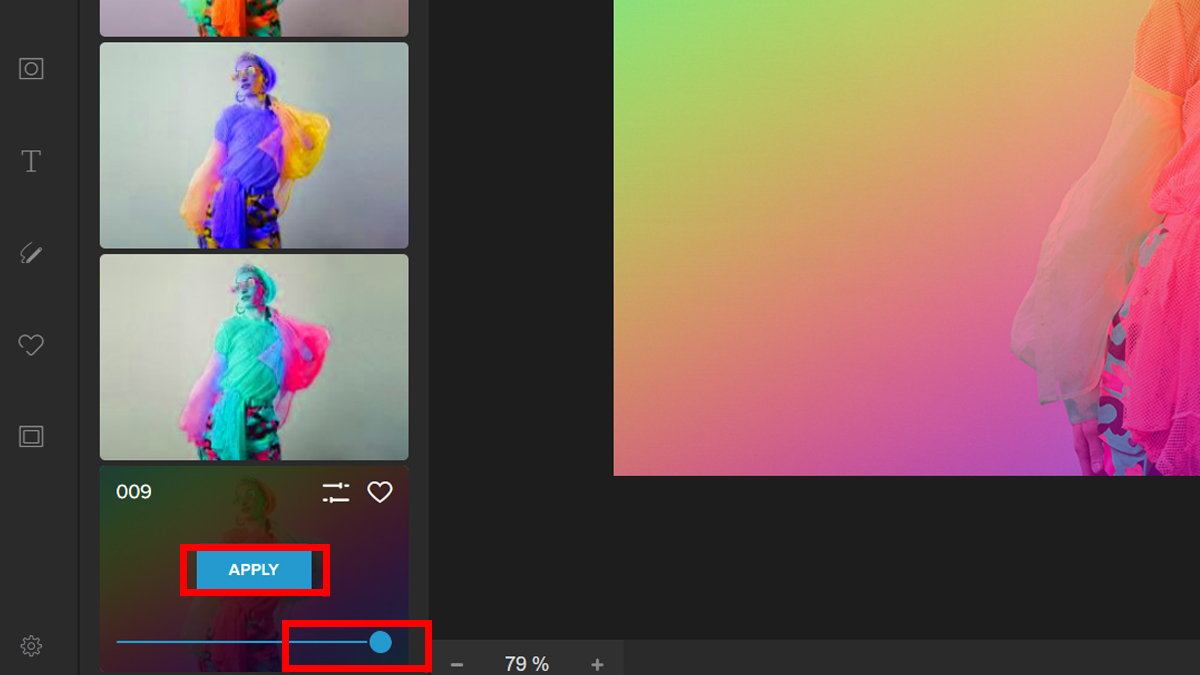
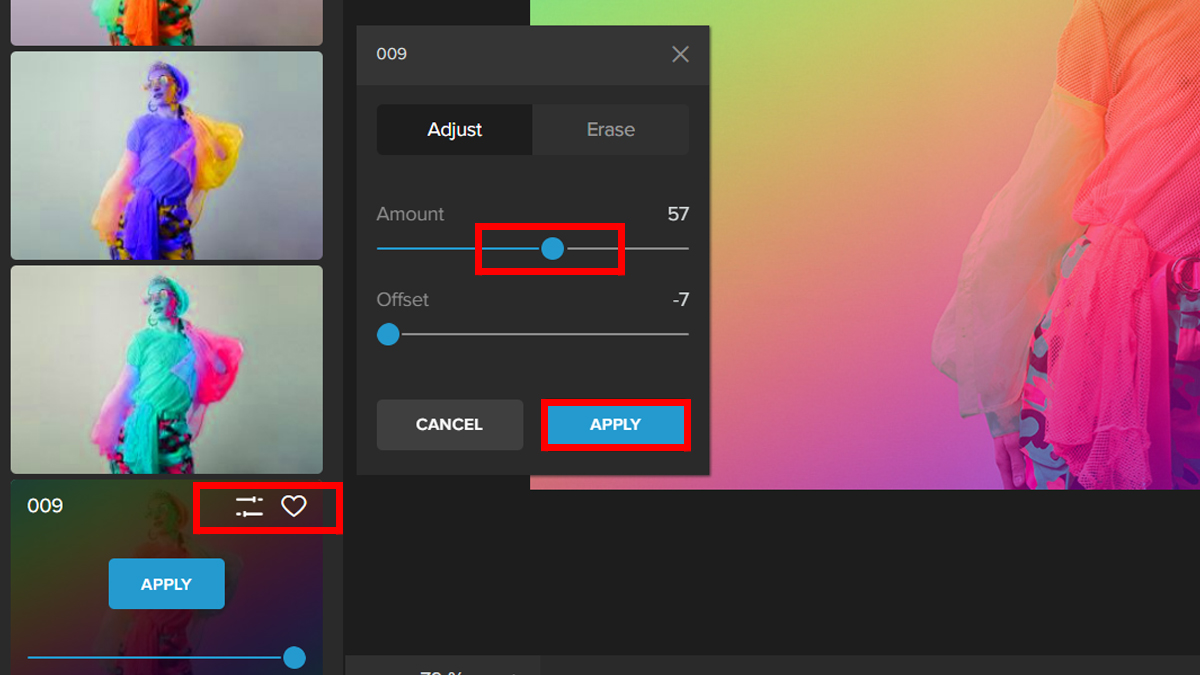
Step 4: If you wish to have more control of the chosen Filter, there is an advanced option that you can play around with. Just click on Settings and experiment with the Sliders. Then click Apply once done with the adjustments.
Super easy, right? Adding a colorful filter to your images can really bring them to life. It’s a great way to add artistic flair and vintage vibes, as well as just have fun with color and texture.
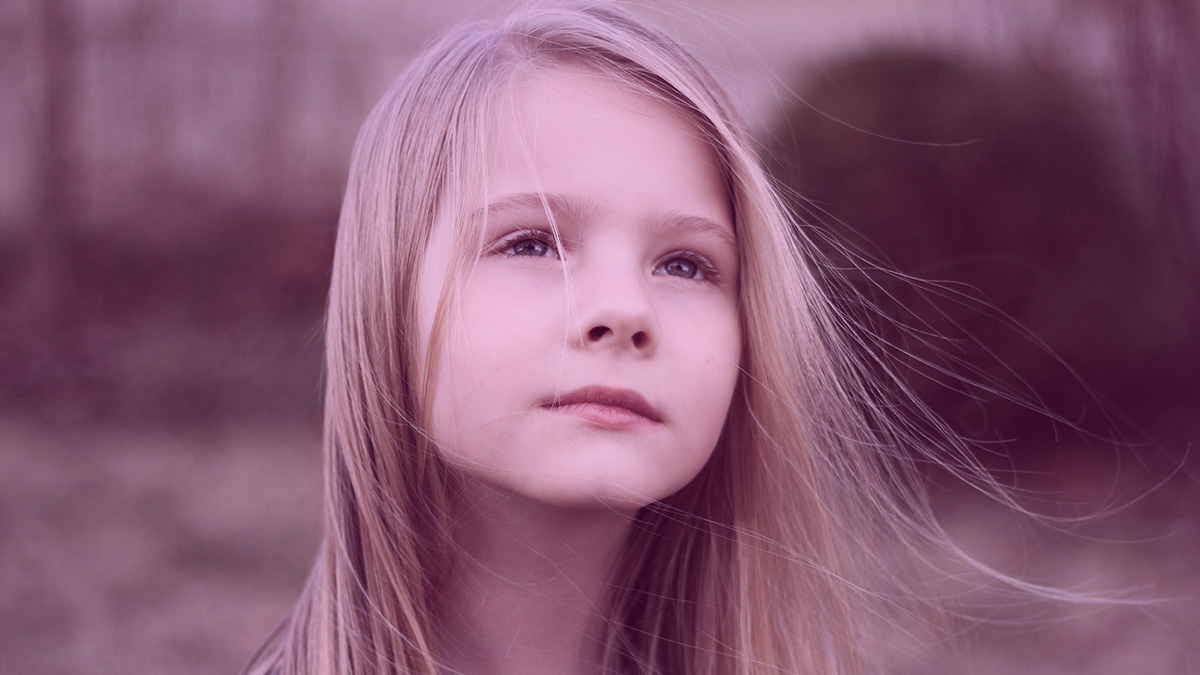
Now let’s take a look at the final output:

Facts About Color Overlay
The Birth of Color Overlay
Color overlays have been around for quite some time. In the 1800s, artists would use color overlays to add variation to black and white photos. These were usually used as a way to bring life back into old pictures and make them more vibrant.
Color Filter
In the early days, color overlays were thin sheets of plastic with color on them. The color overlay, which is also called a color filter, can be placed on top of an image to make that image appear in the desired color.
The Advent of Camera Phones
The most familiar example of the color filter is called Sepia. Early mobile camera phones are responsible for Sepia’s popularity, which started in the early 2000s. Sepia became a default filter on camera phones alongside black and white filters.
Conclusion
Now that you know how easy it is to add a color overlay, why not try it out yourself? It’s an easy way to bring life, add some extra personality to your photos, and make them stand out in a sea of other images. Take your work from good to great!
I hope this article has helped you understand the joys of using color overlays in your photography. The best part about it is that it can be done on any photographic software and doesn’t require much effort at all!
We’re excited to see how you use this feature and what ideas you have for it. If you have any feedback about the overlay, please let us know in the comments below!