
There’s nothing quite like photographing a marriage proposal. You’re not just taking pictures — you’re preserving a life-changing moment, a story that will be told over and over again.
But unlike a wedding or engagement shoot, proposals happen in the blink of an eye and often without the subject knowing they’re being photographed. That means the stakes are high and the preparation needs to be spot-on.
Why Proposal Photography is Different
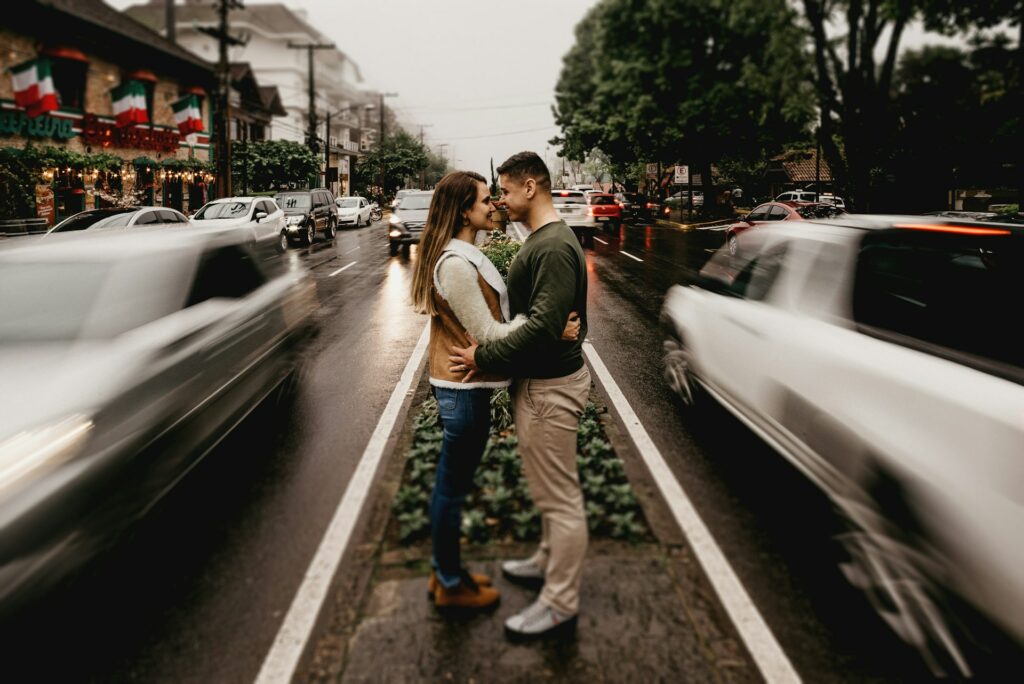
Proposals are raw, unscripted, and intensely emotional. Unlike posed engagement sessions, you only get one shot at that authentic reaction — the laughter, the tears, the pure surprise.
The challenge? You have to stay invisible while still getting clean, well-lit, and beautifully composed shots. This makes proposal photography one of the most rewarding yet high-pressure genres in the field.
As a photographer, you’re part photojournalist, part spy, and part event coordinator.
Step 1: Planning with Precision
Even if you’re not the one popping the question, you’ll need to work closely with the proposer to iron out the details.
Here’s what to lock in ahead of time:
The Location
Choose a place that’s both meaningful and photogenic. Beaches, botanical gardens, city rooftops, and quiet hiking spots are classics for a reason.
Look for:
-
Natural light in the direction you’ll be shooting from
-
Minimal foot traffic (you don’t want strangers in the background)
-
Space for you to move without being noticed
The Timing
Golden hour — the hour after sunrise or before sunset — is your best friend for soft, flattering light.
If that’s not possible, scout the spot at the exact time of day the proposal will happen to see how the light falls.
The Game Plan
Coordinate a clear signal with the proposer. A common trick: once they’re in position, they take the partner’s hands — that’s your cue to start firing away.

Step 2: Choosing the Right Gear
For proposal photos, your gear needs to handle distance, unpredictability, and low light if necessary.
-
Camera body: A DSLR or mirrorless with fast autofocus and good ISO performance.
-
Lens: A 70–200mm telephoto lets you keep your distance while still capturing detail.
-
Backup gear: Always carry extra batteries and memory cards. Missing the moment because your card is full is every photographer’s nightmare.
Pro tip: Silent shutter mode is worth its weight in gold. You don’t want the click of your camera tipping anyone off too soon.
Step 3: Staying Hidden Without Missing the Moment
Blending in is key. You might pose as a tourist, hide behind a tree, or hang out near other photographers if it’s a popular spot.
If stealth isn’t possible, shoot from a distance with a long lens. That way, you won’t interrupt the intimacy of the moment.
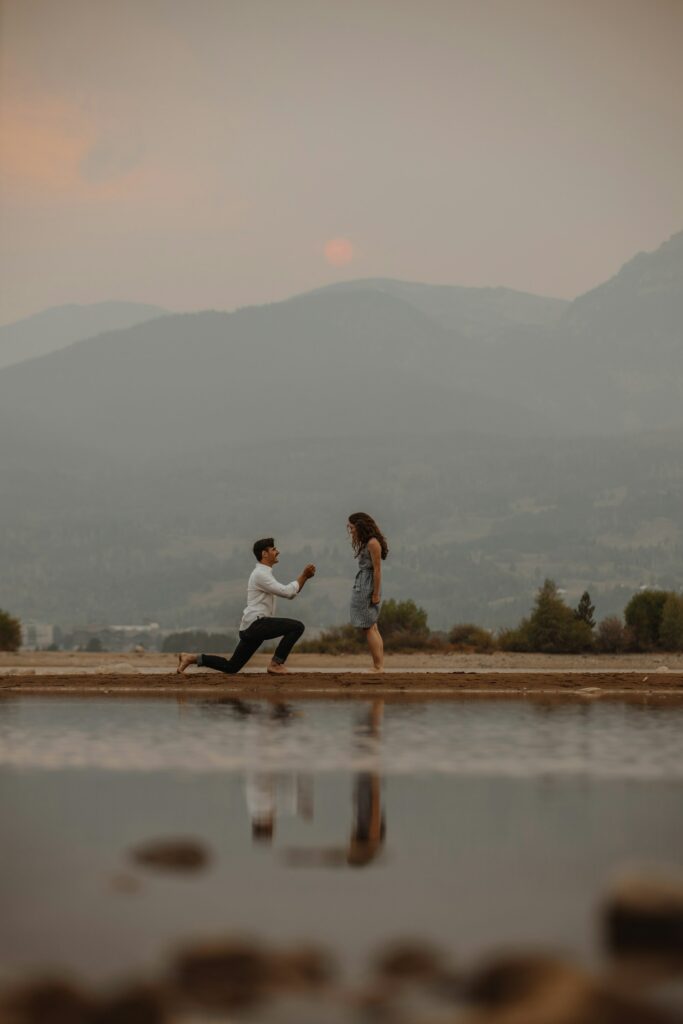
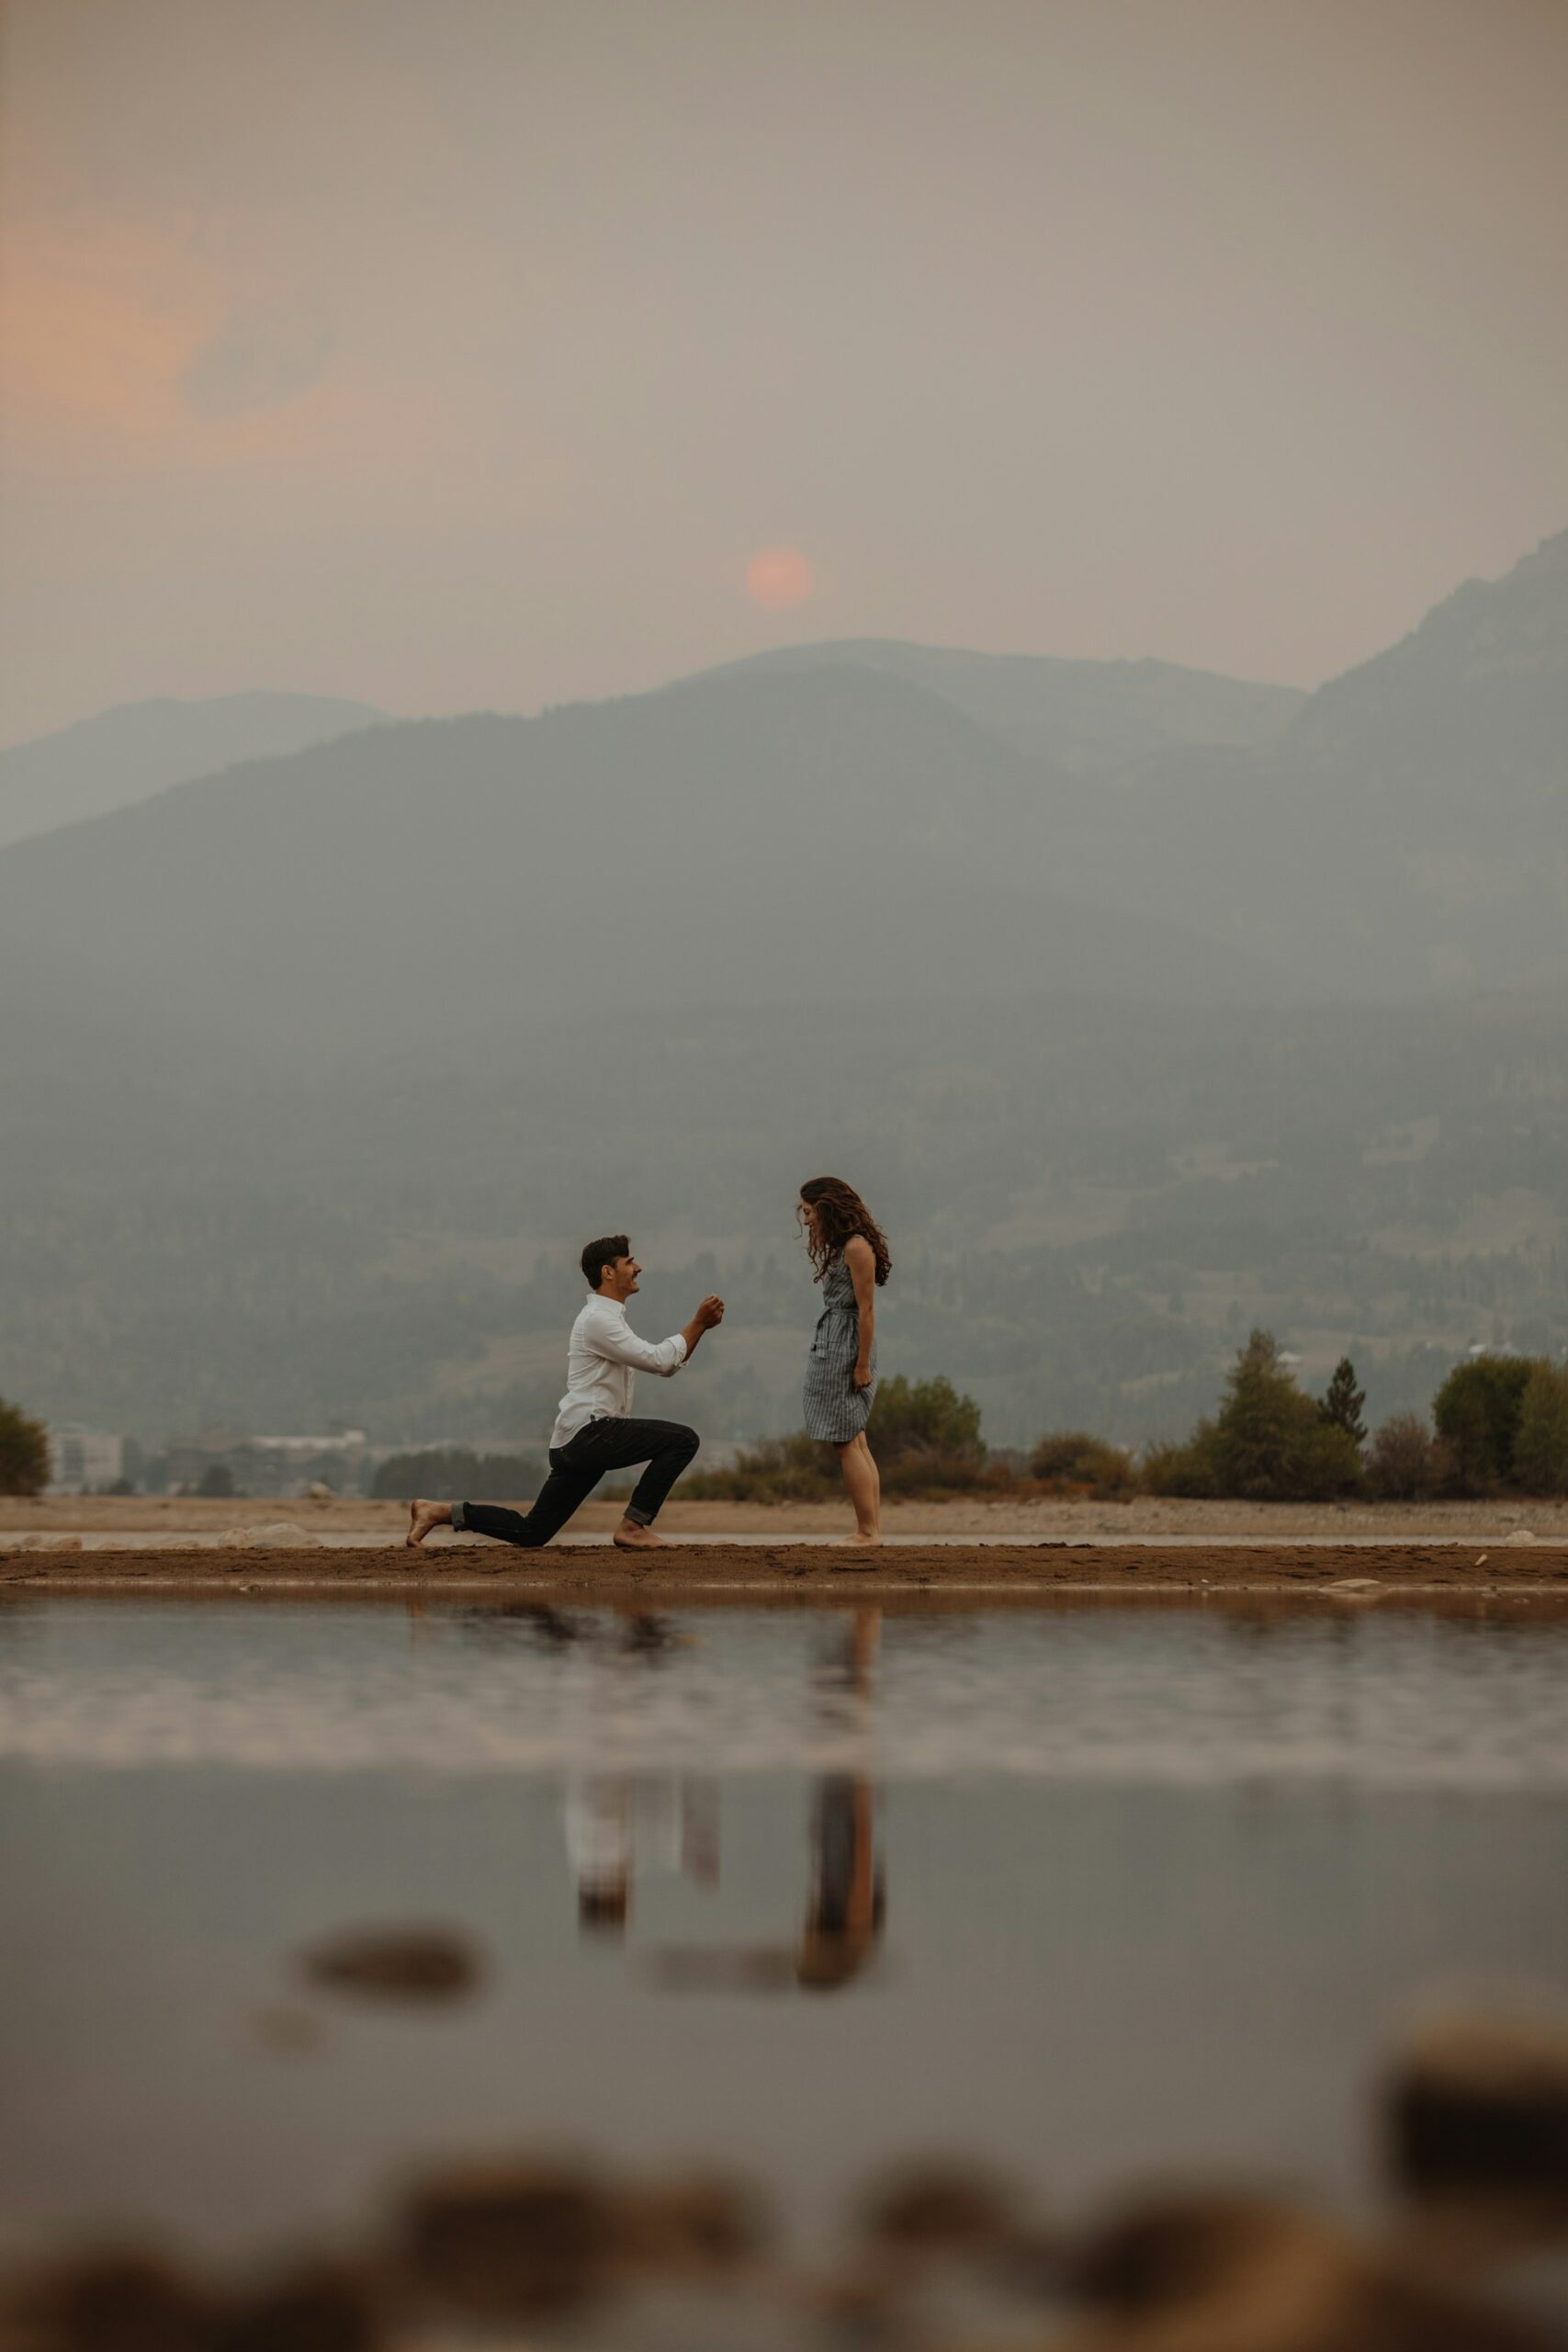
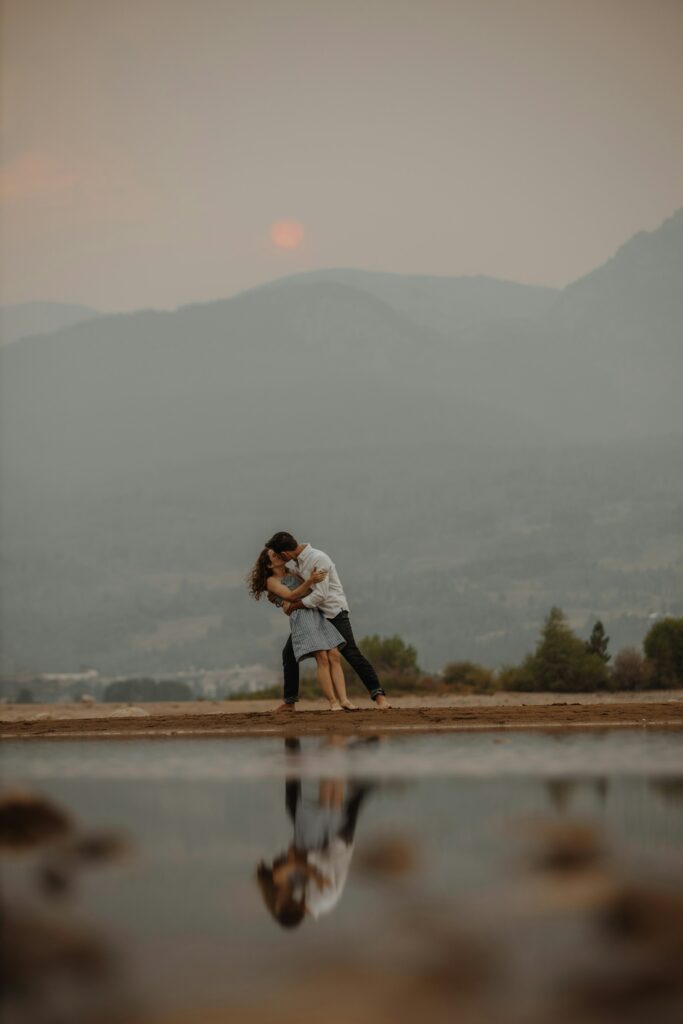
Step 4: Capturing the Big Moment
When the ring comes out, everything happens fast. Here’s your shot list for the proposal sequence:
-
The lead-up – walking together, holding hands, laughing
-
The drop – the moment they kneel down
-
The reaction – wide eyes, covering the mouth, tears
-
The “Yes” – smiling, nodding, pulling in for a hug
-
The ring – close-up shots after it’s slipped on the finger
-
The kiss – the emotional high point
Shoot in burst mode — better to sort through extra frames than to miss the perfect one.
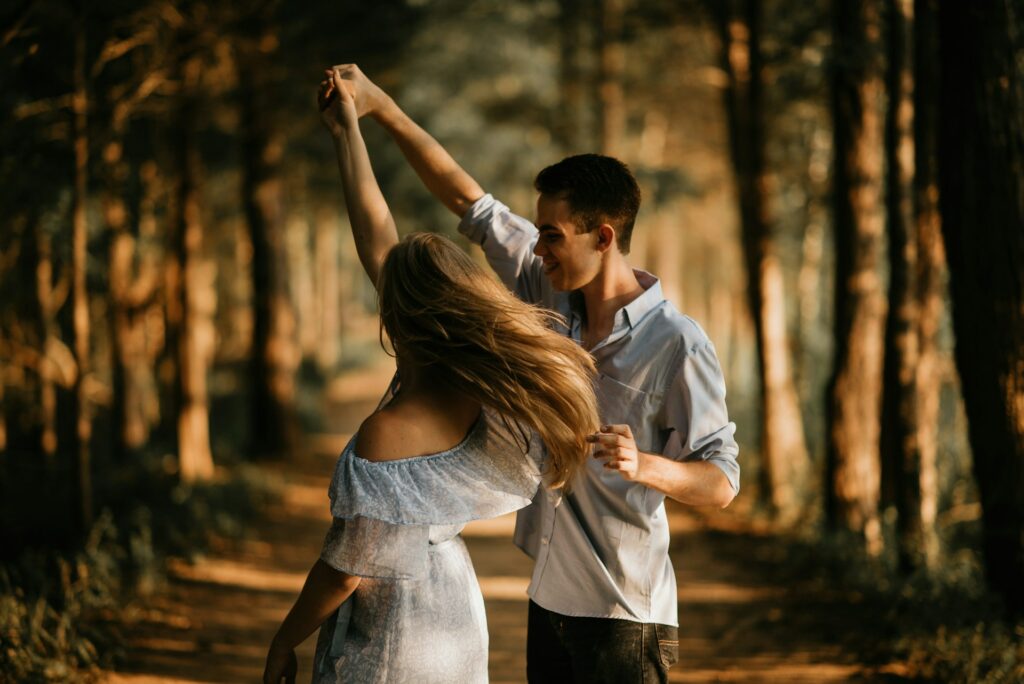
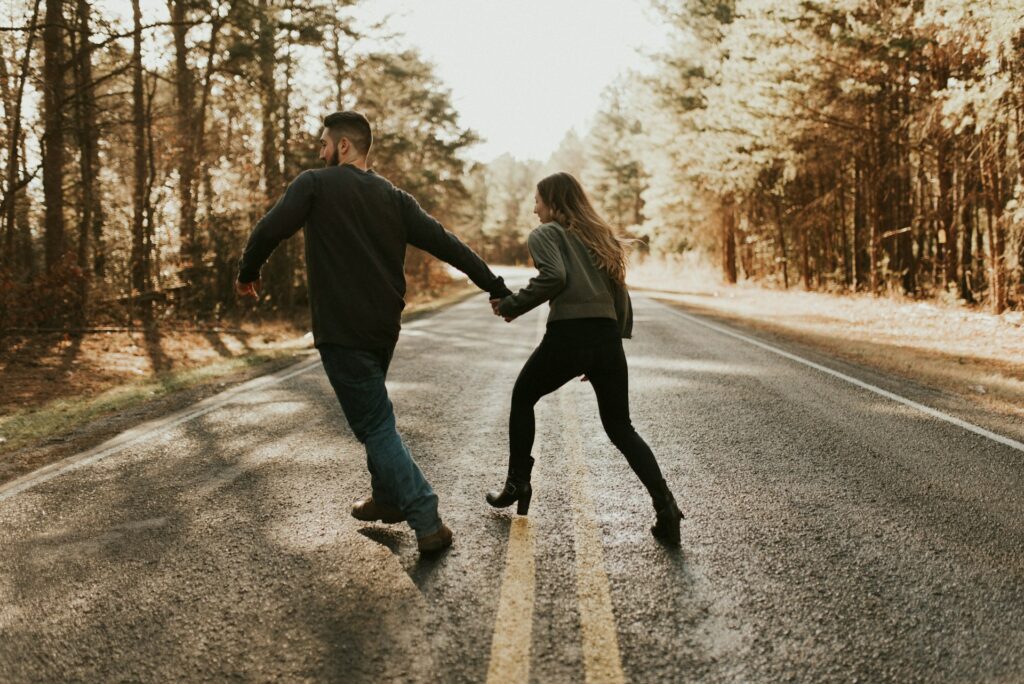
Step 5: Transitioning to Mini Engagement Shots
After the proposal, couples are usually glowing with adrenaline. That’s the perfect time to grab a few quick engagement-style portraits while the emotions are still fresh.
Try:
-
A close-up of them holding hands, showing off the ring
-
A wide shot of the couple with the proposal location in the background
-
A candid laugh shot as they share what just happened
Step 6: Editing for a Romantic, Timeless Feel
Your editing style will set the tone for the final images. For proposal photos, many photographers go for a cinematic, warm look.
Focus on:
-
Enhancing natural light while adjusting exposure for balance (without overexposing)
-
Softening skin tones while keeping details crisp
-
Subtle vignettes to draw attention to the couple
Avoid heavy filters — the emotion is strong enough on its own.
Turn your proposal shots into picture-perfect memories—upload them to Colorcinch today.
Common Mistakes to Avoid
Even seasoned photographers slip up with proposals. Here are the big ones to dodge:
-
Not confirming the exact location — even a 10-foot difference can ruin your angle.
-
Forgetting to silence your phone and camera — the last thing you want is an audible alert mid-kneel.
-
Standing too close — can make the couple feel like the moment isn’t private.
-
Shooting too few frames — err on the side of overshooting.
Proposal Photo Ideas & Inspiration
If you’re stuck for creative shots, here are some tried-and-true ideas:
-
Silhouette at sunset – Frame the couple against a glowing sky.
-
Hidden photographer – Use foreground elements like flowers or leaves to create a natural frame.
-
City lights bokeh – Blur the background lights for a romantic glow.
-
Reaction first, ring second – Emotion before detail makes for a stronger storytelling flow.
Adding a Personal Touch
The best proposal photos feel personal to the couple. This could mean:
-
Shooting at the coffee shop where they first met
-
Including their dog in the scene
-
Capturing a “fake selfie” that turns into the proposal
Personalization makes the images more than just pretty — it makes them theirs.
Delivering the Photos
Speed matters. This is a moment they’ll want to share right away.
Consider sending a same-day sneak peek of 2–3 edited shots. Then deliver the full gallery within a week if possible.
Wrapping Up
Proposal photography is equal parts art and preparation. When you combine good planning, stealth, technical skill, and a little bit of luck, you can create images that will mean the world to a couple for decades to come.
Whether you’re photographing your first proposal or your fiftieth, remember: the goal isn’t just a pretty picture — it’s to bottle up a once-in-a-lifetime feeling and let it live forever in a frame.