

We’re pretty sure that you’ve seen advertisements in magazines, billboards, and digital campaigns. Have you ever wondered how these ads are so effective? One big factor is its design. How designers carefully think of the right placement for text and images plays a crucial part.
A method that these professional designers use is using an overlay of transparent images in Photoshop. Expertise is needed to create an effective design. However, this doesn’t mean that only professionals can come up with this kind of material.
In this article, we’ll cover how to design simple business pub mats using an online editor as well as reasons why you should incorporate transparent images into your designs.

What is a Transparent Image?
A transparent image is one that allows the background to show through. You can also think of it as an image where you can see what’s behind it, even if there isn’t anything behind it. To make an image transparent, you’ll want to set its layer blending mode to “Screen” or “Multiply”.
Transparent images are commonly used in marketing materials. Designers utilize this to convey a message. It is an effective way to add creativity and draw attention to customers.

Reasons Why To Overlay Images with Transparency
-
To Create Depth
You can use transparency to create the illusion of depth, making your image appear to recede into the background or come forward.
-
Create Intriguing Compositions
By using transparency, you can create more intriguing compositions. Transparency can help you move the eye around the composition and add depth to your design.
-
Easier to Integrate with Text
If you’re designing a website or app, it’s likely that text will be an important part of your design. In fact, it’s probably one of the most important elements as far as readability goes.
-
To Help Convey Message
Incorporating transparent images into your design helps add clarity to the message you want to convey. This is a proven and effective way that has been used for years in the advertising industry.

How to Overlay Images Using Transparent Background
For this tutorial, we will be creating a simple ad and a simple transparent image overlay design using Colorcinch.
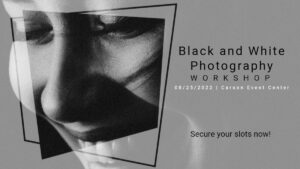
For Advertisement
We will be creating an effective yet effect ad for a photography workshop. We will only need one picture for this tutorial and will utilize the Mask function of Colorcinch.
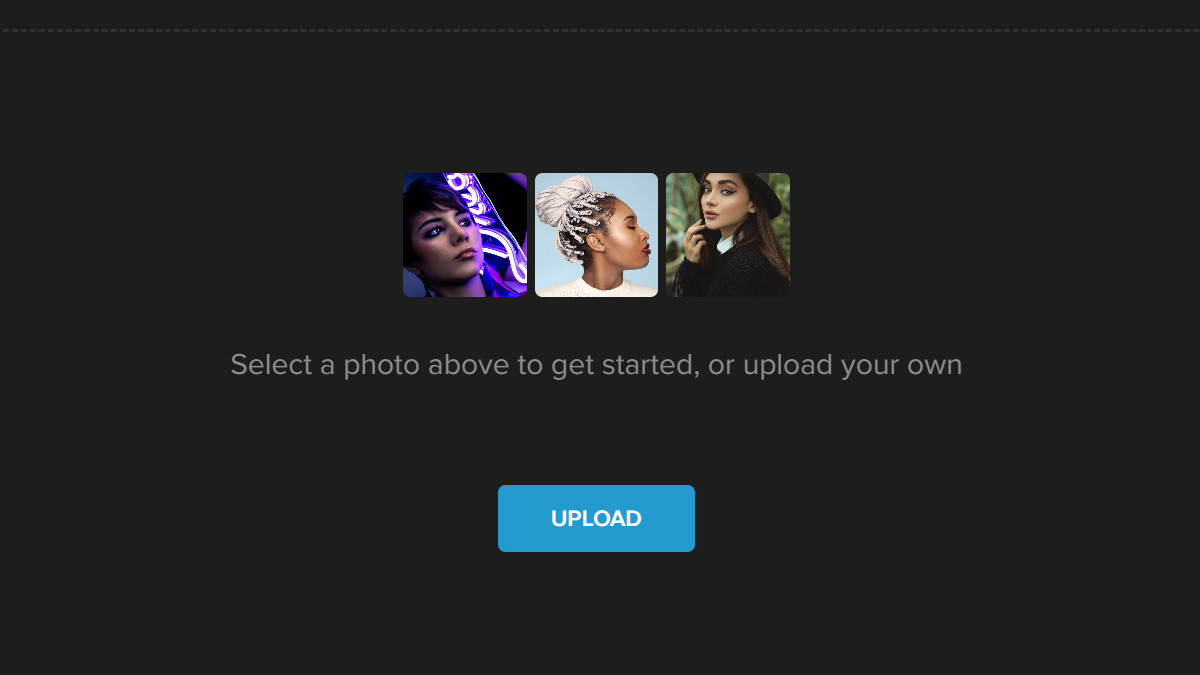
Step 1: Open Colorcinch and Upload an image.
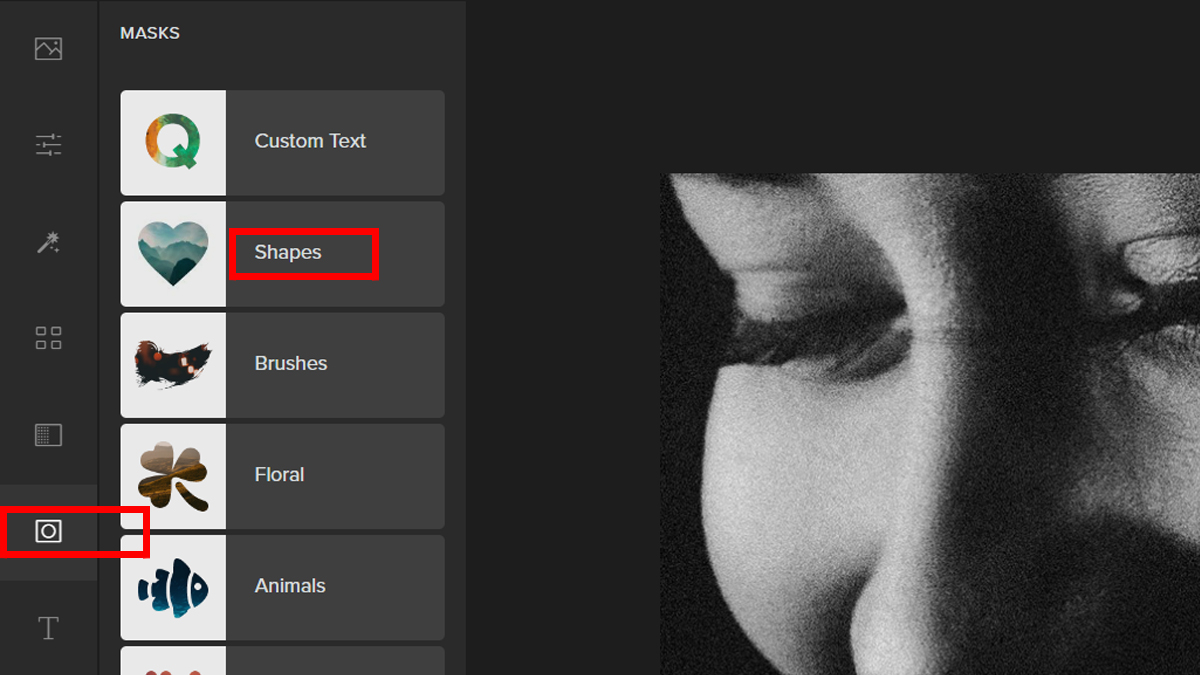
Step 2: Navigate to Masks on the left side of the panel and it will open a tab of Mask filters. Navigate through it and choose any filter. For this tutorial, we will Shapes.
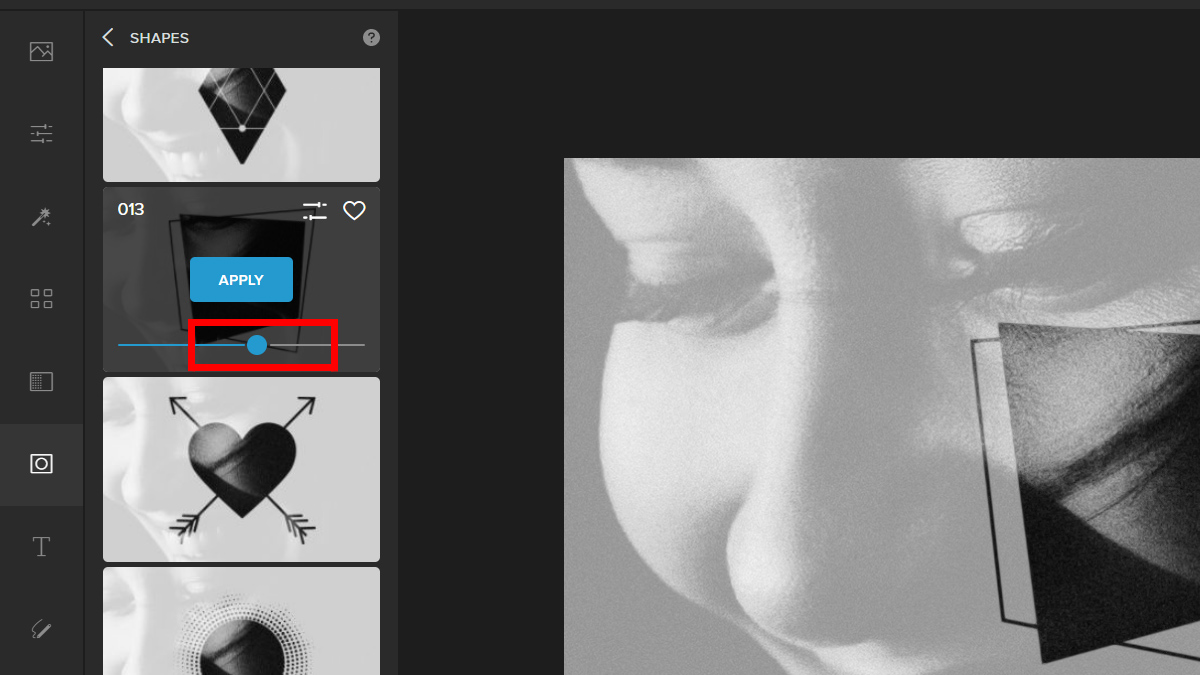
Step 3: Choose a Shapes filter that would fit your image. You can also refine the opacity by adjusting the Slider.
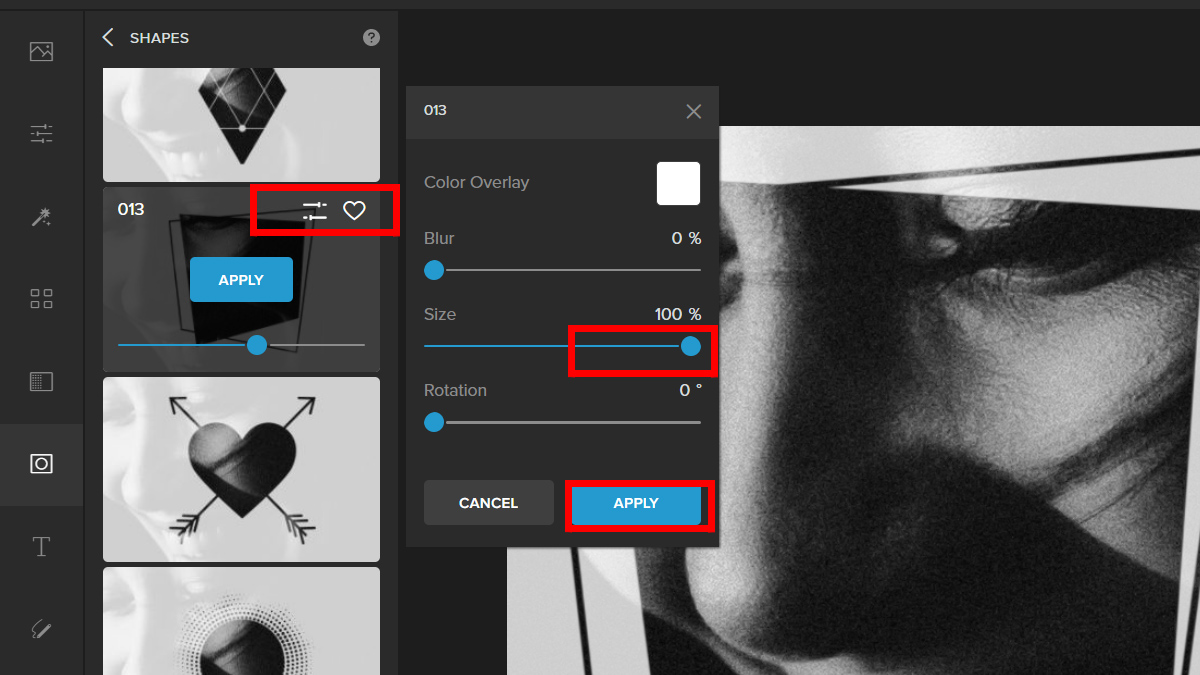
Step 4: You have an option to further adjust the Mask filter by clicking on Settings. Change the size of the Mask by adjusting the Slider. Click Apply once satisfied.
To complete the look, you may add text to help convey the message of your ad.
Here is the final look:

Simple Design
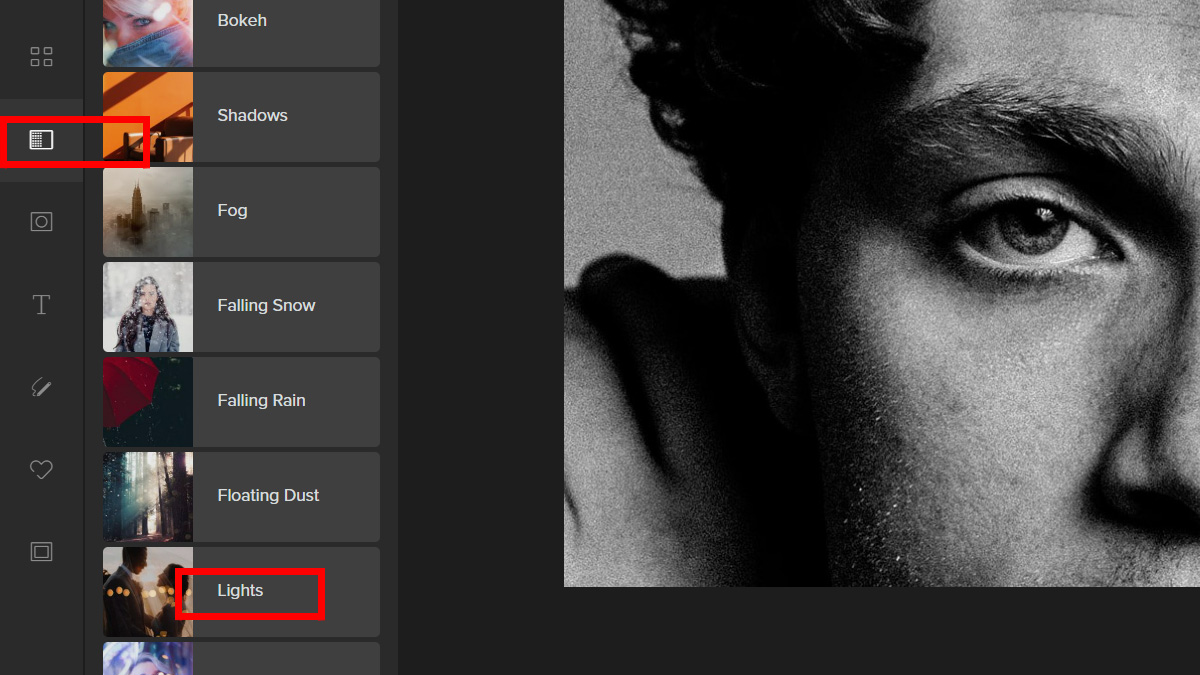
One perfect method to add color and life to your photo is by using overlay. For this example, we will be showing you how to create a simple yet striking design using Lights overlay.
Step 1: Open Colorcinch and Upload your background image.

Step 2: Click Overlay on the left side of the panel and it will open a tab of overlay filters. Navigate through it and pick Lights.
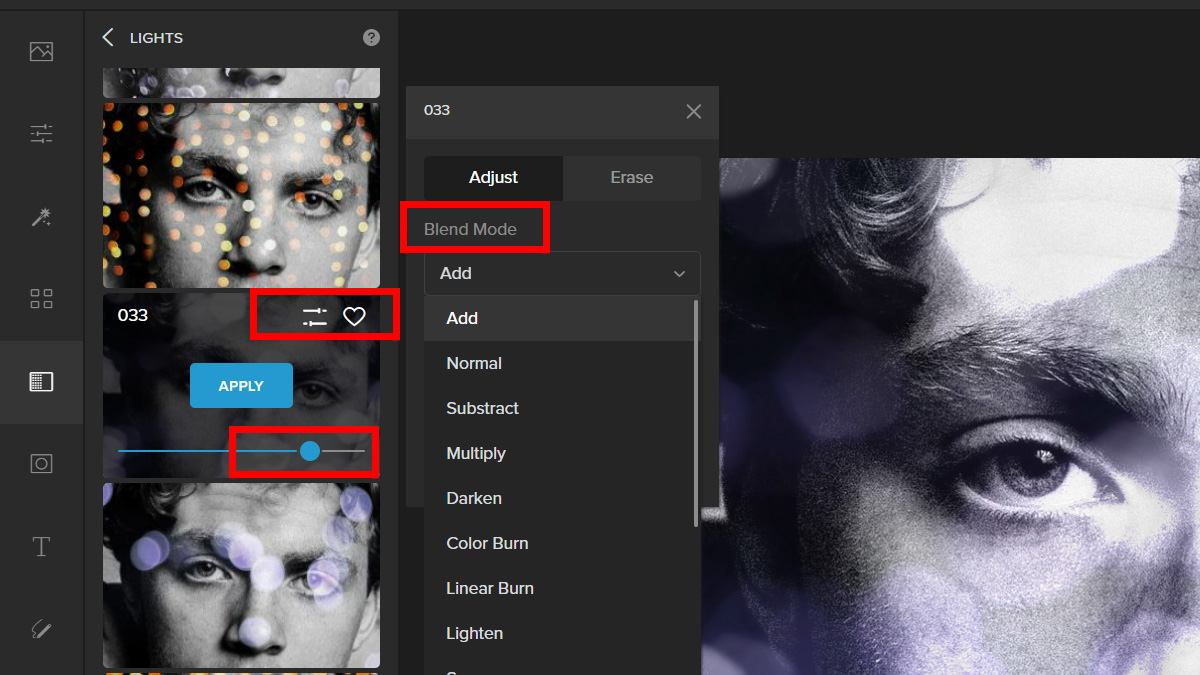
Step 3: Choose a Lights filter and click on Settings. Try the different Blend Modes and adjust the Slider until you get your desired opacity.
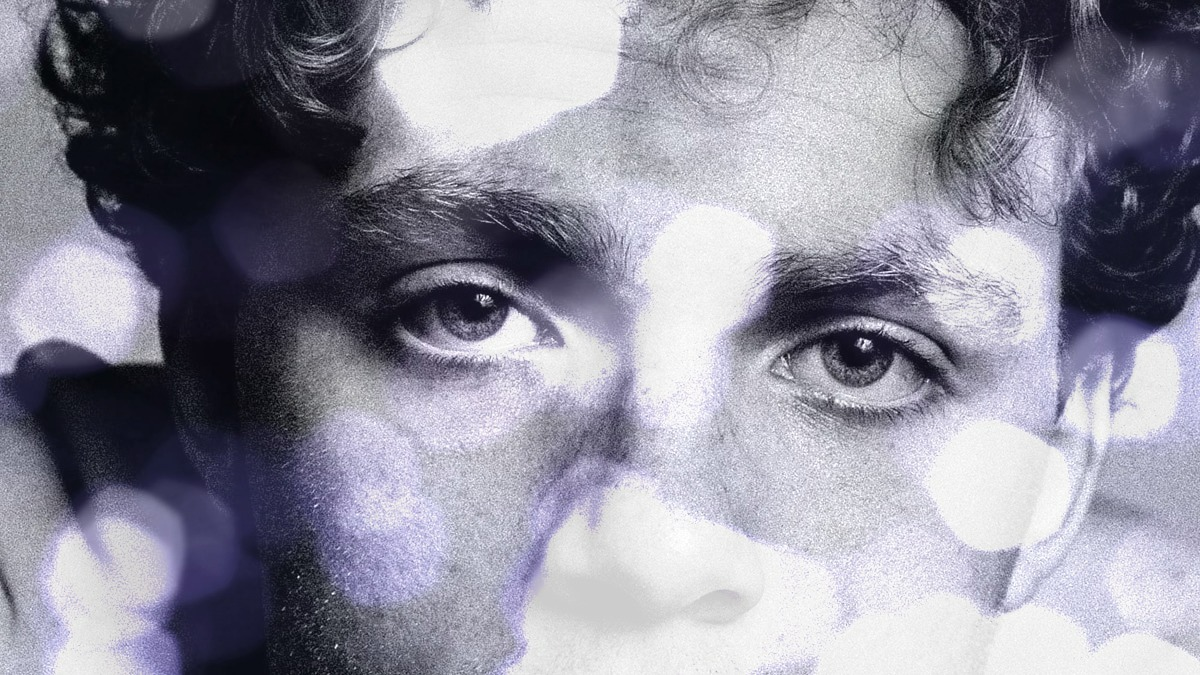
Let’s take a look at the final result.
Summary
There are many reasons to use transparency in your visual design. It can help you create a more visually interesting image, add depth and dimension to your imagery, or even make it easier for readers to understand what you’re trying to say.
Hopefully, this article has given you some ideas and inspiration on how to overlay images, with transparency. You can use these techniques in your own work, or adapt them to create something new. If you have any questions or comments please feel free to leave them below!