
Newborn photography never goes out of style. Because there’s nothing cuter than the first few photos of our lives. If you’re a beginner or a professional photographer, you may be wondering how to create a successful newborn photo session.
Well, unlike mirror photography or other photography genres, newborn photography is not just about equipment and positioning. Sure, that’s important too.
However, the first thing you should pay attention to is the newborn photography techniques. Secondly, try to make everyone (and especially the baby) feel comfortable and safe during the photoshoot.
In this guide, I’ll share the best tips for taking newborn photos and learn everything you need to know to sparkle baby poses.
What is Newborn Photography?
Newborn photography is a genre of photography that focuses on taking pictures of (newborn) babies. The goal is to capture the infant’s appearance, facial expressions, and cute little details.
What makes this genre special is that you should always prioritize your subject. So, remember that you are photographing a baby.
Safety is the most important thing at all times. And our newborn posing guide has everything to do with safety and comfort.
What Equipment Do I Need for Newborn Photography?
A professional photo set will help you take perfect photos of newborns. So before we turn to some efficient newborn picture ideas, let’s dive deeper into the equipment you need for newborn photography:
- A DSLR or Mirrorless camera (for custom settings)
- A portrait lens (Nikon 50mm, Canon 28-70 F2.8, etc) and/or a macro lens (for details)
- A tripod
- A studio light
- An umbrella or softbox (to avoid harsh shadows)
- A laptop or desktop
- Post-processing tools, such as Colorcinch
7 Tips for Newborn Photography
Below you’ll find some tips and tricks on how to master newborn photography.
1. How to Pose a Baby for Newborn Photos
First of all, keep in mind that every newborn (like all of us) has a personality. Therefore, you should adjust the newborn posing tips and techniques you choose accordingly.
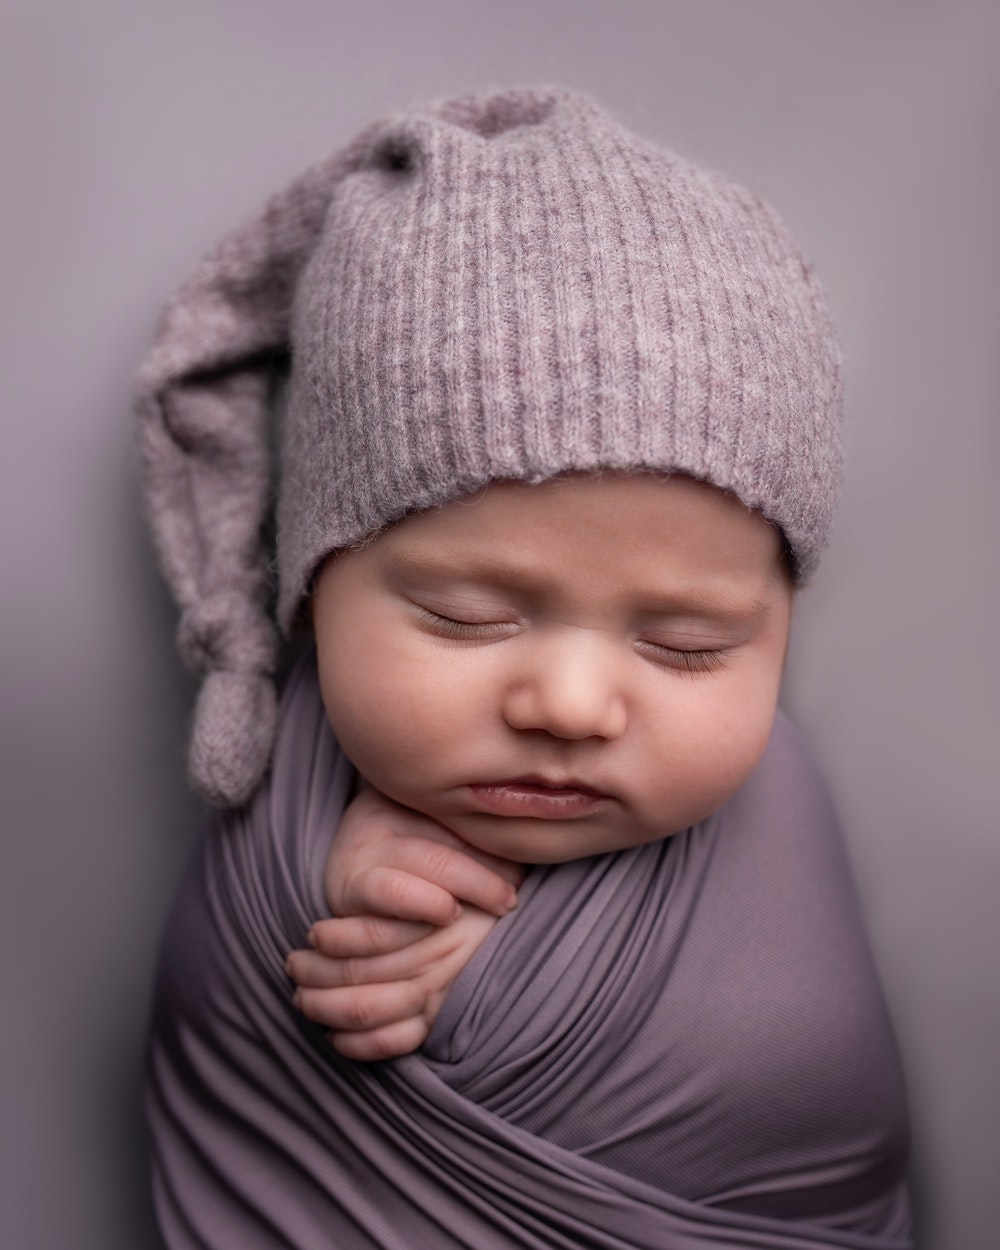
For example, although most babies like to be swaddled, there are some exceptions.
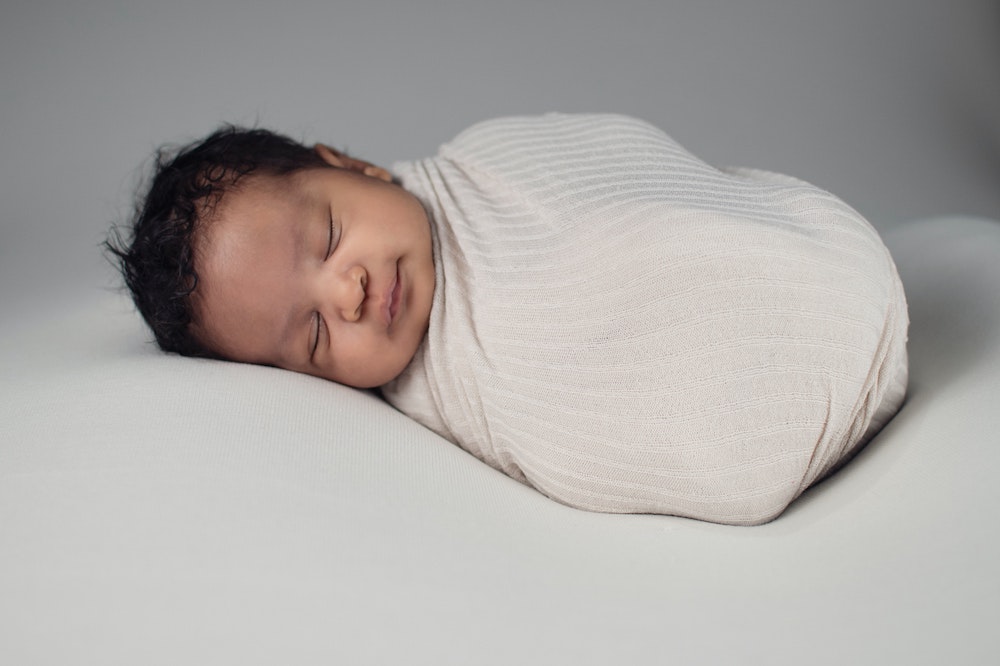
That being said, with baby pose photography, practice makes perfect. You can start by learning some of the basic swaddling techniques and experimenting with fabrics and textures.
Remember that the beanbag and blankets you use in a newborn photo shoot will be your best friend when it comes to posing the baby. Experiment with positioning and angles to find the perfect shot, but try not to move the newborn all the time.
2. Gather Everything you Need Beforehand
When photographing a newborn, always gather everything you need in advance. Although this depends on your personal needs and preferences, most photographers use:
- Blankets
- Wraps
- Heaters
- A Shusher or white noise machine
3. Choose the Correct Time Frame (When Possible)
You can photograph newborns at any time. However, I recommend the best time to shoot a newborn is between 5 and 15 days old.

Most professional photographers prefer the morning hours for baby photo sessions when it comes to timing. But, of course, communication with the parents is key to finding out the best time and day for the photoshoot.
4. Newborn Photography: Lighting and Angles
Poor (or extreme) lighting is the main reason for poor newborn photos. Although the sun is by far the best light source, most newborn photo sessions take place indoors.
In this case, use a studio light and an umbrella or softbox to avoid unpleasant shadows. Do not forget that you can also manipulate the exposure (contrast, highlights, shadows, etc.) during post-processing with Colorcinch.
Once you are happy with the lighting, you can experiment with angles and perspectives. This way you can take unique shots without moving the newborn.
5. Involve the Parents
One wise thing you can do in a newborn photo session is to involve parents. Don’t forget that the baby always feels more comfortable and secure when their parents are around.
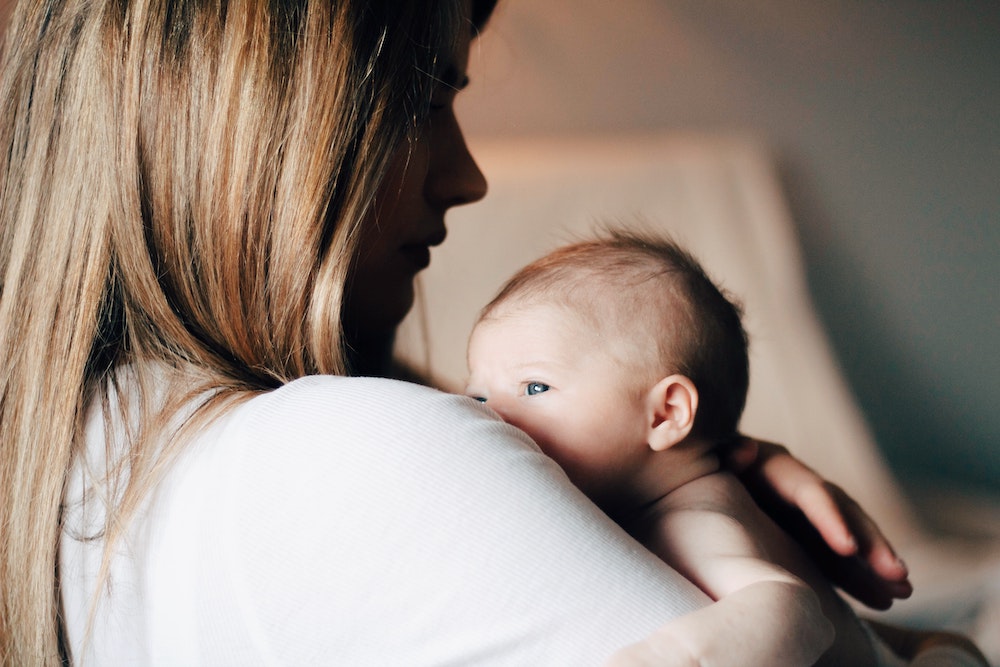
This is the best time to experiment with different angles and macro shots. For example, use the size difference between the parents and the baby to take some unique shots of the tiny details of the newborn (e.g. toes, fingers, etc.).
6. Newborn Photography and Safety | Dos and Don’ts
As mentioned earlier, safety is the most important thing when photographing newborns. So here are a few basic rules you should always follow:
Dos |
Don’ts |
| Add weight to all props | Never leave the newborn alone |
| Use photo editing software like Colorcinch to create “difficult” poses manually (e.g., froggy pose by combining two poses) | Don’t move the newborn all the time |
| Secure your camera (neck or wrist strap) to avoid accidents | Keep newborns close to their parents |
7. Newborn Photo Session Props
By props, we mean all the elements you use during a newborn photo session to embellish the scene.

There are numerous props you can use to take an adorable photo of a baby. Some of my favorite props are:
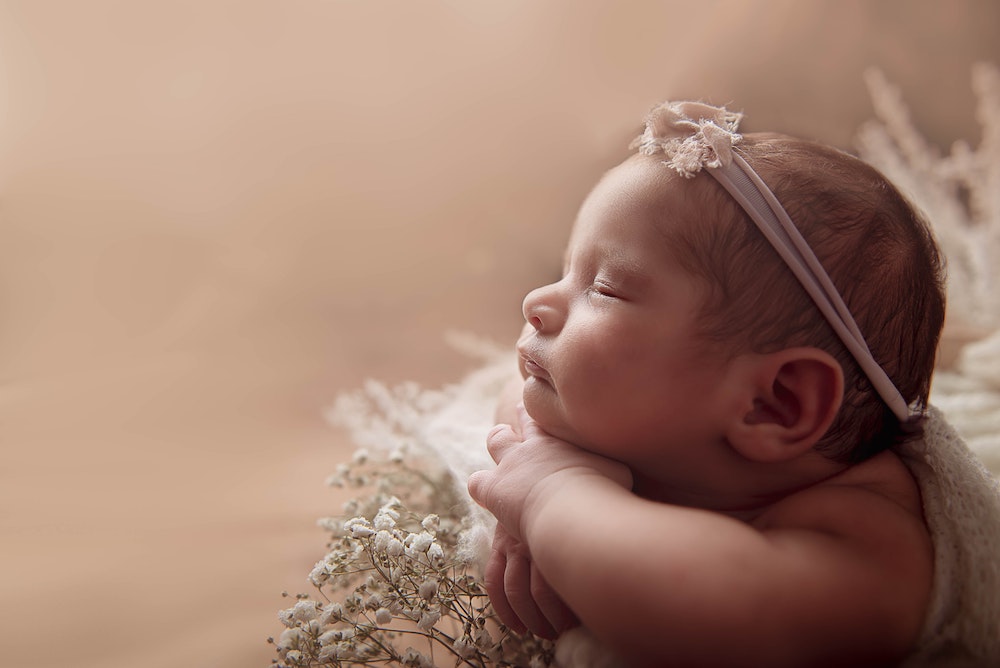
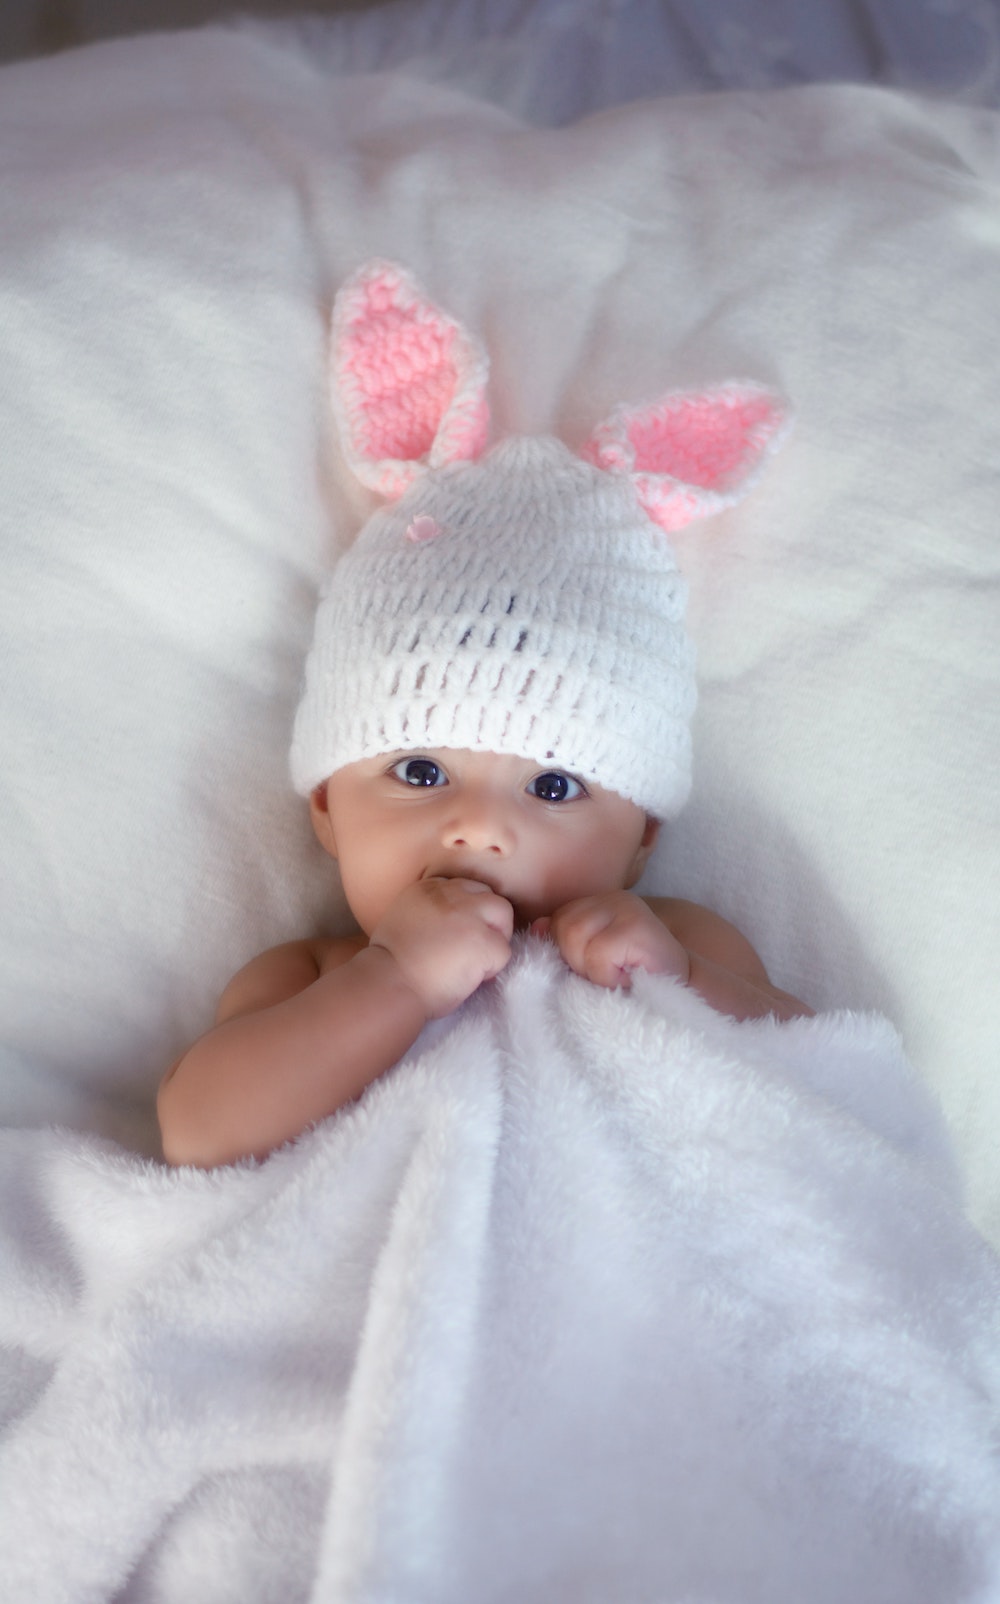
- Hats and headbands
- Baskets
- Wooden boxes and crates
- Toys (e.g. stuffed animals)
- Suitcases
- Seasonal objects (e.g. flowers, Christmas ornaments, etc)
Remember that you can also add props manually during the post-processing phase. Let’s have a look at the simple steps you need to follow to create a unique newborn photo with Colorcinch.
Newborn Photo Editing Tutorial for Colorcinch
With Colorcinch you can fully edit your fantastic newborn photos in just a few minutes. All you need to do is follow a series of steps:
Step 1: Upload your newborn photo.

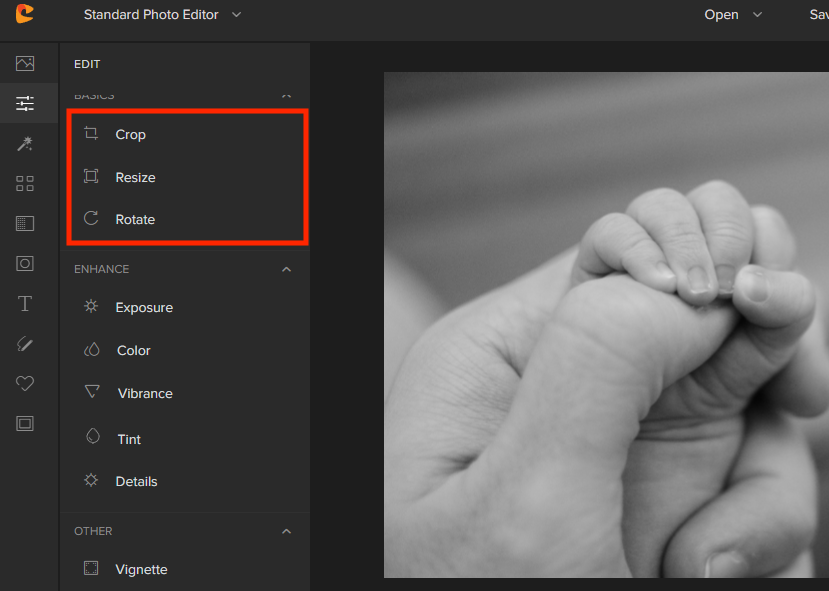
Step 2: Start by editing your photo. On the left side of your screen, you can find plenty of editing toolboxes including: the basics (Crop, Resize and Rotate), the enhance tools (Exposure, Color, Vibrance, Tint, Details), and more (Vignette and Round).
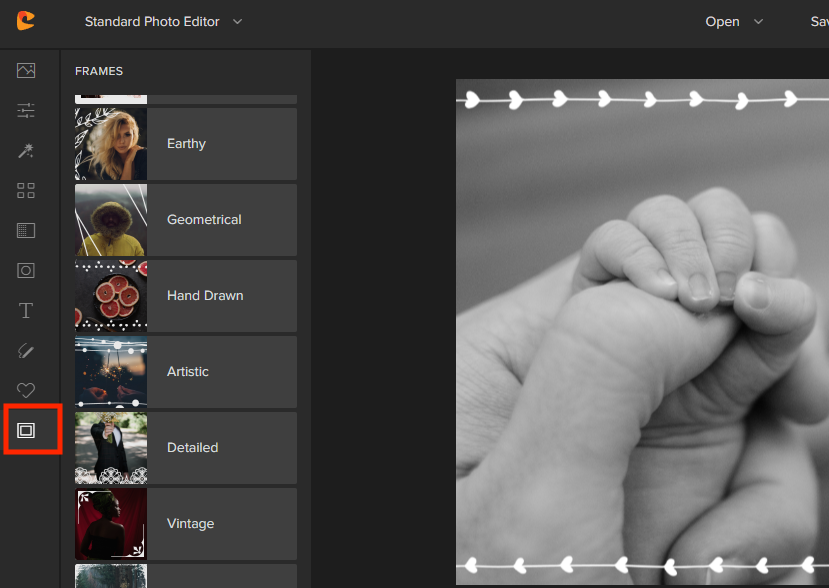
Step 3: Add effects (e.g. Cartoonizer, Sketcher), frames, and filters (matte, skin tone).
Step 4: Experiment with overlays and masks.
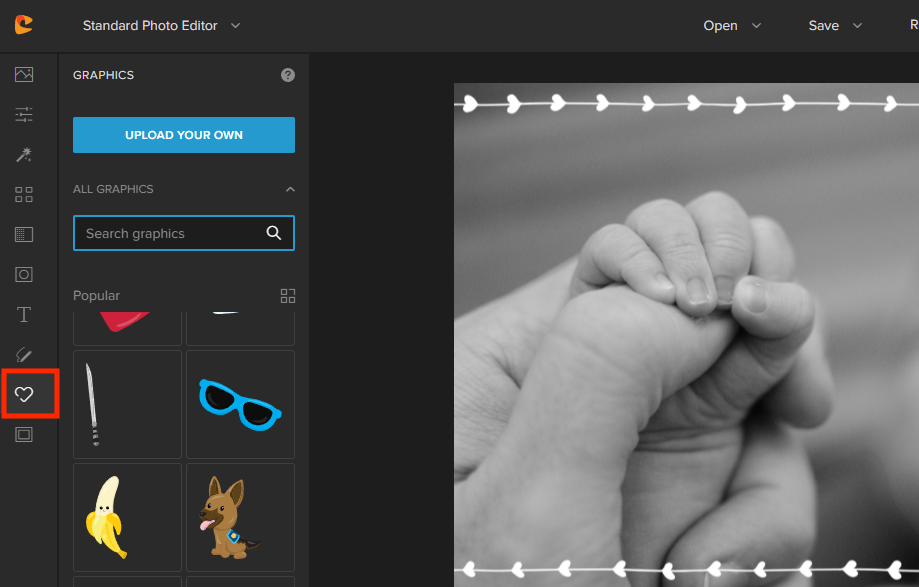
Step 5: Draw, add text and navigate through the extended collection of graphics.
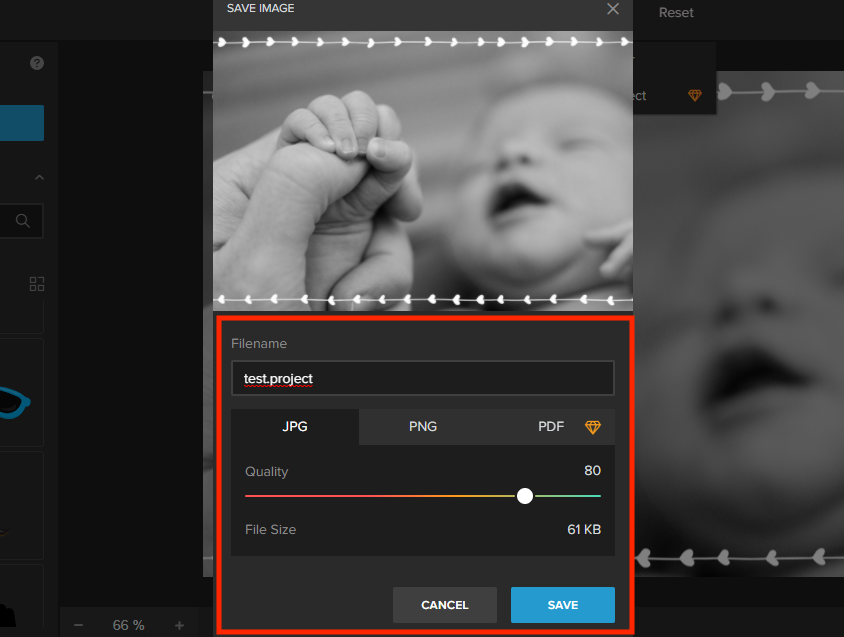
Once you are happy with the result, simply export the photo to your computer.
Conclusion
If you follow the tips in this newborn photography guide, you’ll capture some stunning, cute photos. As with any other genre of photography, newborn photos are all about lighting, positioning, and the perfect background.
However, when photographing newborns, you also need to make sure the baby feels safe and comfortable. If you do that, you’ll be one step closer to achieving a perfect newborn photo session.