

It’s essential to create a media kit that shows the value of your blog to potential clients when starting on the journey from passion to paychecks.
Maybe you started a travel blog to document your passion for adventure and experiencing new cultures. Or perhaps you love to cook and want to share your recipes with the world. Building a blog from the ground up is an impressive accomplishment in and of itself.
Well, those things are fantastic. But earning money from your passion in life is even better.
There are plenty of ways to make money online, from ads to affiliate links to sponsorships with brands or by selling digital courses.
So how do you go from a passion project to a reputable brand that actually pays the bills (and then some)?
With a little bit of effort and creativity, you can turn your ordinary blog into a credible brand that every company will be begging to work with.
Don’t worry. A graphic design degree is not required here. Let’s take a closer look.
What is a Media Kit?
Think of a media kit as a resume for your blog. Essentially, it is a document that provides information about your brand, including:
- Your name and contact information
- A brief bio of yourself
- An overview of your business, including what you do, how long you’ve been in business, your mission, and any awards or recognition you’ve received
- An explanation of what makes your brand special (what makes it stand out from the rest)
A media kit is an important vehicle to show off your brand, present yourself to potential clients, and share what value your blog brings to the table.
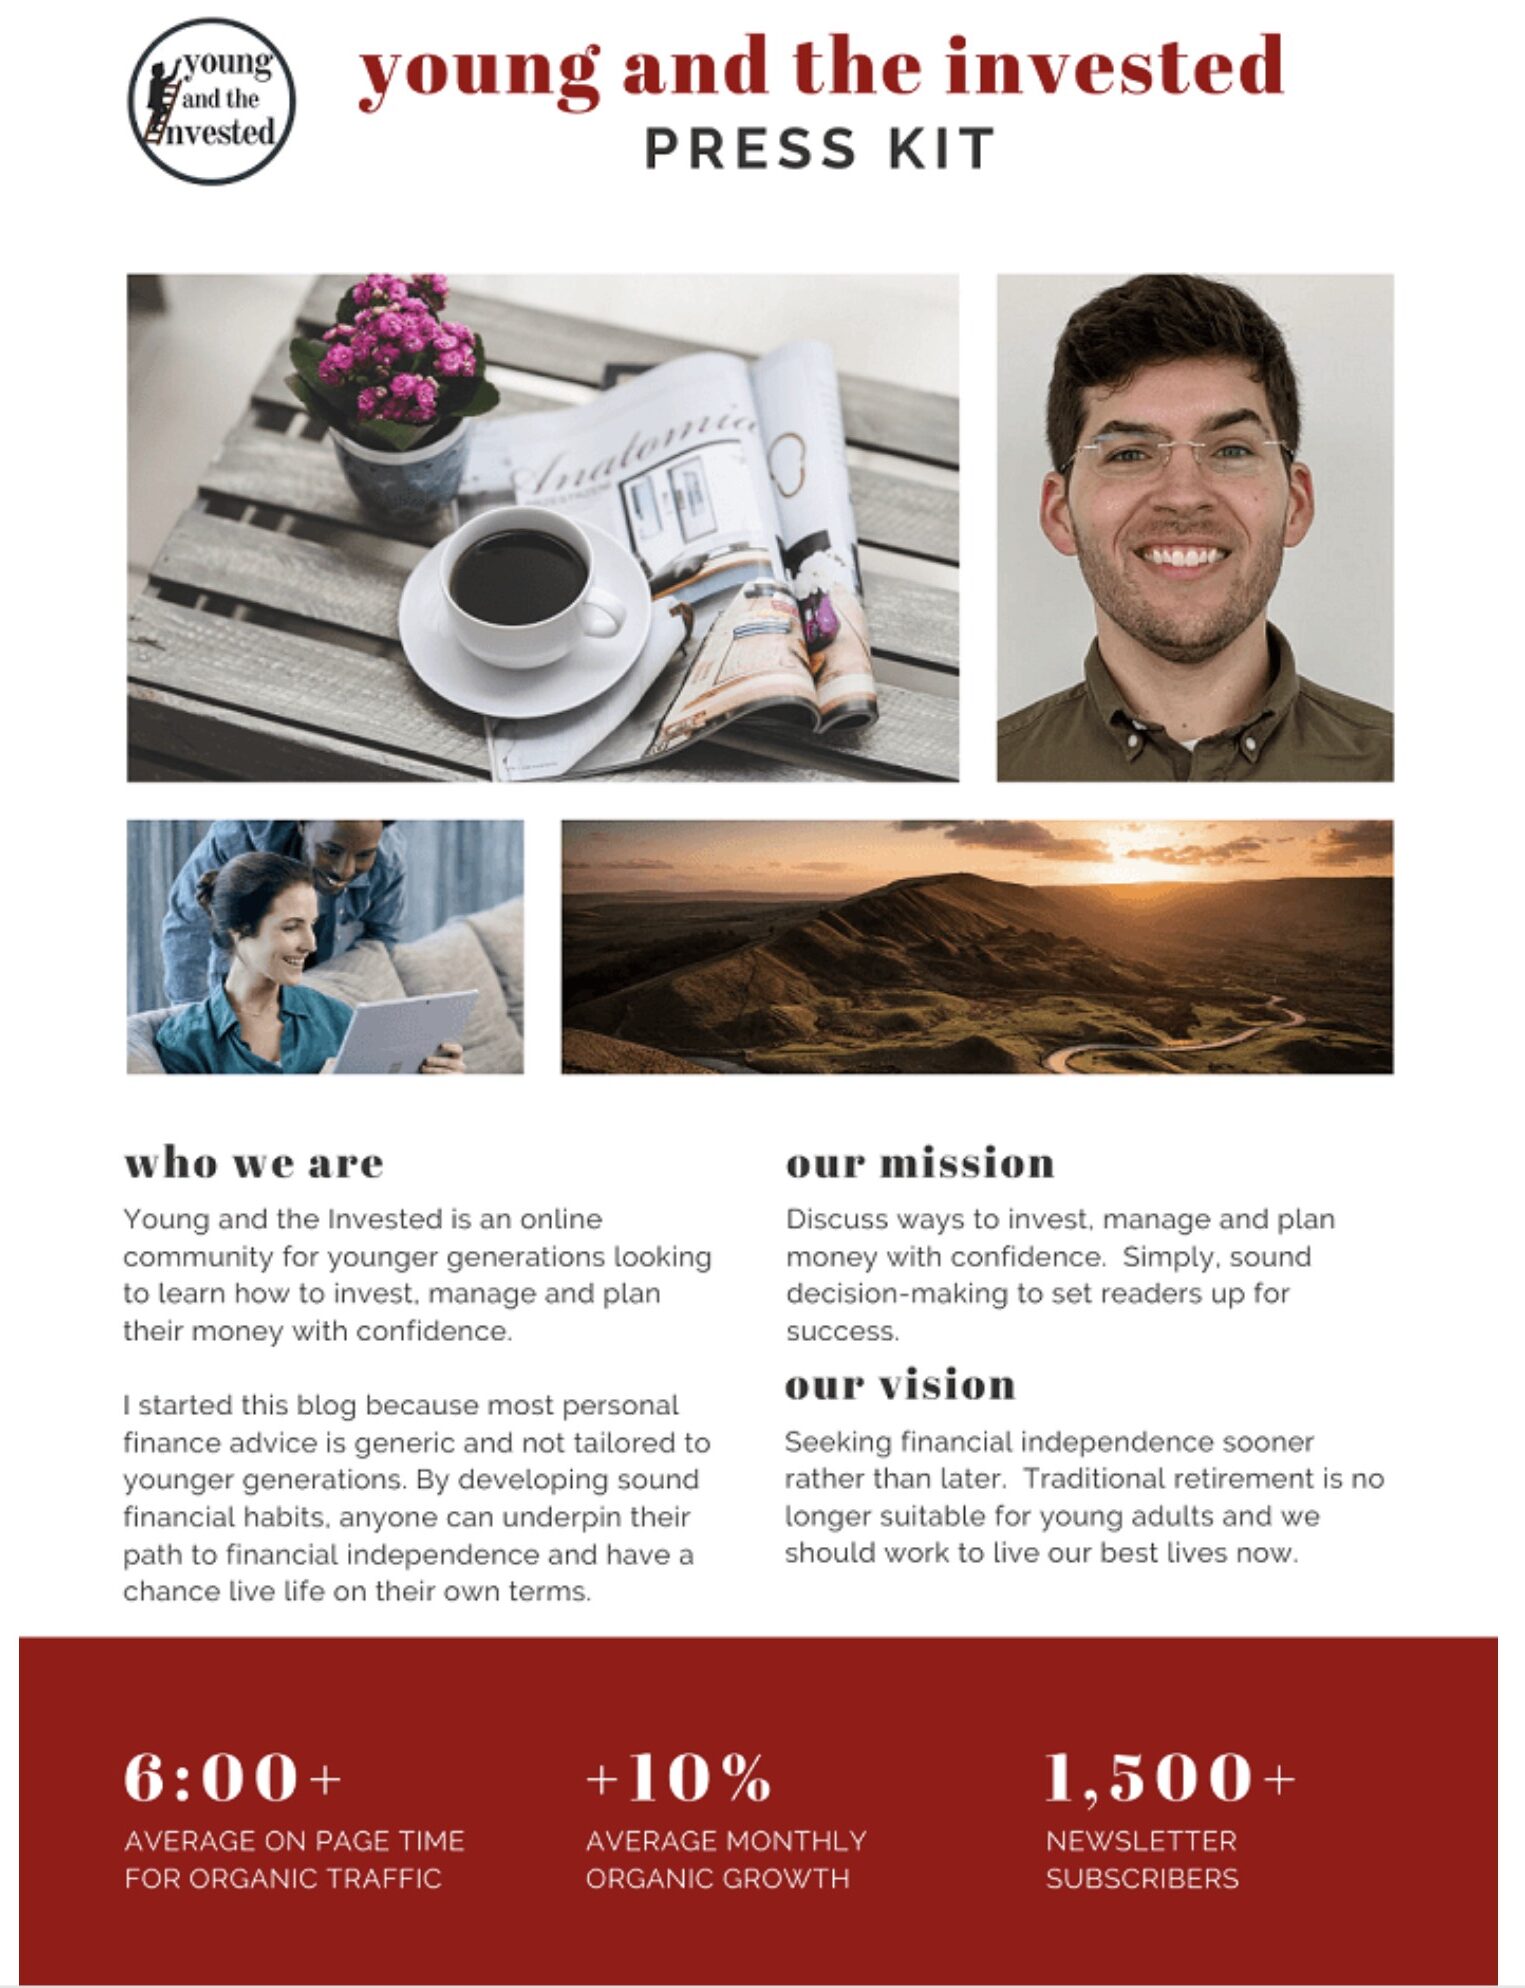
Take this press kit from Young and the Invested, for example. The press kit provides information about its audience, vision, and mission of teaching young people how to invest and plan their finances. It includes a logo, author headshot, and essential statistics on the blog’s performance.
Why Do You Need a Media Kit?
A media kit is a great way to show your audience that you are a professional. It’s also a way for them to get to know you better as an individual and expert in your field.
Essentially, a media kit is an online brochure that gives readers and other brands all of the information they need about who you are, your mission, and your accomplishments.
For example, it can include:
- Your story (why did you start blogging?)
- Statistics (how many followers do you have?)
- Your goals (what legacy do you want to make on the world?)
It’s common for brands to request a media kit from an influencer they want to work with, so not having one can lead to missed opportunities.
You don’t need millions of followers before creating a media kit. In fact, micro-influencers have proven to have a higher engagement rate with niche audiences.
So, don’t count yourself out of the race. Having a media kit readily available to send to brands is a surefire way to score more partnership opportunities and increase your brand’s reputation.
Ready to get started?
Essential Information to Include in a Media Kit
A media kit should share the essential information about your blog in an appealing one-page PDF, downloadable document, or displayed on a specific page of your website.
Thankfully everything you need to include in your media kit should be readily available at your fingertips, including:
- Blog or brand name
- Logo
- Tagline and description
- Short bio
- Contact information
- Blog statistics
- Audience demographics
- Partnerships and collaborations
- Testimonials
Let’s dive into more detail.
Blog or Brand Name
Start by including the name of your blog or brand. This might sound silly, but it is crucial to keep your name easily visible on the media kit.
After all, you wouldn’t leave your name off of your resume. Right?
Logo
When designing your media kit, it is important to include important branding materials like a logo, headshot, and an author bio.
Ensure your blog logo is consistent across all platforms, including your website, social media accounts, and media kit.
While it’s helpful to include a miniature version of your logo on every media kit page, don’t go overboard—you want to leave some space for other information. If you include a large version of the logo in one place, like on the front or back cover, make sure it fits well with everything else in terms of design and color scheme.
It’s also helpful to include downloadable brand images such as logos within your press kit. Take a look at how Canopy, a parental control app, includes a dedication section with downloadable logo files and a brand guide.
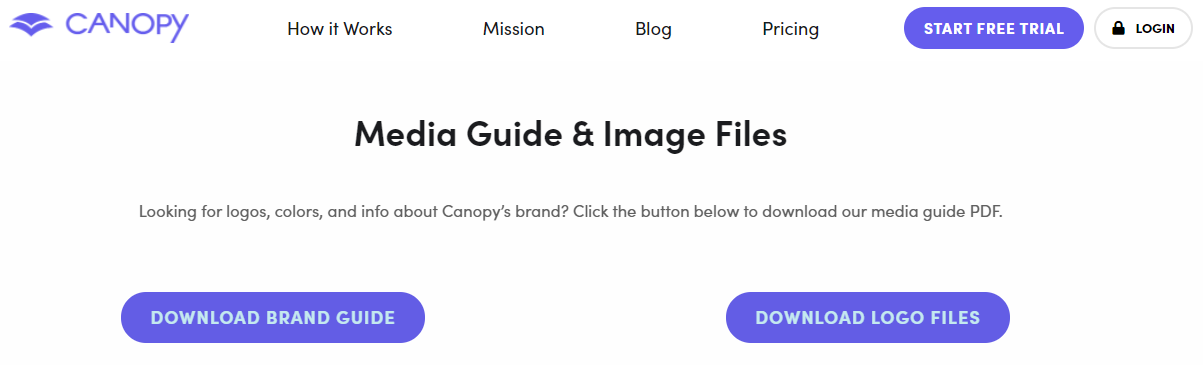
This ensures that your brand image is consistently represented by journalists, organizations, and potential partners.
Tagline and Description
The media kit should include:
- A catchy tagline
- A one-sentence description of what you do
- A well-written description of your brand
These are usually located near the top of the page and draw the reader’s attention right off the bat.
If you don’t have a tagline or slogan yet, then no worries; it’s not a big deal. What matters most is that you have something short and memorable about who you are and what you offer.
If there’s any overlap between your tagline and slogan, you are welcome to include both.
Short Bio
A short bio is typically a few sentences that describe you and your blog. The first sentence should use the third person (“Jane Smith is a blogger who loves…”).
Try to add a personal touch by including something you are passionate about, such as your mission statement or why you started blogging in the first place.
This will help set up readers for what they can expect from reading your blog, which is helpful when they are deciding whether or not to subscribe or partner with you for future collaborations.
Contact Information
You should include all the contact information you have. This includes your phone number, email address, and any social media or communication platform handles.
You want to make sure this section is placed near the top of your media kit because people need to be able to reach out quickly when they are interested in working with you.

Blog statistics
Now to the meat and potatoes of the media kit. After all, a media kit should be your trophy that displays the incredible value of your blog.
Numbers never lie. Use them to your advantage to help sell your brand.
Here are a few statistics that are crucial to include in your media kit:
- Number of visitors per month
- Number of page views per month
- Unique visitors per month
- Average time spent on-site (in minutes)
- Number of subscribers to your blog’s email list
- Number of social media followers on Facebook, Twitter, and Pinterest
Audience demographics
Providing your audience demographics helps brands quickly understand if your audience aligns with theirs. Or perhaps this information allows them to learn that they will gain access to a new audience if they partner with you for a collaboration.
You can gather audience information in several ways, including Google Analytics, surveys, or your content management system (CMS).
Partnerships and collaborations
Ensure that you include information about any partnerships and collaborations you’ve had in the past. Include examples of how these partnerships were successful; for example, how many customers did they bring in? How much revenue did they generate for the company? What were the results of each campaign?
Testimonials
One of the most powerful ways to show off your work is by including a testimonial from someone who has successfully worked with you in the past.
Social proof helps convince prospective clients that you’re the right person for the job.
To ensure that you’re getting testimonials, ask clients for them at the end of every project or event. It doesn’t have to be complicated: just send out email surveys and wait for the responses to roll in.
If you haven’t asked for customer reviews before, it can seem intimidating and time-consuming when you first start. But doing this consistently will help make your blog appear more trustworthy and credible as time goes on.
Blog Media Kit Design Tips
Now that you know all of the information to include in your media kit, it is time for the fun part: the blog media kit design.
Create an eye-catching cover page
The cover page is the first thing your audience will see, so you must make a good impression. Your media kit needs to be eye-catching and professional-looking, using your existing brand colors and logo. If you haven’t designed a logo yet, now’s the time.
Your photos should be recent and include you —whether it’s just your face or a full-body shot (if appropriate). People want to see who they’re reading about.
The best way to set up this page is to have all of the information organized into sections so it doesn’t look too busy; this includes:
- Your name, website address, and social media links
- Past brand collaborations or testimonials
- Blog statistics
Showcase your statistics
What’s the point of having a media kit if you can’t show off your stats? You might think that no one will care about how much traffic or revenue you’ve generated—but that’s what they really want to know.
Add some creativity to the design of your statistics. Try to make boring numbers a focal point by using a large font or inserting graphics.
Use custom images
Custom images are the most critical part of your media kit design. You want to use high-quality images that show what you’re offering and are consistent with your brand.
We suggest creating custom images for every portfolio item, but if you don’t have a photo or graphic designer on hand, there are plenty of free stock photo sites that can help get you started.
Incorporate white space
Whitespace is an essential element of any design. It can help create a sense of professionalism, establish a contrast between elements, balance your designs, and provide resting points for the eyes.
Whitespace makes the content look more organized and professional by giving each element room to breathe.
Use whitespace around headlines to create contrast with the surrounding text while still connecting them visually to their respective sections.
For example, headlines should be larger than the body text but not so big that they become hard to read or take up too much space on the page. Place headlines at least one line above their corresponding body text section and use bolded and centered headings for emphasis when you need it most.
Brand consistency is key
Like your blog’s consistent look and feel, you want the media kit to carry the same aesthetic. It should include the same colors, fonts, and logo as your blog. You can do this in a few different ways:
- Create a brand guide with specific colors and fonts that you use on all of your marketing materials, including the blog and media kit design
- Build off of an existing template by editing or overwriting it
Best Tool for Designing a Blog Media Kit – Colorcinch
Best for creating custom media kit designs from scratch
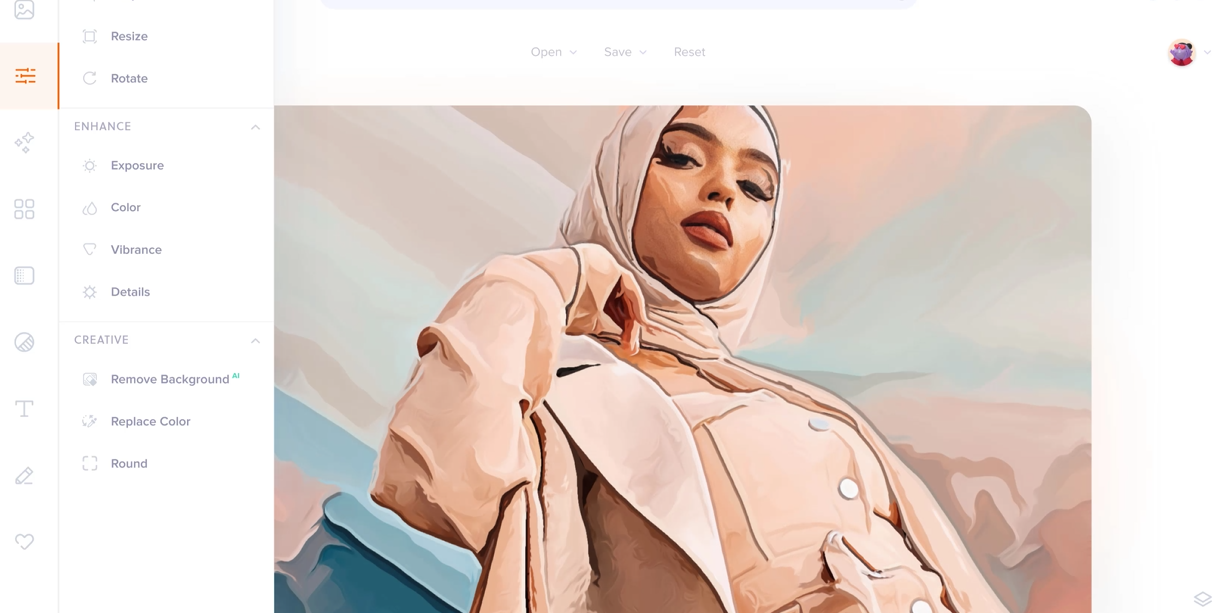
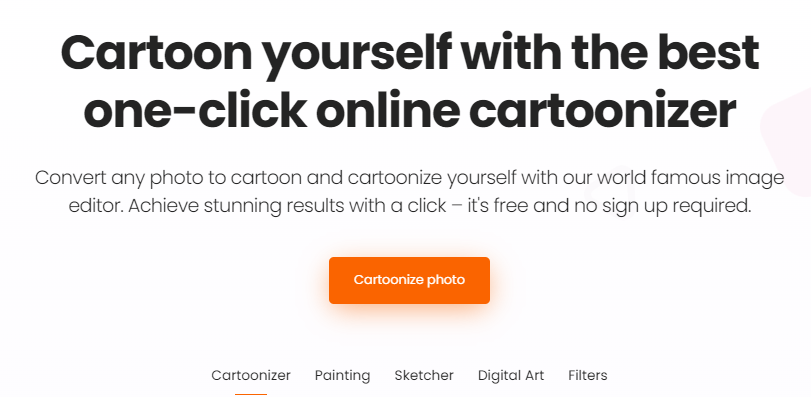
Create a stellar blog media kit design from scratch using Colorcinch. Formally known as Cartoonize, this is the perfect tool for you if you want more freedom and customization when creating your media kit.
There are plenty of features available, including a photo editor, background remover, and image resizer, just to name a few.
Oh, and you can even turn yourself into a custom cartoon to help you stand out from the crowd.
Say goodbye to boring headshots and hello to eye-catching cartoons.
Wrapping Up
A well-designed media kit can have a significant impact on your blog. It shows professionalism, lets others know what you’re capable of and is an excellent way to get new clients interested in your work.
So don’t scoff at this seemingly menial task – if you want to design a blog that brings in new business, it’s crucial to invest in crafting an effective media kit.
About Guest Author: Kelly Moser
Kelly is the co-founder and editor at Home & Jet, a digital magazine for the modern era. She’s also an expert in freelance writing and content marketing for SaaS, Fintech, and ecommerce startups.