Twitch is a popular streaming platform for gamers, but it can also be used to stream other types of content.
Branding is the key to making your Twitch banner stand out. It’s about creating a consistent look and feel and creating an identity that people remember, so they keep coming back for more.
In this post, we’ll cover how to make a simple Twitch banner.
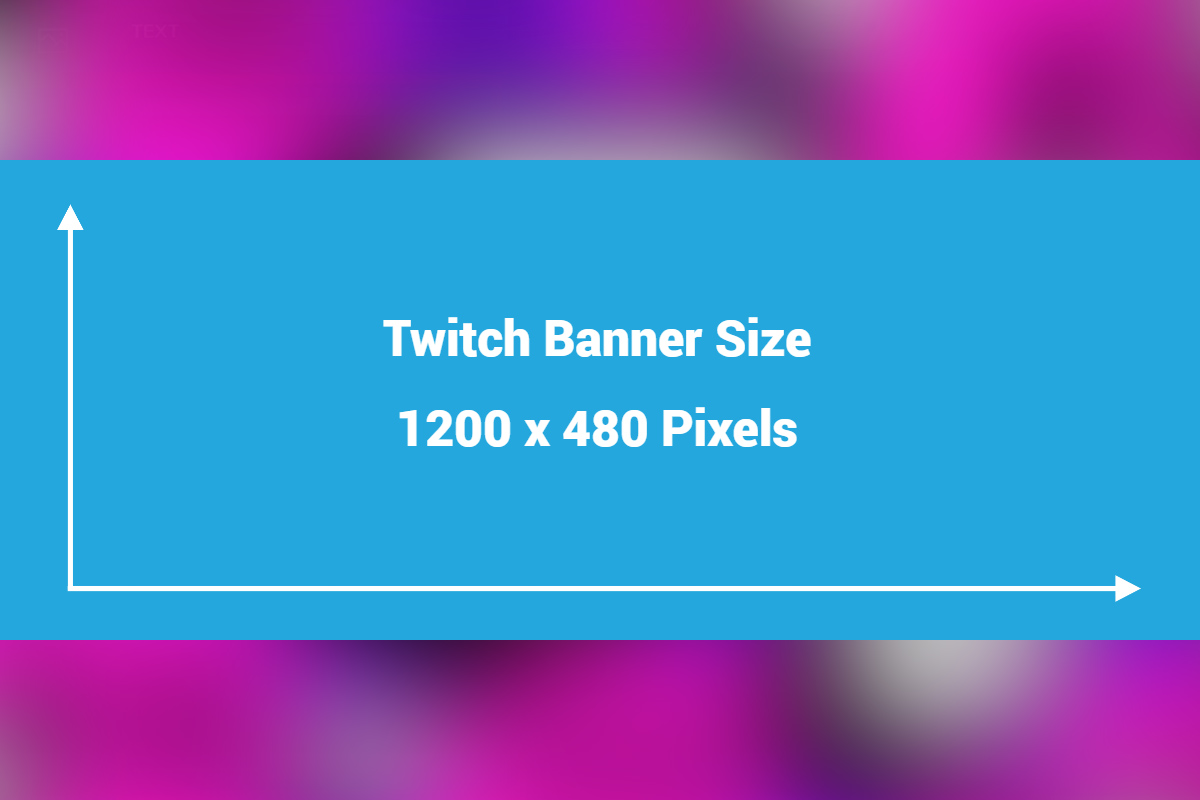
What is the Ideal Twitch Banner Size?
1200x480px is the best size for a profile banner. The width of each user’s browser window affects how your Twitch pages and banner art look. Images that are shorter or taller than 480px will be scaled down or up to 480px.
Create a Twitch Banner Using Colorcinch
Here’s a quick and easy guide on how to create your own banner.
Step 1: Open Colorcinch and Upload your image.

Step 2: Navigate to Edit–Crop.

Step 3: Colorcinch lets you crop in many different ways. Click the drop-down menu next to Aspect Ratio and choose the social media platform you’re using. For this tutorial, we will manually input the values of the Width and Height to 1200x480px.

Step 4: Now that we know the right size for a Twitch banner, we can add things like a logo and text.
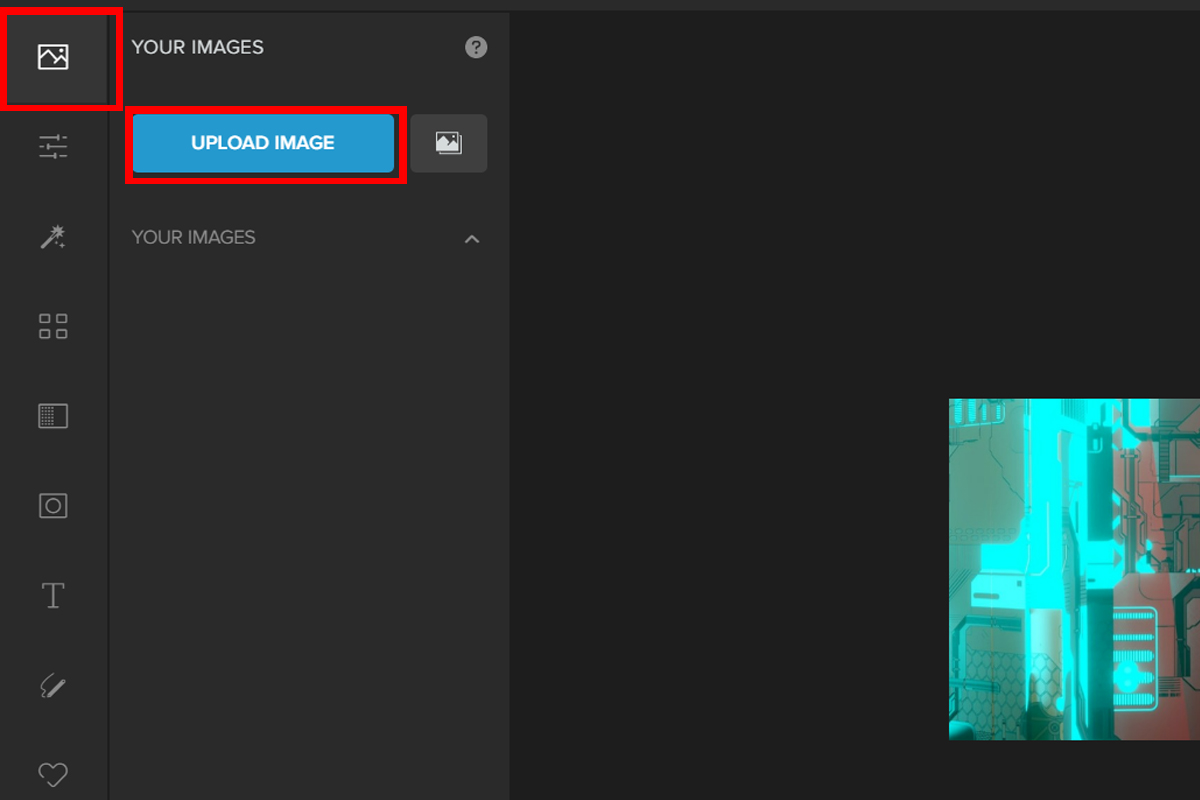
To upload a logo, navigate to Image Manager and click on Upload Image. Once uploaded, the image will appear in Your Images below the Upload Image.
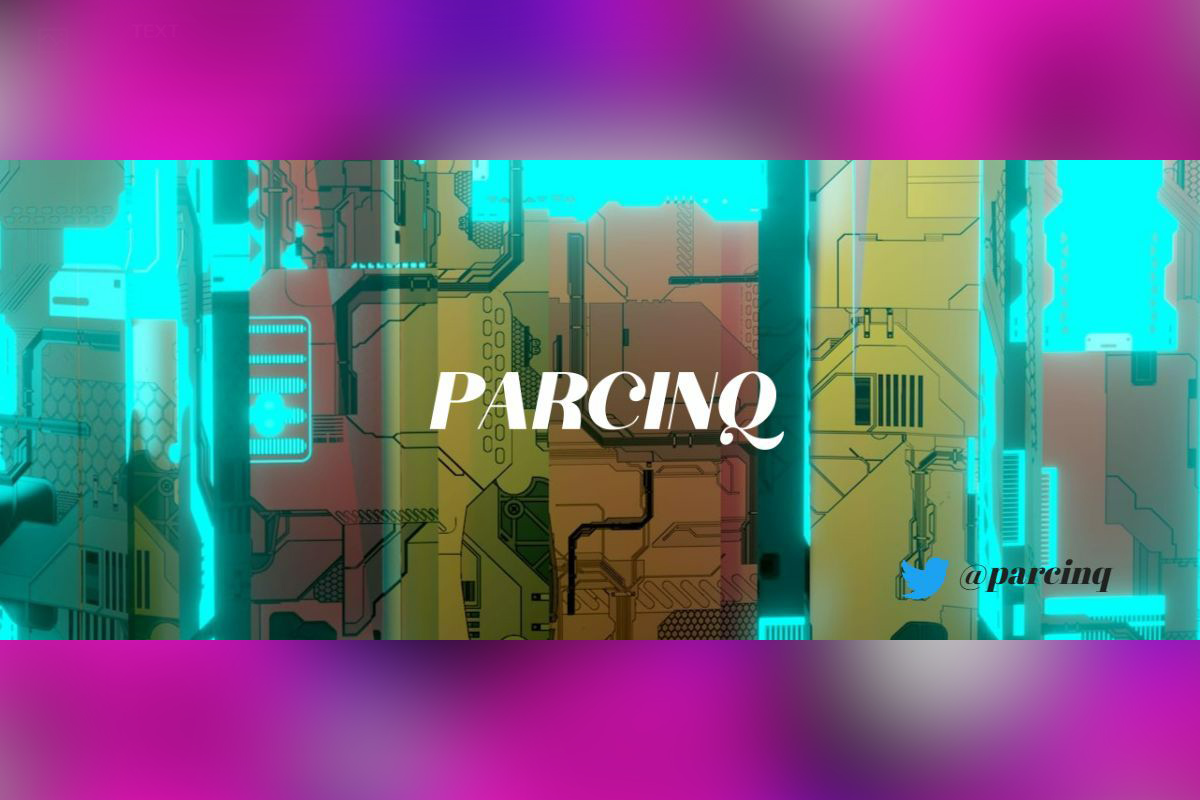
Drag the logo anywhere on the banner. Adjust accordingly. You may also add a Twitter logo if you wish to.
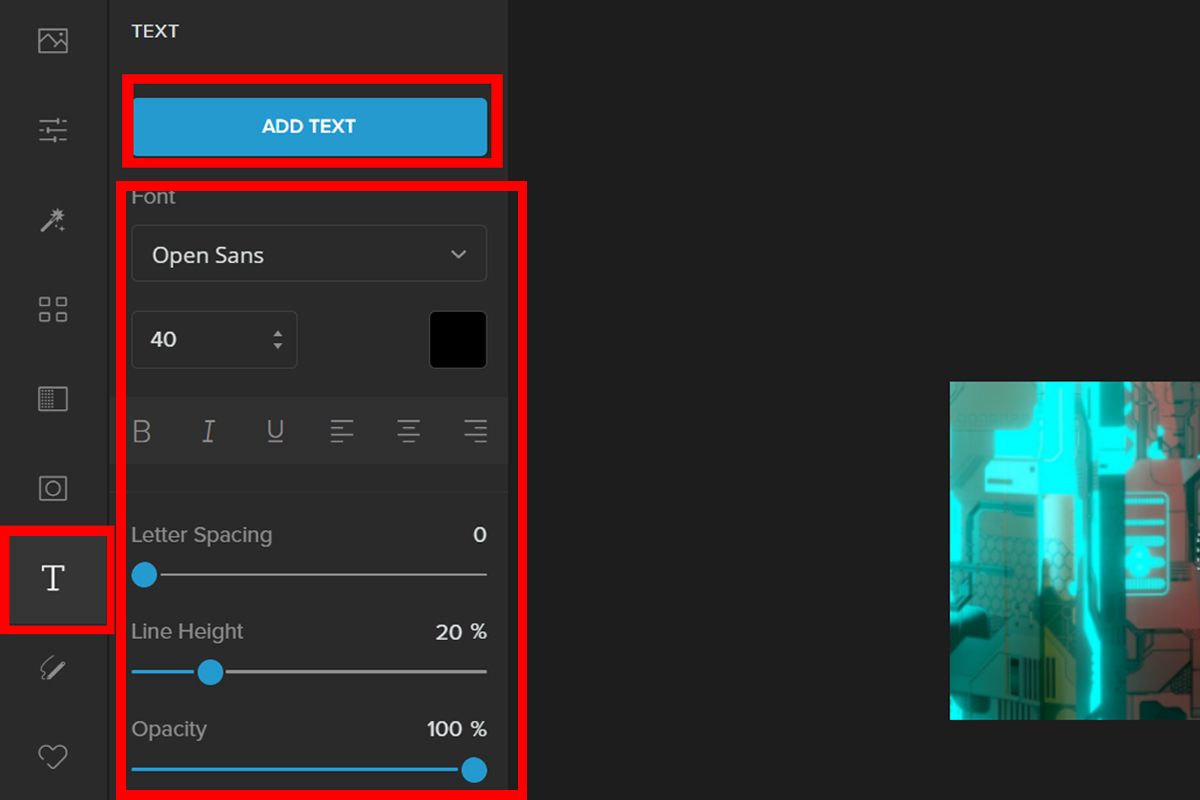
Step 5: Since we’ve added a Twitter logo, we need to add the Twitter handle. To do this navigate to Text — Add Text. Type in your Twitter account name. You can change the Font, Spacing, Height, and the Opacity of the text.
Here is the final output:
Conclusion
I hope this article has helped you to understand the importance of creating a Twitch banner for your stream. It doesn’t have to be complicated and difficult, but it’s a great way to show off your personality while keeping viewers engaged in what they’re watching!
If you have any questions about creating a banner, please feel free to reach out in the comments below!


