
The whole purpose of buying an interchangeable lens camera is to swap lenses when needed and have complete control over the shutter speed and aperture of the camera. When you do that, you got to understand what is known as the aperture and shutter speed chart.
In this discussion, you will learn about aperture, shutter speed, the holy trinity of photographic exposure, and how aperture and shutter speed works together.
An Introduction to Aperture and Shutter Speed
Before you dive right into understanding aperture and shutter speed chart you need to have a good understanding of aperture and shutter speed itself.
Aperture and shutter speed are the two main controls of your camera. Aperture controls the opening of the lens, and shutter speed controls the time duration for that opening to stay open.
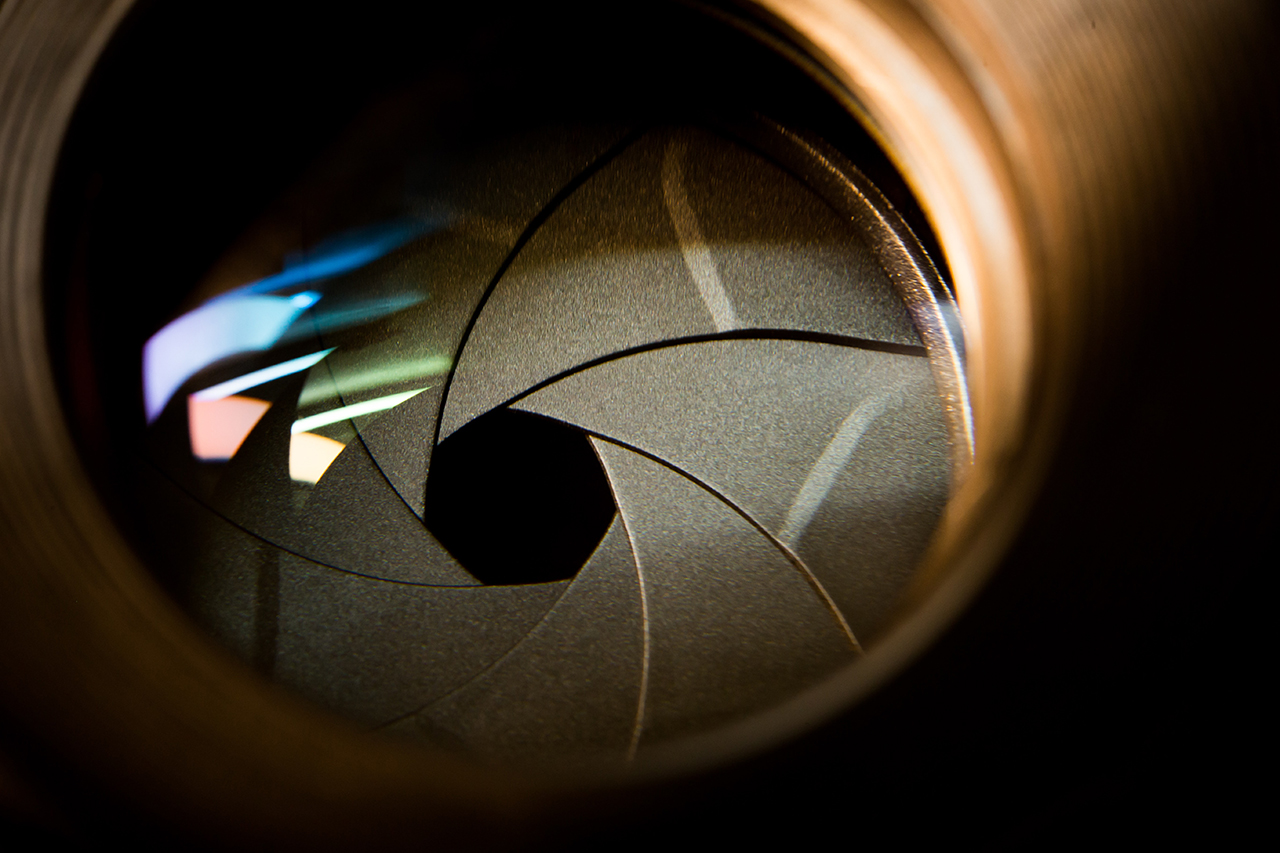
Aperture
The word aperture refers to the small opening on a lens that allows light to pass through and then hit the imaging sensor at the back of the camera.
Aperture is always represented as a ratio. By default, the letter F is the numerator, and a number assumes the denominator position. E.g., f/4 or f/5.6, f8, and so on. It’s referred to as f-stop or f-number.
The letter F stands for either Factual or Fractional.
Btw, here ‘stop’ refers to the fact that aperture is stopping or blocking light and allowing only that bit that you’re dialing to let in.
How to Read Aperture Charts?
If you are looking for an easy way to manipulate the exposure values, both the aperture and shutter speed chart can be helpful.
Remember, the aperture is a ratio and not an absolute number.
It’s a ratio between the diameter of the lens opening or aperture and the lens’s focal length that you’re using.
Therefore, lenses with the same aperture or f-stop may not have the same focal length or effective lens aperture diameter.
Let’s take an example.
F-stop, F-number, and Physical Aperture
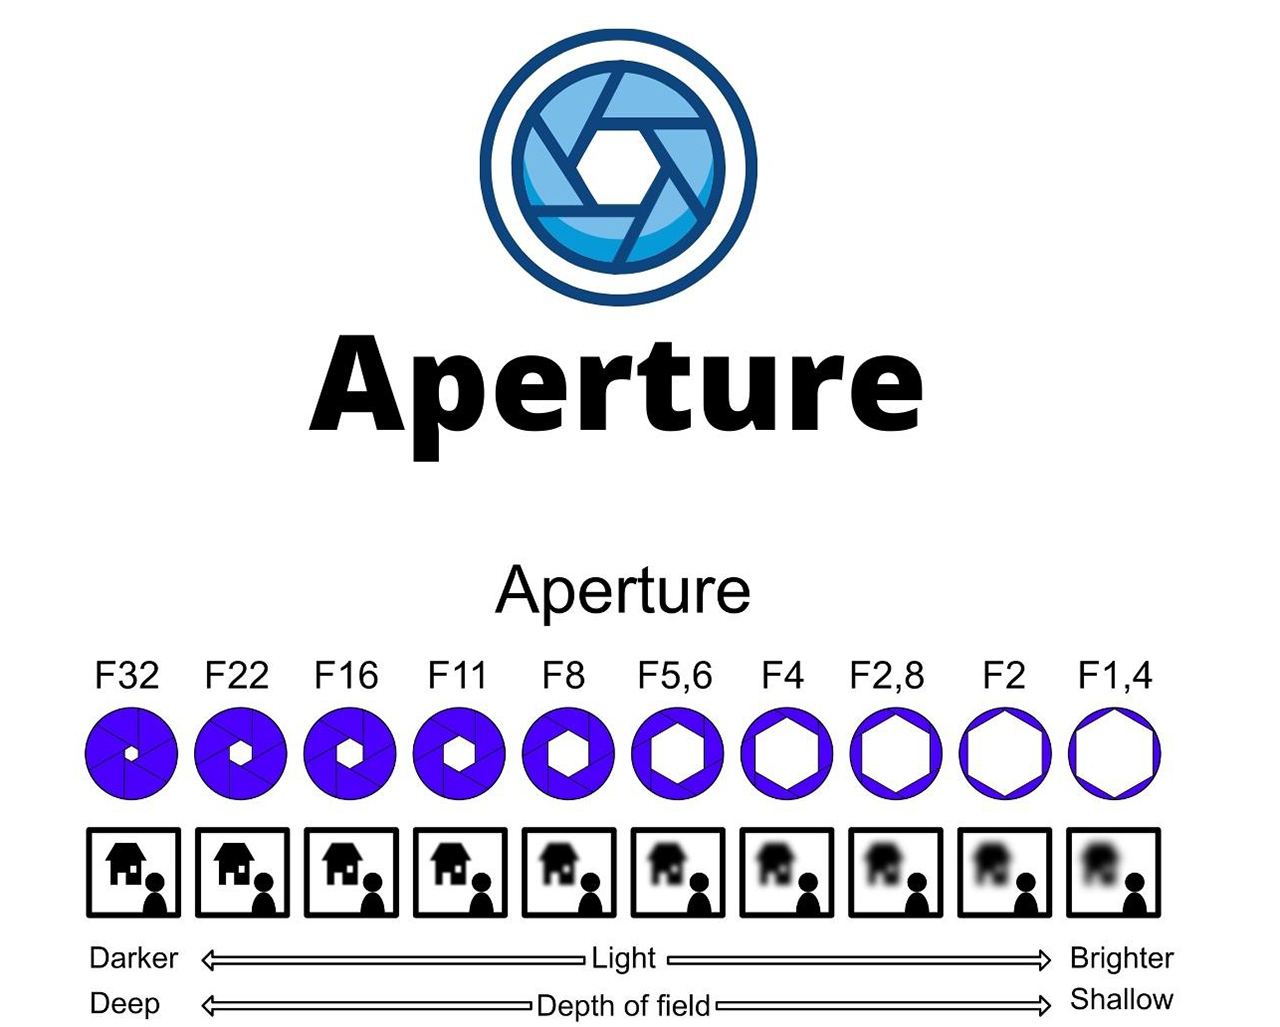
Aperture charts are easy to read if you pay attention. Though initially, it may appear slightly counterintuitive. The reason is smaller the f-number or f-stop larger is the size of the aperture or opening of the lens.
That means f/4 is a larger aperture than f/5.6. And f/5.6 is a larger aperture than f/8. It may take a while to wrap your head around this. But I am sure that you will never make a mistake once you get used to this.
Aperture is expressed in both full stops, one-third stops, and sometimes in half stops. We’ll use the full-stop for ease of understanding because it’s standard on most cameras.
Modern DSLRs and mirrorless systems do offer one-third stops, and that offers precise control over the exposure.
Every f-stop on that list has the effect of doubling the aperture as you move from a larger number to a smaller number and vice versa. So, at f/4, you get double the amount of light you would have got at f/5.6 and vice versa.
Aperture, apart from controlling the amount of light, also controls the depth of field. Depth of field refers to the extent of the image that’s acceptably in focus. It’s usually a degree of tolerance that allows some part in front and behind the plane of focus to be also sharp.
Small apertures (large f-number or f-stop) result in a large field depth. Conversely, if you use a large aperture (small f-number or f-stop), the depth of field will be bigger.
Shutter Speed
When you press the shutter release button, a series of mechanical processes happen inside a camera. At the end of those processes, a small curtain covering the sensor moves away from the path of light. This allows light to reach the light-sensitive photodiodes.
Once the exposure is done, the curtain resets back to its original position, and the camera is ready to make another exposure.
There are two curtains; one moves to make the sensor visible to light, and the second curtain closes that opening.
The irony of the term shutter speed is that though it says ‘speed,’ it refers to the amount of time the shutter curtains remain open.
Shutter speed is expressed in a fraction of a second. So, anything like 1/100, 1/200, 1/400 are typical shutter speeds.
Shutter speed can get very slow, and then it can be expressed as whole numbers instead of fractions. Like 1″, 2″ and so on.
1/100 is a faster shutter speed than 1 second, and 1/400 is faster than 1/100.
The shutter speeds are like this:
How Does Shutter Speed Impact Your Photos?
Every time you move from one stop to the next on that list, you’re effectively doubling or halving the amount of light that the camera captures.
So, yes, this is similar to what you have learned in the section on aperture, except, in this case, changes in Shutter speed give you the same effect.
What Determines the Shutter Speed You Use?
The shutter speed you dial into your camera will depend on the subject and the amount of ambient light.
E.g., if you’re photographing a bird in flight, you must use a shutter speed of at least 1/2000 sec. Most cameras can go up to 1/4000 sec, while some can go all the way to 1/8000 sec.
On the other hand, a shutter speed of 1/200 sec is more than enough if you’re trying to photograph a street scene.
The amount of light in a scene will also impact the shutter speed. You will need to dial the shutter speed to a very fast number in extremely bright conditions.
It’s not uncommon for photographers to dial a shutter speed of 1/4000 sec when shooting under the bright sun.
On the other hand, you will have to drag the shutter when shooting in low-light conditions. Dragging denotes using a shutter speed that’s slow.
Shutter speed also depends on the kind of light that you’re using. Say you’re using a flash. In that case, if your camera does not support high-speed sync, you could be stuck with a minimum shutter speed of 1/250 sec.
It is useful to know that a good understanding of the aperture and shutter speed chart can help you achieve creative effects in your photography.
Creative Effects In-camera and With Editing Software
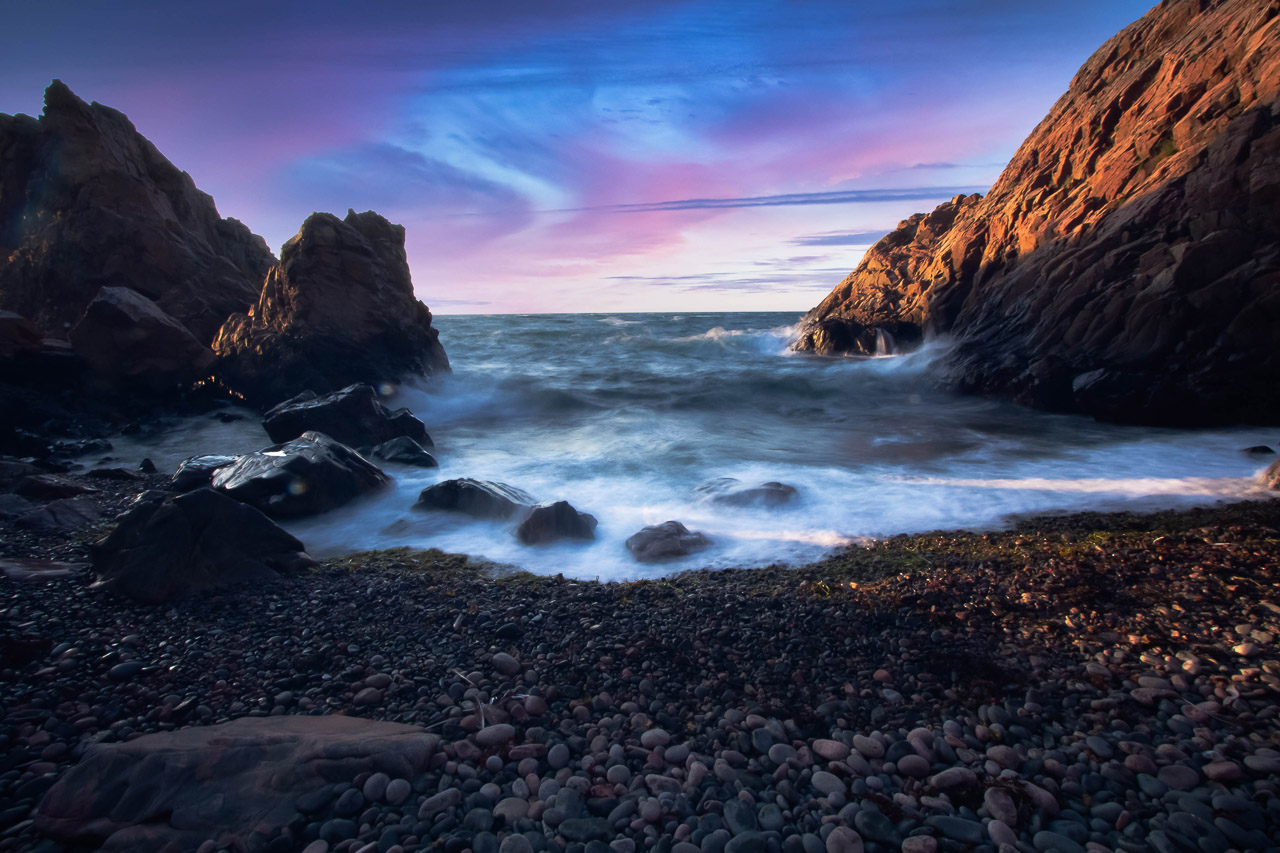
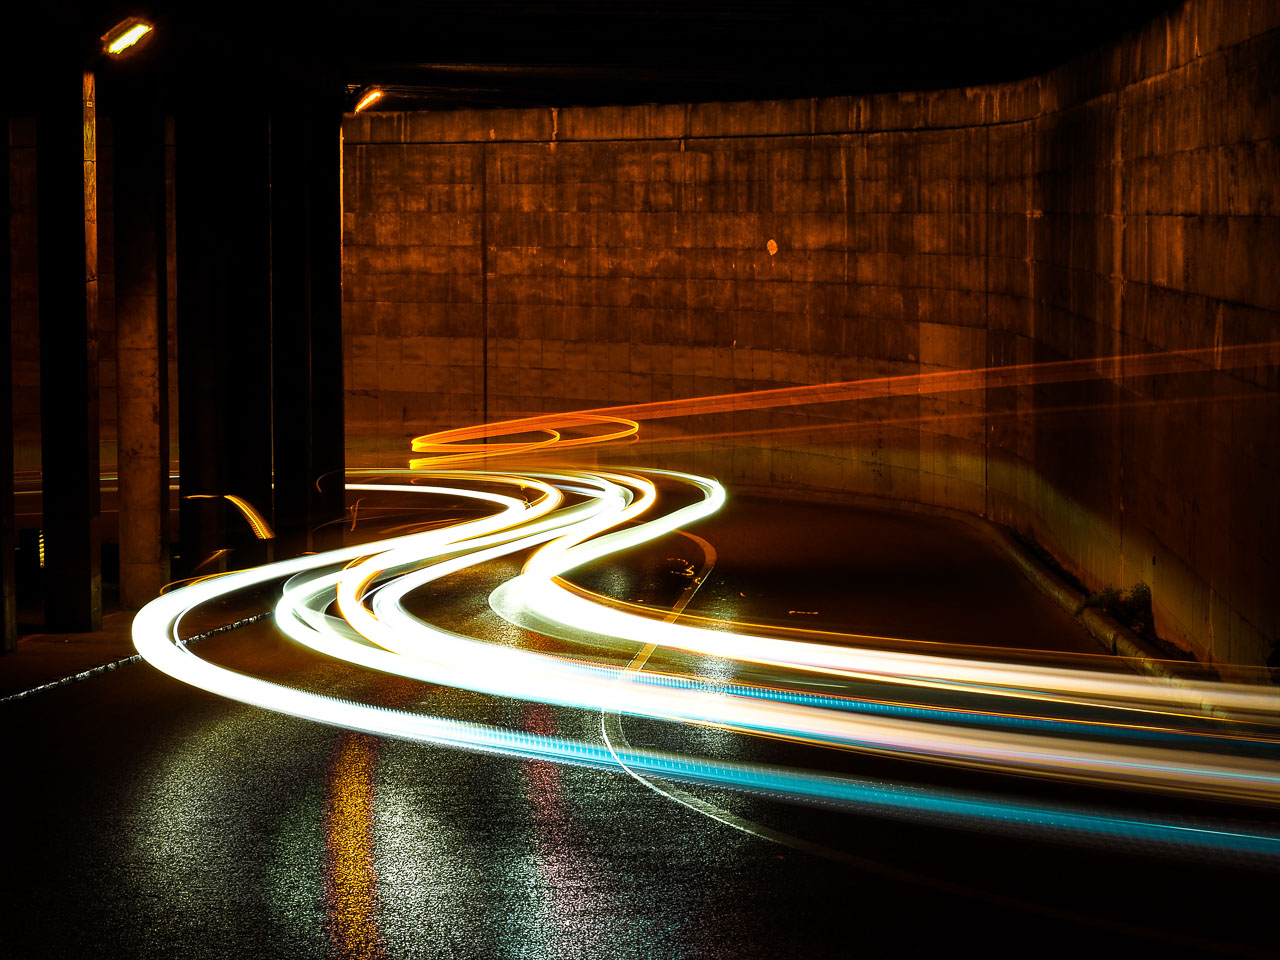
If you’re a creative photographer controlling the shutter speed allows you to capture interesting effects, such as motion blur, light trails, panning, and zoom bursts.
Speaking of motion blur, it’s possible to add some motion blur effects to your images artificially:
Free online photo editors like Colorcinch allow you to do this with a few mouse clicks.
Step # 1: Navigate to Colorcinch
Step # 2: Upload your image using the Upload button on this page.

First, if you wish to apply some basic post-processing to your image, follow the steps mentioned under the section ‘Relationship Between Aperture and Shutter Speed’.
Step # 3: Once the basic post-processing is done, click on Overlays.
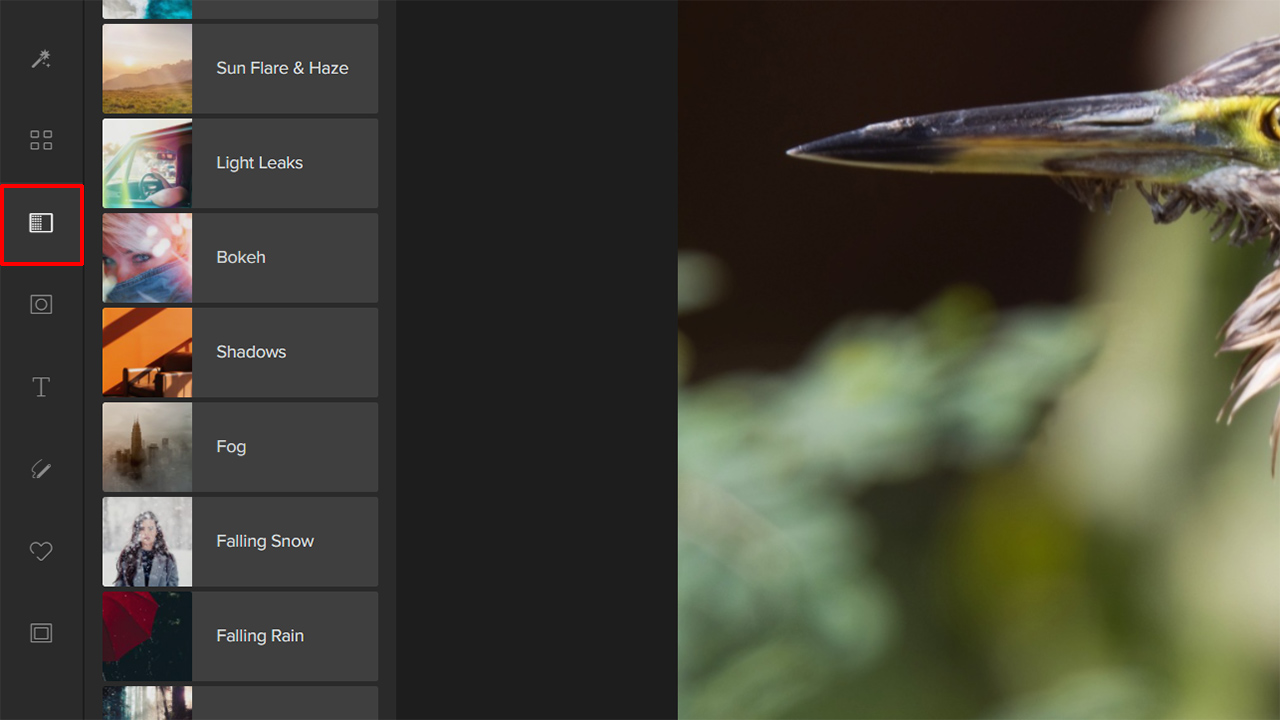
Step # 4: Choose the overlay that suits your needs. In this case, Falling Rain is what works best with this image.
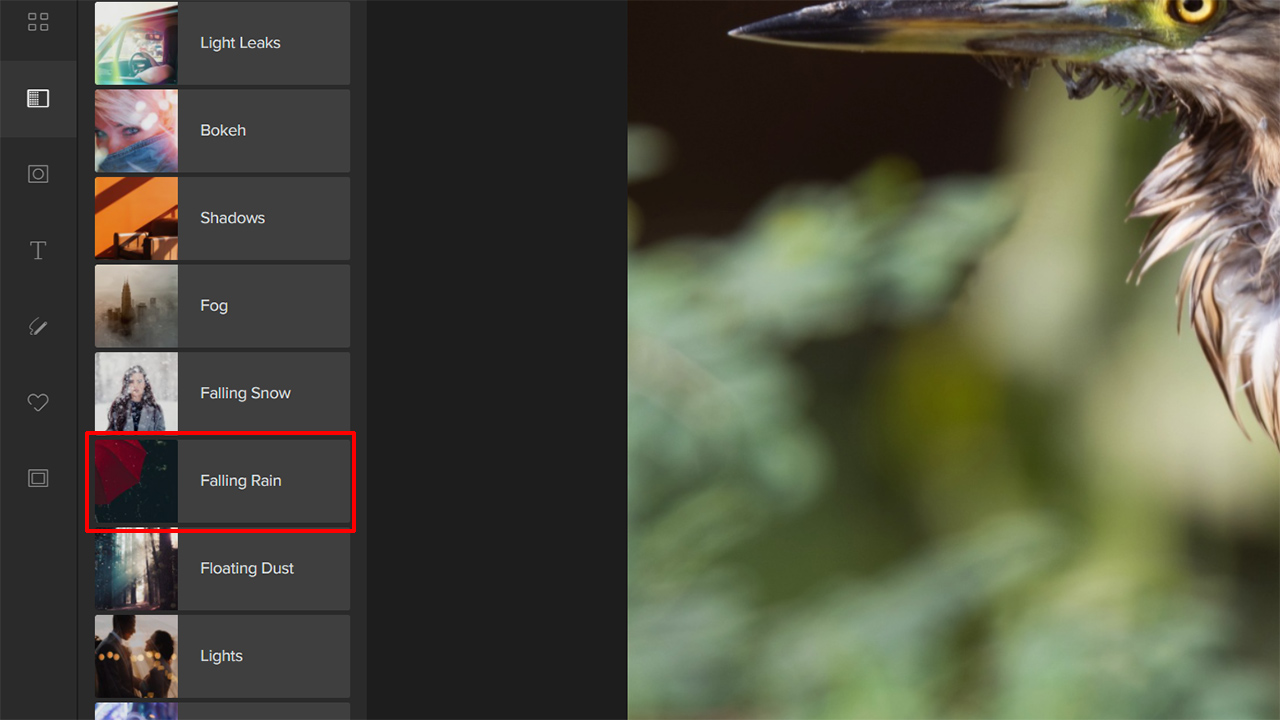
Step # 5: There are a bunch of Falling Rain effects. Choose the effect that you like and click on Apply.
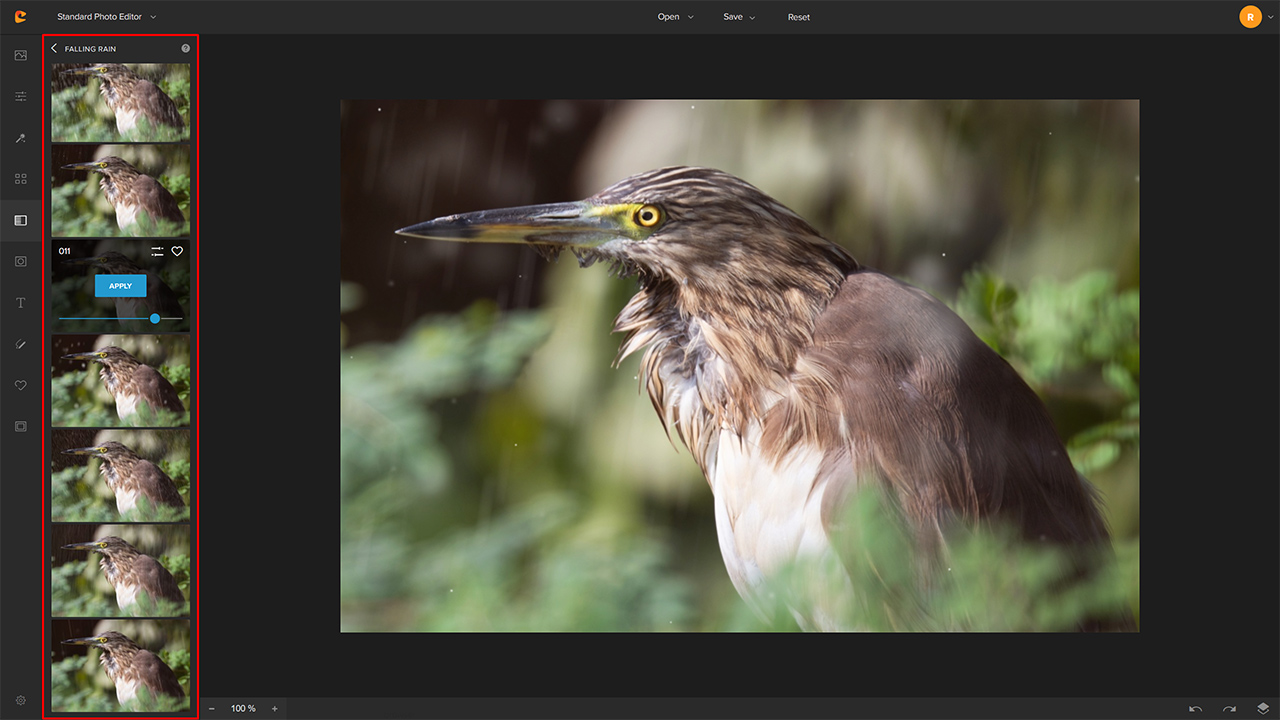
Step # 6: Make sure to save and then download the image.
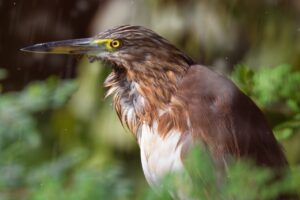
Here’s a quick before and after that highlights the changes:

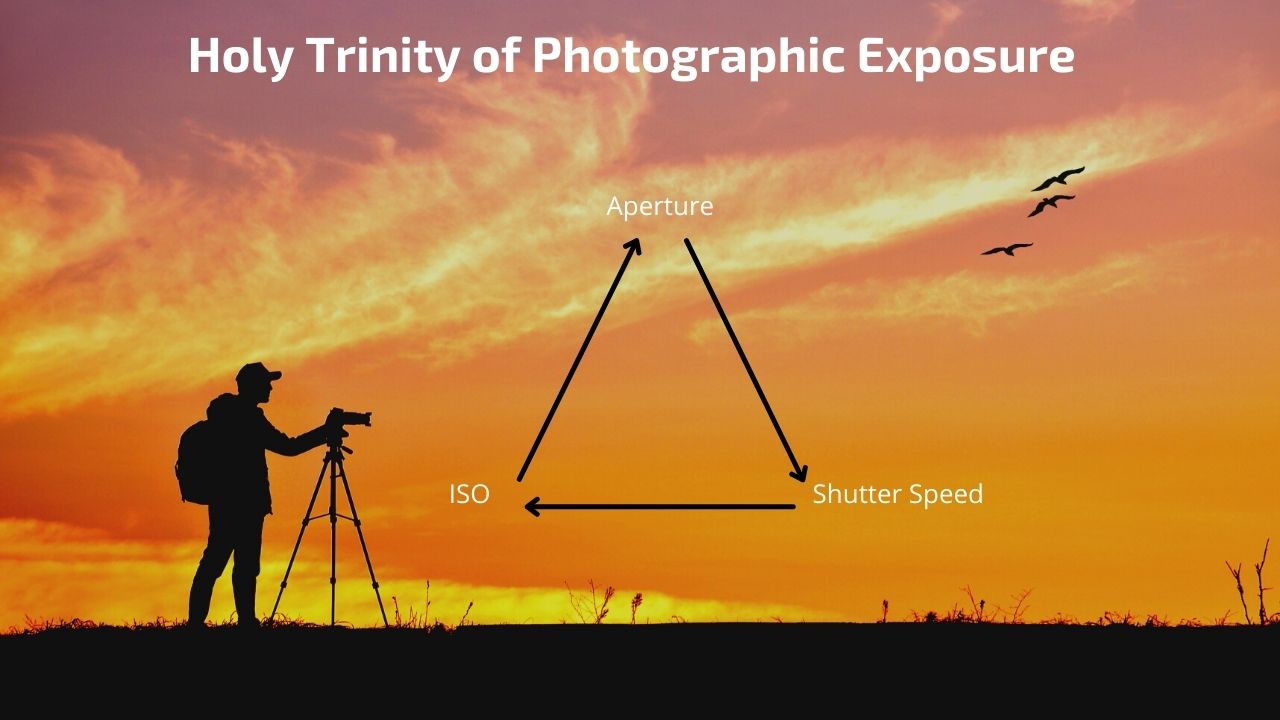
What Is the Holy Trinity of Photographic Exposure?
You have already learned about aperture and shutter speed and have studied the aperture and shutter speed charts. These two are the prime controls that govern the exposure, depth of field, and to a large extent, the creative side of your photos.
There is a third parameter known as ISO. Together, these three parameters form the Holy Trinity of photographic exposure.
Relationship Between Aperture and Shutter Speed
By now, you must have understood that Aperture and Shutter Speed have a similar effect on the composition. Both affect the quantity of light entering the camera. Therefore, they have an inverse relationship.
Therefore, if you open up the aperture to let more light in, you will have to speed up the Shutter Speed. Else you risk overexposing the image.
In the same way, if you drag the shutter speed (use a slow shutter speed) to allow a lot of light to enter the camera, you will have to stop down the aperture to compensate for that.
For every stop of higher aperture, you will need to stop down the shutter speed by one stop and vice-versa.
Let’s take an example.
Let’s say that your Exposure Value (combination of Aperture and Shutter Speed) is f/4 at 1/200 sec. Let’s assume that the ISO is 100.
Now, let’s assume that you wish to open the aperture to f/2.8. That’s one full stop. To compensate, you will have to speed up the shutter speed to 1/400 sec. Otherwise, you risk overexposing your photo.
What if you fail to make that adjustment and end up with an image that is either over or underexposed? The solution is to quickly adjust the exposure in a photo editing software like Colorcinch.
It’s very easy to do that if you haven’t clipped the highlights or the shadows.
How to Adjust Exposure in Photo Editing Software
Step # 1: Navigate to Colorcinch
Step # 2: Upload your image using the Upload button on this page.
Step # 3: Navigate to the Exposure segment. There are a bunch of options under the Exposure segment.
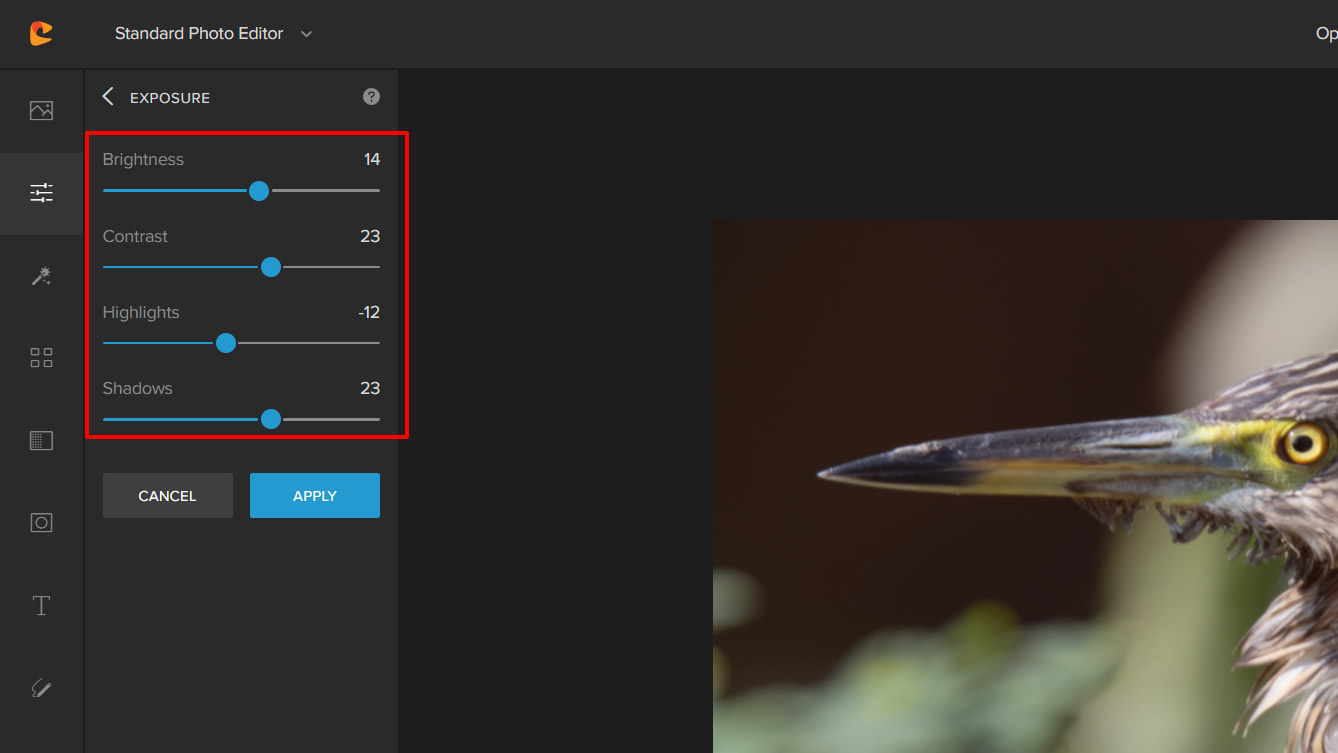
You can tweak the ones you feel will give the best results. For adjusting exposure you need to tweak just the Brightness and the Shadows sliders. There are some additional adjustments done to this image for aesthetic reasons.
Step # 4: Make sure you save the changes by clicking on the ‘Apply‘ button.
And that’s it! Simple, isn’t it?
Concluding Thoughts
Both Aperture and shutter speed chart forms the basic platform on which all photography is based. Once you have a good understanding of these basics of photography, you will be able to get out of the Auto or the Program mode and control exposure, depth of field, and the creative aspects of your composition on your own.