
Did you ever wonder why your snow photography results don’t always turn out as bright and as vibrant as you expect them? Did you ever wonder why there is so much difference between your expectations for your skiing or mountain vacation photos compared to what you’re able to capture with your camera? In this discussion, you’re going to find answers to all those questions plus more.
Let’s get started.
An Introduction to Snow Photography
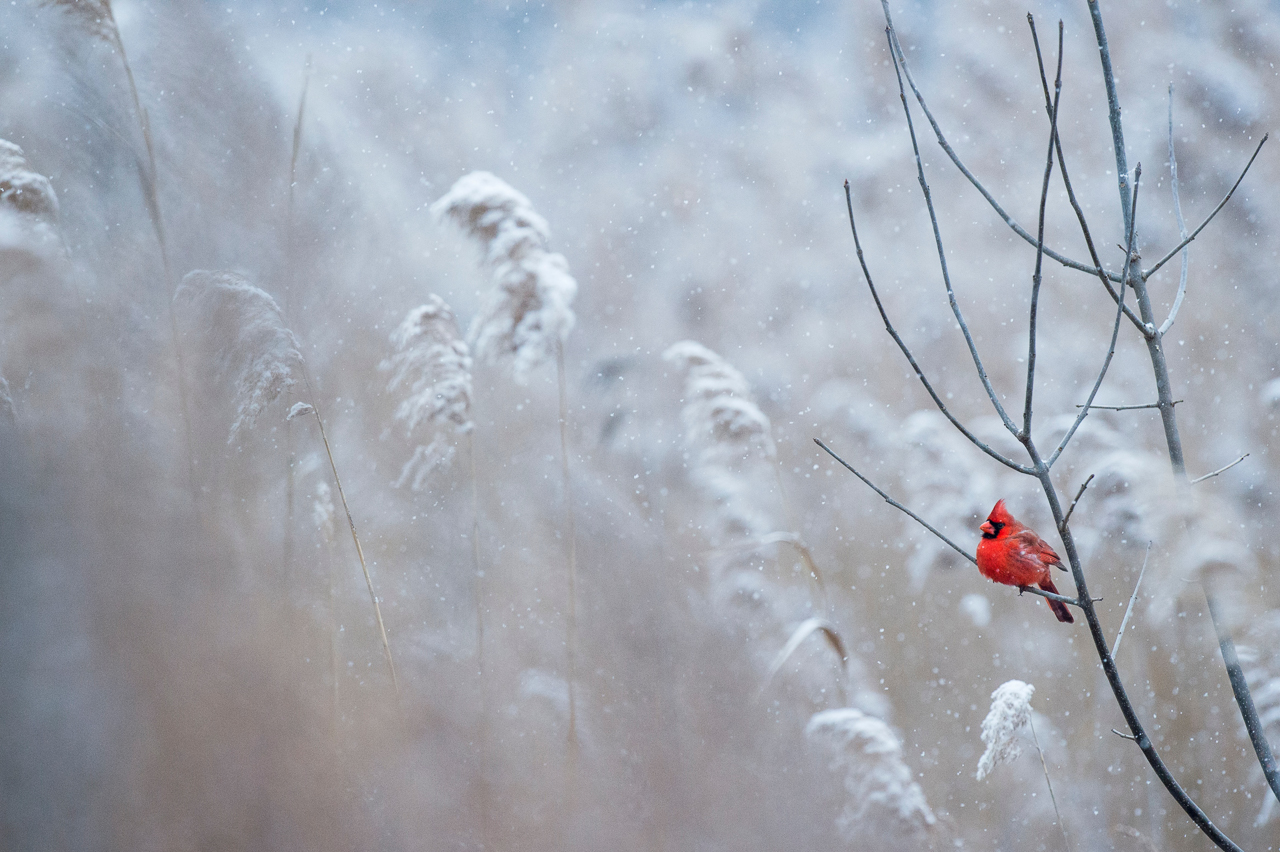
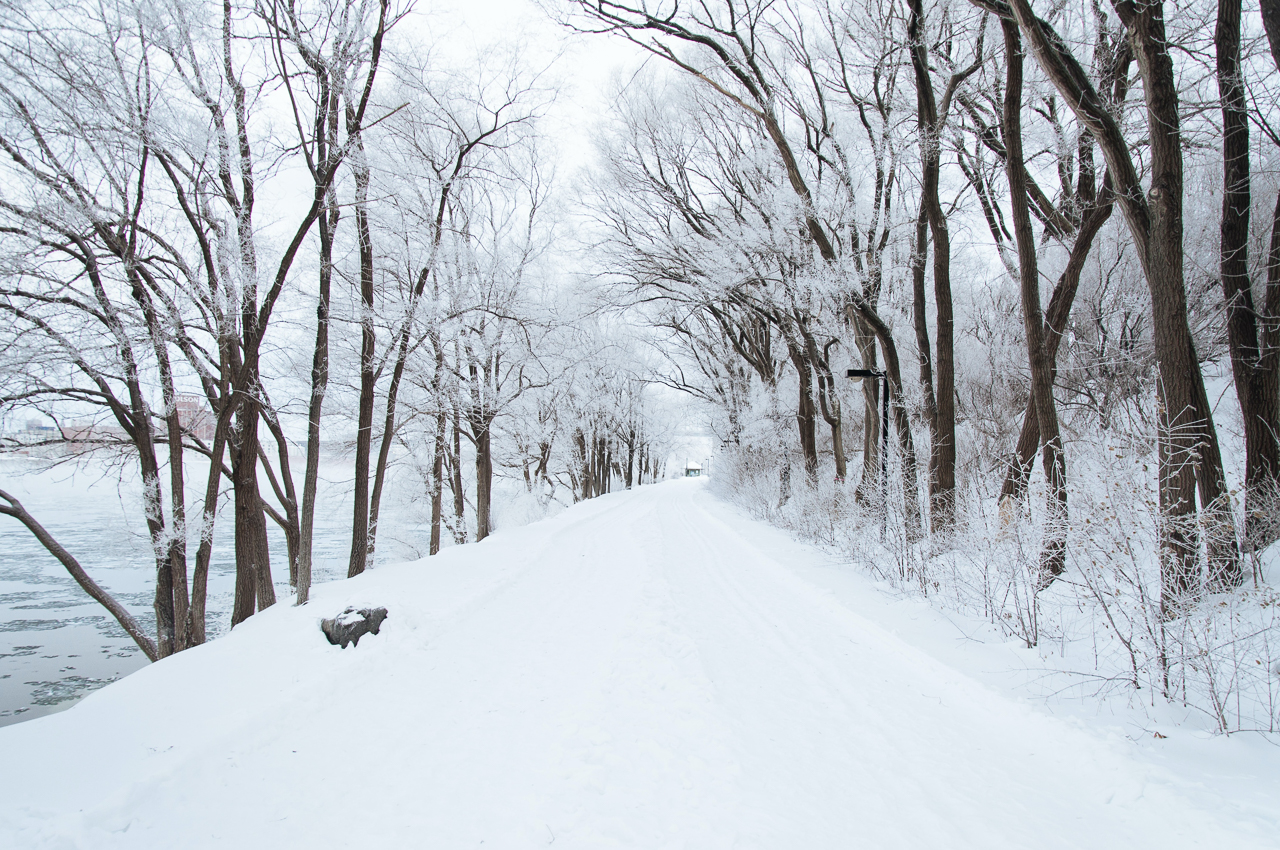
Snow photography is all about shooting images at a scene with a lot of snow around. It can be at a skiing destination, a mountainside with fresh powder snow, even your backyard. Any place with a lot of snow in the scene requires a different approach to photographing it. The reason is that snow is white, which always fools the camera’s metering system into thinking that the scene is too bright.
Best Camera Settings for Snow Photography
Snow photography warrants a systematic approach because it’s easy to get it wrong, and it often does. The most significant problem photographers face from the built-in meter of the camera. We’ll come to that a little later in detail. For now, let’s look at the camera settings that you need to get started.
1. Shooting Mode
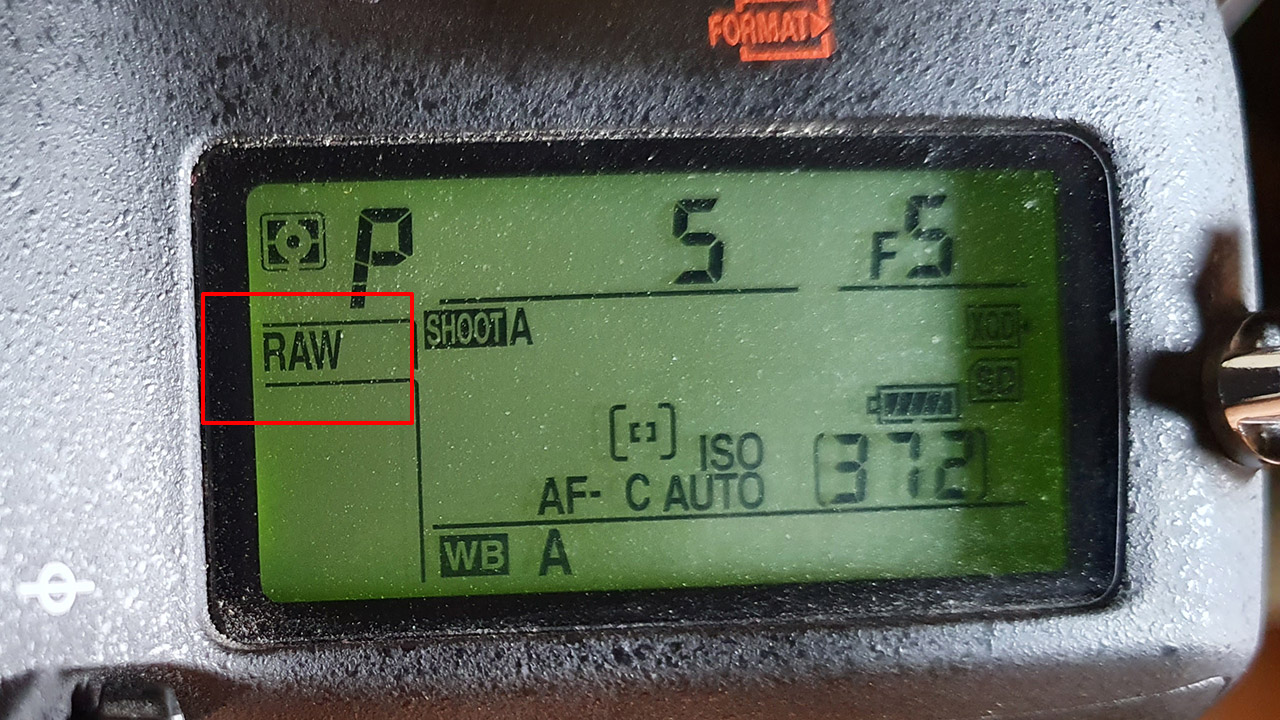
Without any doubt, you should keep your camera on RAW mode. There are several advantages to shooting in RAW. The most significant is the ability to adjust the exposure during post-processing. Shooting in RAW gives you more options to push the shadows and pull the highlights during post-processing.
2. White Balance Setting
If your camera is dialed to shoot in RAW, you can easily adjust the white balance setting after the image has been taken. Leave it on Auto White Balance setting so that the camera can detect the optimum white balance setting to dial in.
3. The Snow-mode
Most compact, point and shoot and bridge cameras come with a snow-mode. Switching to this mode switches the camera to its optimum settings for shooting at a snowy scene without going through the hassles of having to dial in all the camera settings manually. Plus, on compact cameras, you may not be able to change the exposure settings manually. So, this mode (the snow-mode) comes in handy for those using cameras other than DSLRs and mirrorless.
4. Don’t Trust the LCD Screen
The tiny LCD screen at the back of the camera does not offer many advantages when you’re shooting in extremely bright conditions. Even with state-of-the-art camera systems, the tiny LCD screen does not provide a significant amount of brightness, allowing it to be seen under the bright sky.
You may feel like you have nailed the exposure when the exposure could be dark in reality.
The solution in such a situation is to use a Field Monitor. But field monitors are expensive items and are not always practical for photographers shooting on vacation or casual photographers shooting on the weekends.
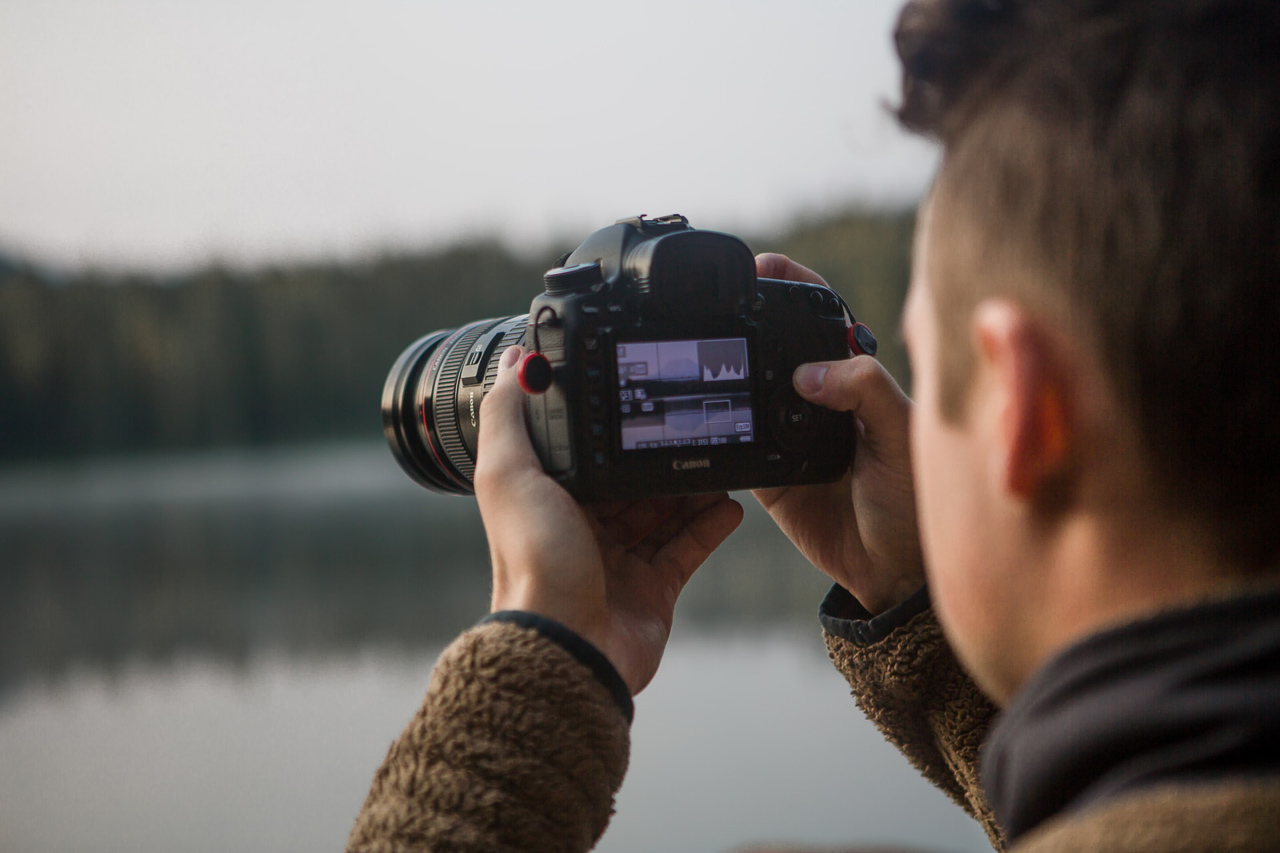
The next best alternative is not to trust the LCD screen and instead watch the histogram.
5. Watch Out for the Histogram
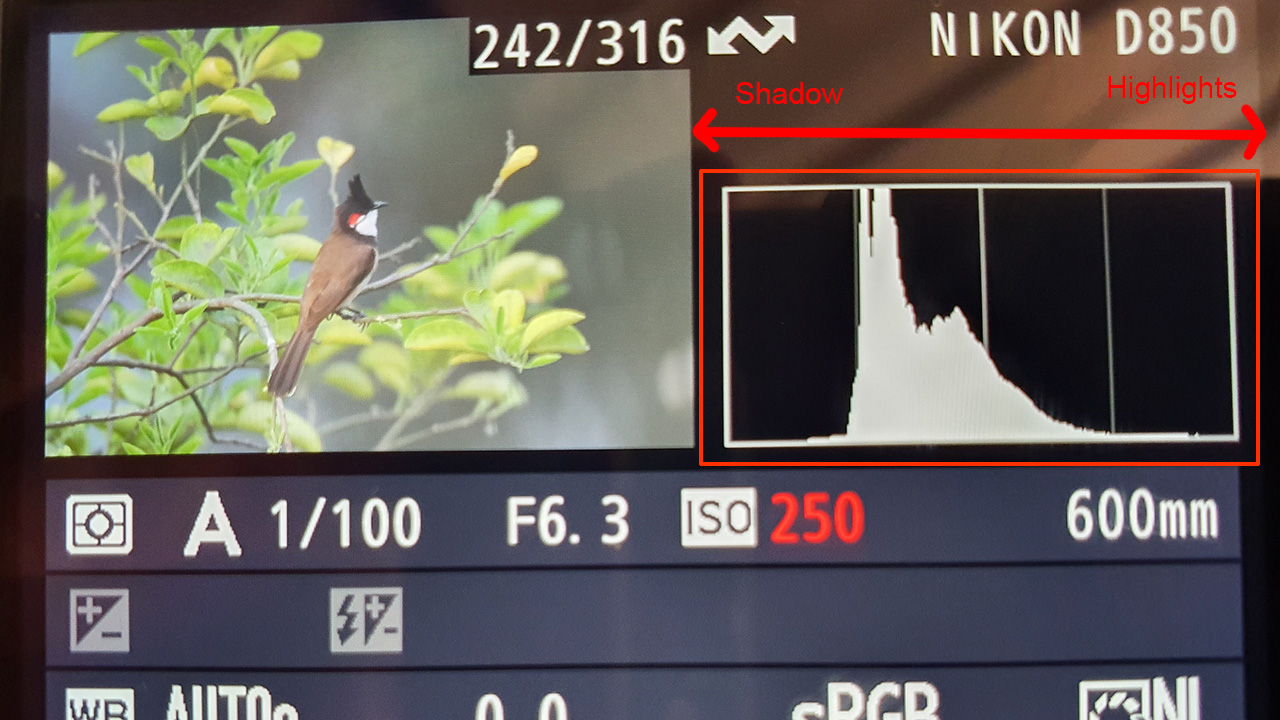
The histogram and its many benefits have already been discussed in detail in a separate post. Very simply, it’s a chart that tells us the distribution of the brightness levels in the image. The image is too bright if most bars are skewed towards the right.
If some bars are skewed towards the extreme left, shadows are clipped, and vice-versa if the bars are stacked towards the right. It isn’t good to clip the highlights because you will not retain details from those areas.
Shadows can still be recovered, especially with modern cameras and superb low-light capabilities.
Why Are My Snow Photos Looking Dark?
When fired in the Auto mode your camera’s metering system looks at a scene and tries to average out the brightness. In other words, it looks at everything as if it’s middle-grey. Middle-grey has an 18% reflectance and thus is the name 18% grey.
The problem comes from the fact that not all scenes are middle-grey. Some scenes are brighter than 18% grey, and others are darker than 18% grey. The exposure has to be adjusted accordingly to expose the image accurately.
If you have taken an image at Auto-exposure, you can constantly adjust it in an online photo editor such as Colorcinch.
Step# 1: Navigate to Colorcinch
Step # 2: Use the Upload button to upload the image you wish to edit.

Step # 3: You can start by correcting the image’s White Balance.
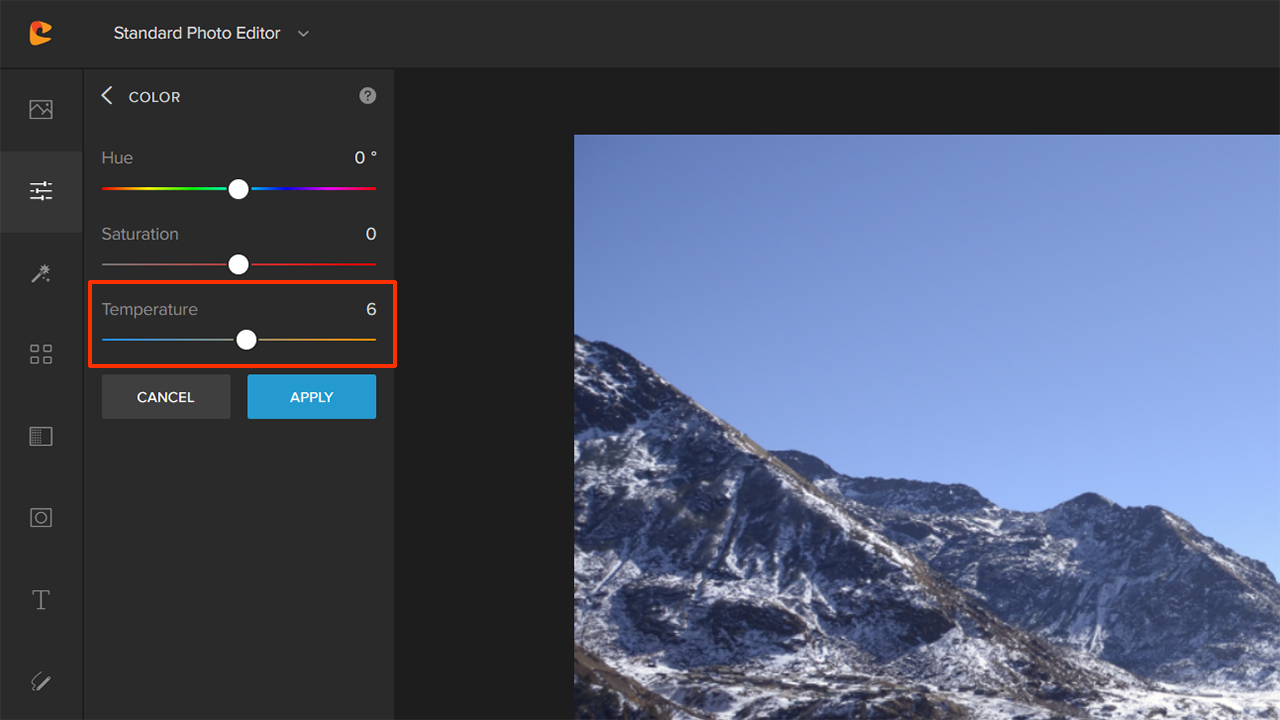
In this case, a subtle adjustment was necessary.
Step # 4: Exposure adjustment is the most important aspect of this process. The image is slightly darker, and the shadows hide many details. Once you have made that adjustment and have also made a slight adjustment of the Vibrance slider your image should be ready.
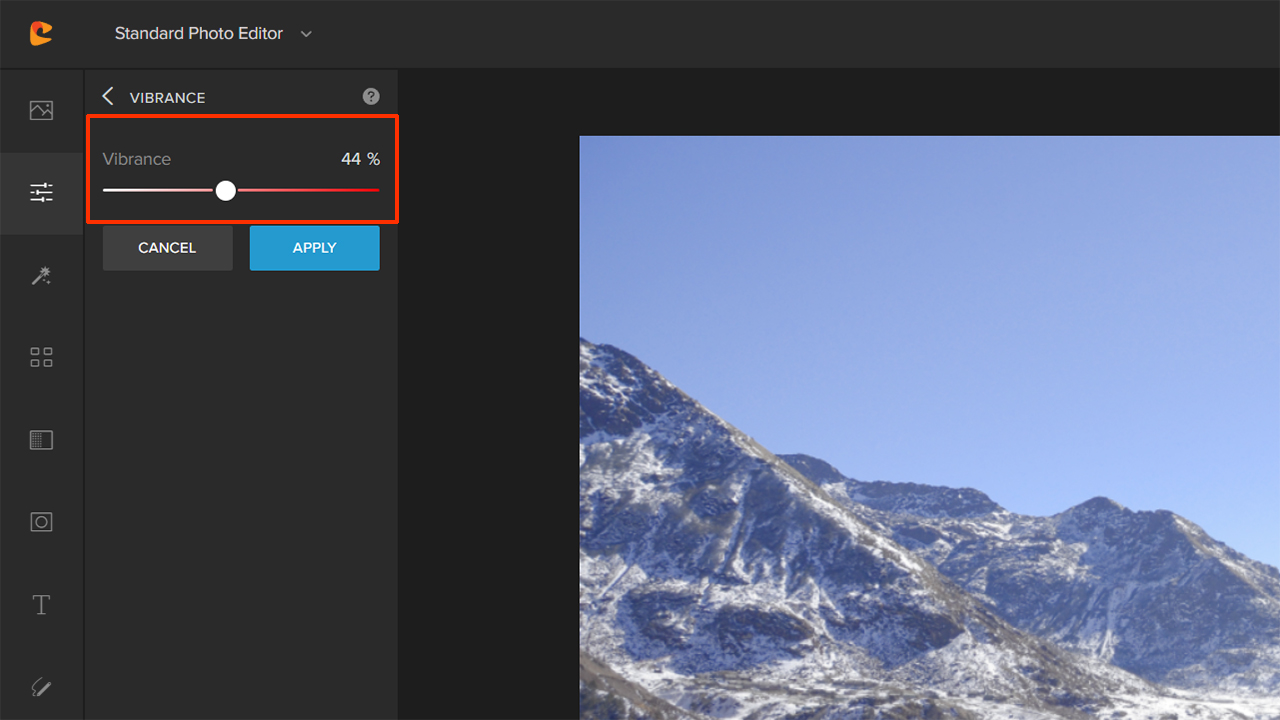
Simple, isn’t it?
What Is Exposure Compensation, and How Is It Useful in Snow Photography?
Exposure compensation is a handy tool if you’re not confident of using the manual mode on your camera. If you’re good at the manual mode and have a good idea of exposure techniques, you can safely skip this part.
The exposure compensation button on your camera looks like this:
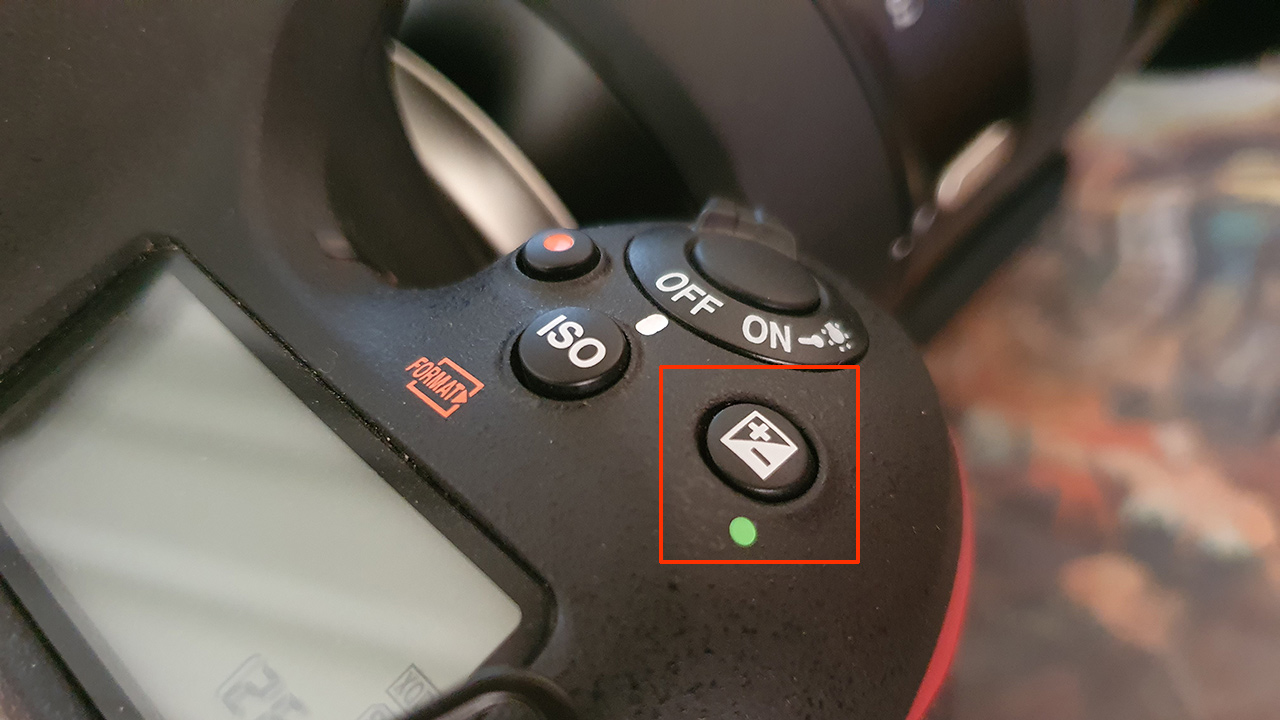
In the Aperture Priority mode (the mode in which you should be shooting most of your snow photos), pressing the Exposure Compensation mode and then dialing the main command dial allows you to override the exposure settings that your camera might have dialed in.
This means if you think that your camera is underexposing the scene, you can bump up the exposure using Exposure Compensation and vice versa.
Don’t worry if your camera does not have a manual exposure compensation button. It’s very easy to push (and pull) the exposure of your images using an online photo editor like Colorcinch.
Step # 1: All you have to do is navigate to Colorcinch.
Step # 2: Then upload the image to the Colorcinch editor.
Step # 3: Then, make your way to the Exposure tab.
There are four options under the exposure tab: Brightness, Contrast, Highlights, and Shadows.
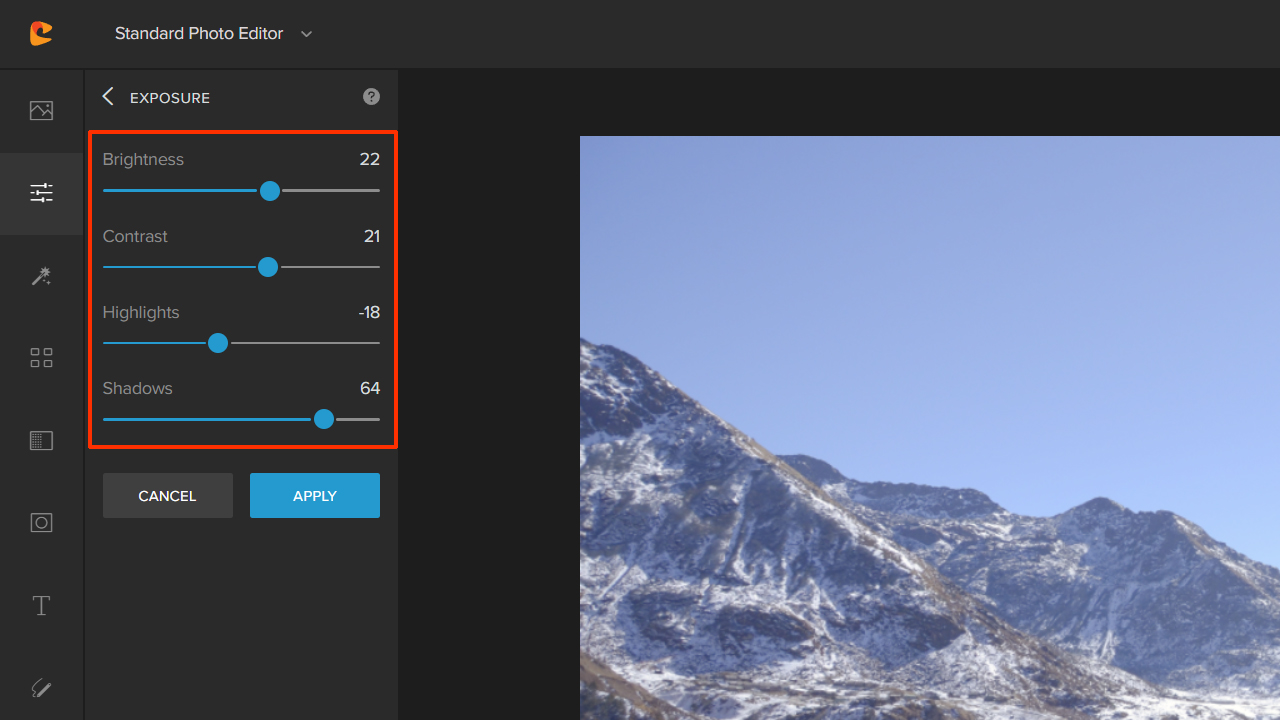
Choose the ones that you need to fine-tune the image.
Don’t forget to click on Apply to make sure that the changes are saved, and then make sure to keep a copy of the image using the Save option.
Preparing for Snow Photography
If you’re preparing for snow photography, it’s pertinent that you plan and pack accordingly. The following guidelines should be able to help you in that regard.
1. Clothes to Wear, Extra Batteries, Etc.
Make sure you’re wearing good winter clothes. You don’t want to catch a cold while looking for the best images.
Extra batteries are a must-have for your camera. Batteries drain faster in cold weather, and therefore this is important that you have at least one extra pack of freshly charged batteries in your bag. You wouldn’t like to find your camera out of juice in the middle of a shoot.
2. Mixing Color in Your Snow Photos
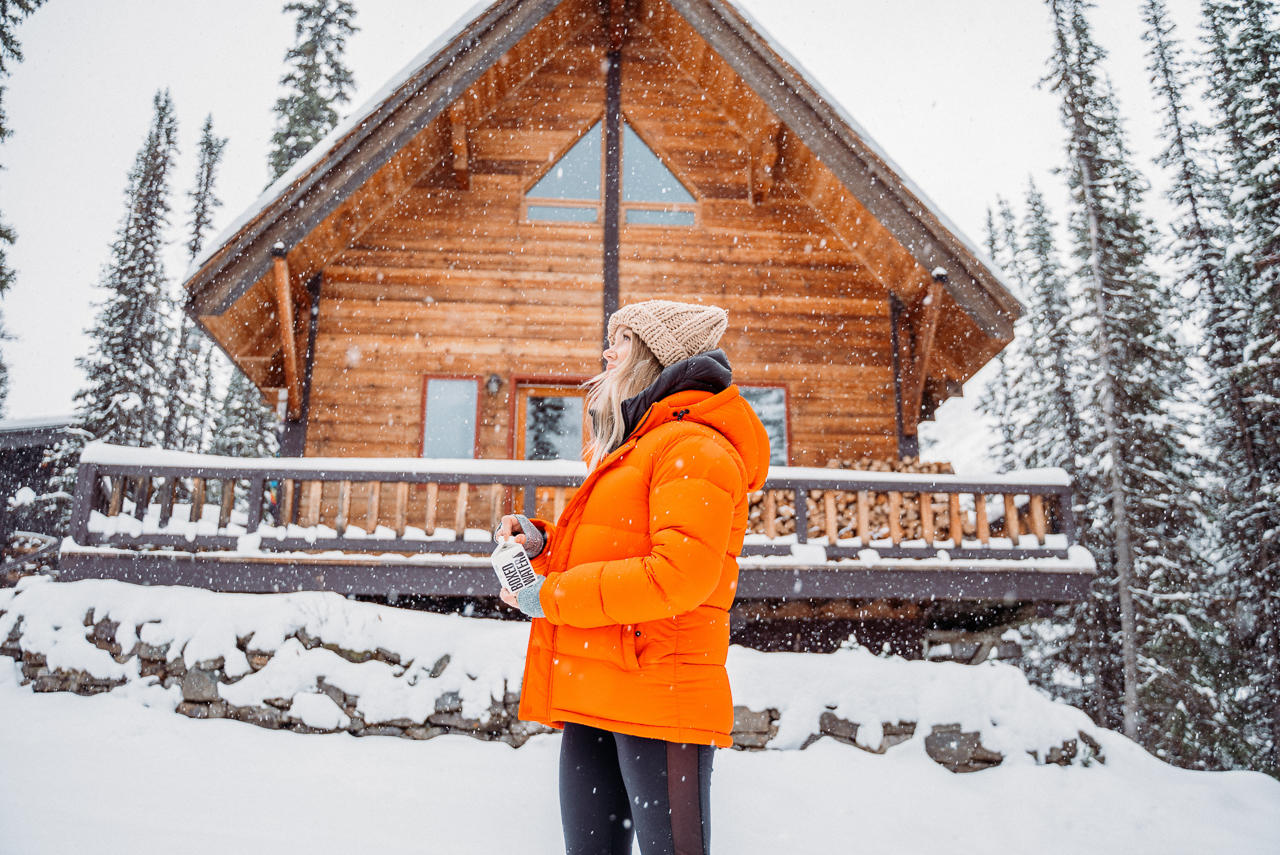
If you’re or anybody else will be in the shot, they should wear bright clothes. Bright clothes work the best against a white or gray background.
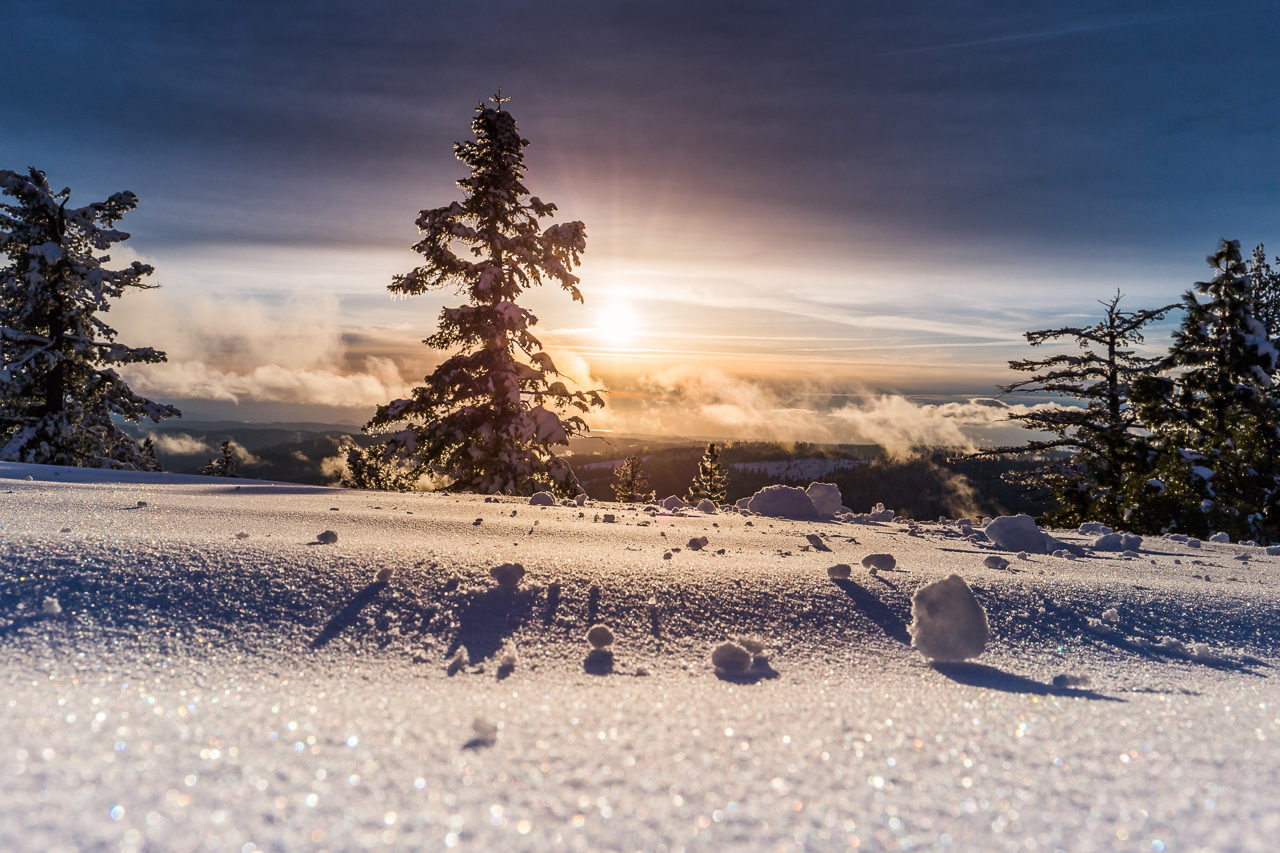
Try and shoot during the golden hour and the blue hour to add a bit of color to your composition. A single brightly colored object will allow you also to create a focal point for the image.
Concluding Thoughts
Snow photography is easy to do once you get the hang of the basics of exposure. Always push the direction by at least one to two stops if you’re shooting a snow scene and it’s incredibly bright. Trust the histogram more than the rear LCD screen. And most importantly, always shoot in RAW. I hope these above tips help ensure that you have a great start. If nature photography is what interests you check this article out.